Einleitung
Werkzeuge
-
-
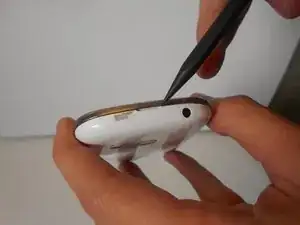
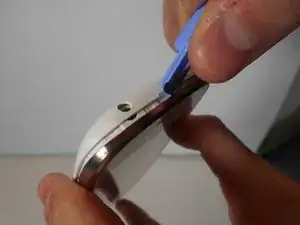
Locate the small indent in the top of the device and use your nails or a spudger to separate the backplate from the mid-frame.
-
-
-
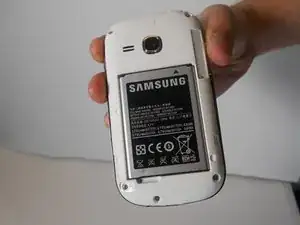
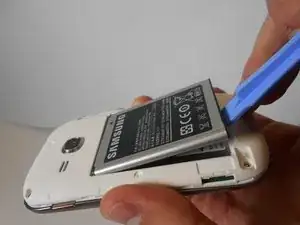
Locate the indent on the bottom left corner of the battery compartment. Use your fingers or the plastic opening tool to lift the battery from the device.
-
-
-
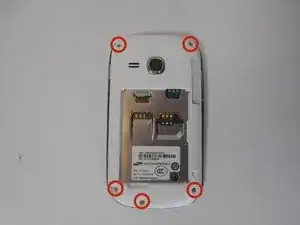
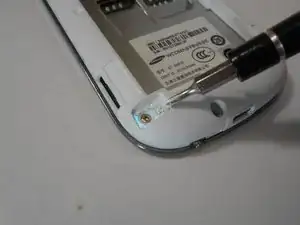
Remove the five 3mm screws along the top and bottom edges of the device with the Philips #00 screwdriver.
-
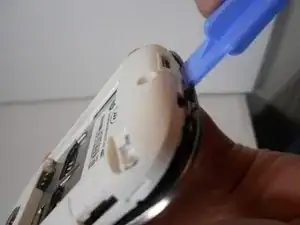
Use the plastic removal tool to work pry the mid-frame from the device.
-
-
-
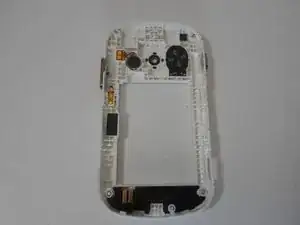
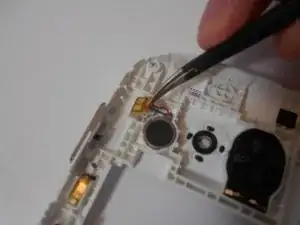
The vibration unit can be found on the internal side of the mid-frame, in the upper left corner.
-
Using the tweezers, remove the small plastic slip to the left of the unit. The optimal place to grab this is on the small flap on the slip's right.
-
Place the head of the tweezers in the small crevice on the bottom left of the device's housing and push up from under it. This will pop out the vibration unit.
-
To reassemble your device, follow these instructions in reverse order.
