Einleitung

This guide instructs on how to replace the rear facing camera.

  1. XecCKLTBNgmfBfxY
    XecCKLTBNgmfBfxY
    XSAJi14bTsEwBNRK
    p4ArZV5tLM4AHuJS
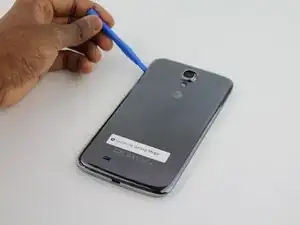
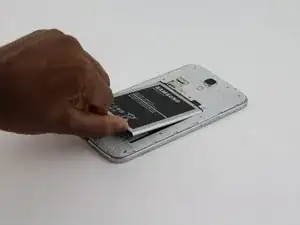
    • Before starting, ensure device is completely turned off.

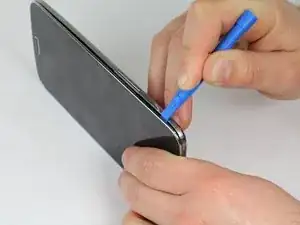
    • On the back of phone, locate the slot on the top left corner.

    • Insert plastic opening tool or fingernail and pull up on the back plate.

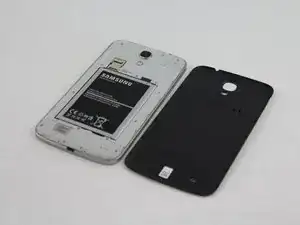
    • With the corner released, slide your finger around the device between the back plate and the phone to release connectors.

    Bonjur vule vondre de telefon samsung galaxy mega ecron

    bucuresteanugigel -

    samsung galaxi mega

    bucuresteanugigel -

    0751571718 samsung galaxi mega

    bucuresteanugigel -

  2. DcNvXh4EcjjtCfci
    DcNvXh4EcjjtCfci
    vwRdREmKIhPahK1W
    CCSYILvRFECQlZCC
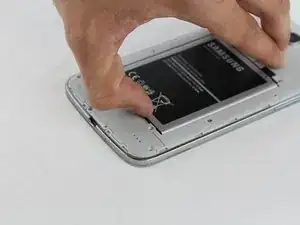
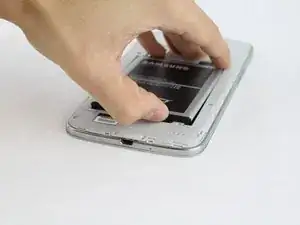
    • Insert fingernail into the slot on bottom of battery and gently pull up.

    • Remove the battery.

  3. eOrSgSr5OVQiXAKs
    eOrSgSr5OVQiXAKs
    DjobM4jA3VOxsuol
    VY4sZVV4jniAJnpb
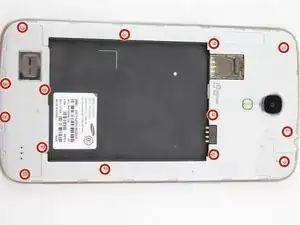
    • Remove the 14 3.45 mm Phillips #000 screws from the assembly.

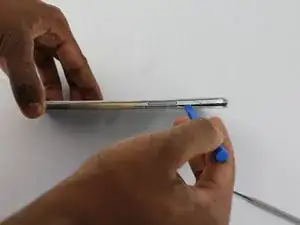
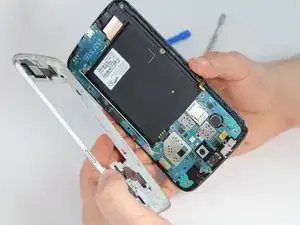
    • Gently, insert plastic opening tool into seam above the volume buttons of your phone.

    • You may substitute metal spudger for plastic opening tool to first start the opening of the seam. This may cause exterior cosmetic damage.

    If you insert a spudger from the battery compartment seam, you can start the opening without damage to the outside.

    Ted -

  4. vyKCve3BNHo3tNHU
    vyKCve3BNHo3tNHU
    2xQigLcTNJHEbqmH
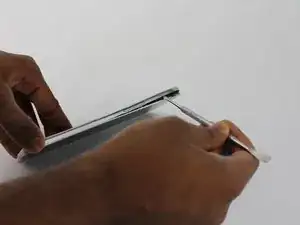
    • Slowly slide plastic opening tool around the device to release all the connectors internal to the device.

    • The device should easily come apart after the plastic opening tool is slid around the entire device.

    • During reassembly, ensure volume and power buttons align properly.

  5. dNcOWtHfCvLjNx6C
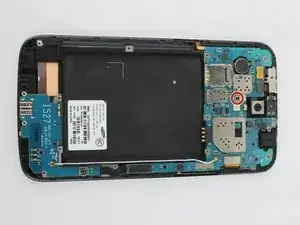
    • Remove the 2.55 mm Phillips #000 screw from the motherboard panel.

  6. aaNxLvwXnj4hZAgG
    aaNxLvwXnj4hZAgG
    omCrUFglrgeUn1oe
    rqwOcAym1SB1b6F6
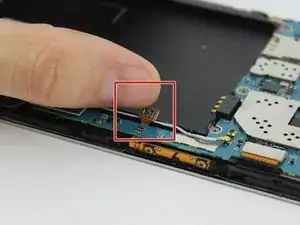
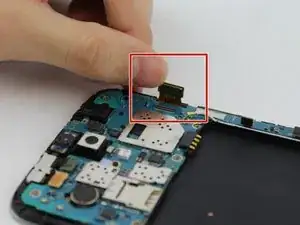
    • Remove the connector clips on motherboard.

  7. pgjERm4hZKfedKp5
    pgjERm4hZKfedKp5
    IHGi1N6SYrHbihDI
    • Remove the final motherboard connectors.

  8. mYkOVV3NEkaxEGyJ
    mYkOVV3NEkaxEGyJ
    3kgvnFfCnrqCEFNP
    XoZJf6SCsaYUeDAK
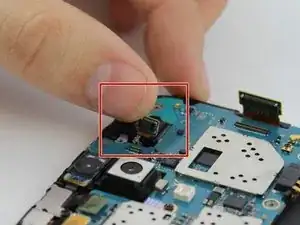
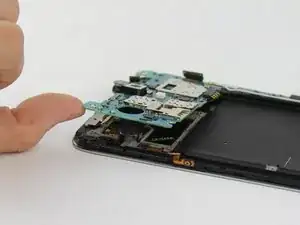
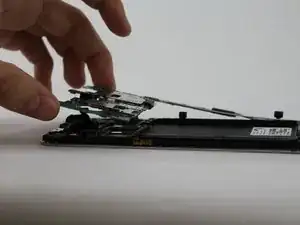
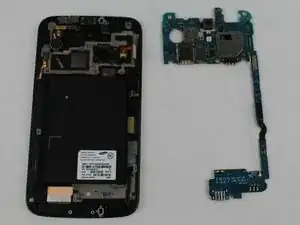
    • Lift motherboard gently with finger.

    • There is a total of six connectors on the motherboard that need to be removed. All of them are shown in the pictures in this guide, make sure all of them are disconnected before removing.

  9. srIxeJNvH2loSDjR
    srIxeJNvH2loSDjR
    cthbLQcJTe3kfxFO
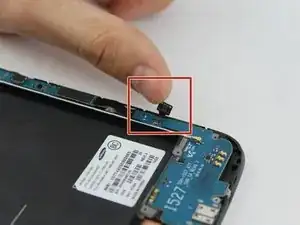
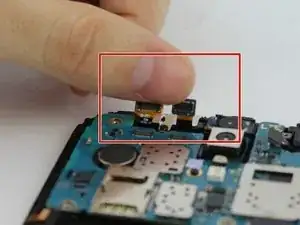
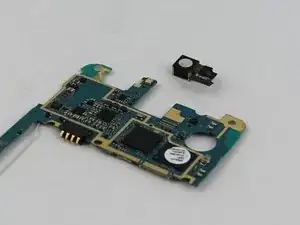
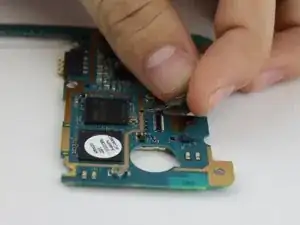
    • On the back of the motherboard, remove the connector of the rear facing camera from the motherboard.

    • Camera is now detached from device.

Abschluss

To reassemble your device, follow these instructions in reverse order.
Max Rathman

Mitglied seit: 04/02/16

861 Reputation

0 Kommentare