Einleitung
Werkzeuge
Ersatzteile
-
-
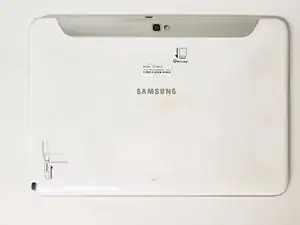
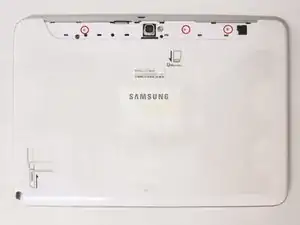
This is the back of the device and where you willl begin to take it apart
-
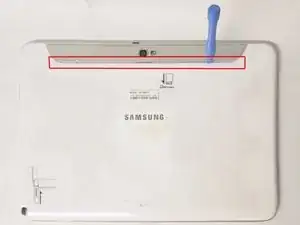
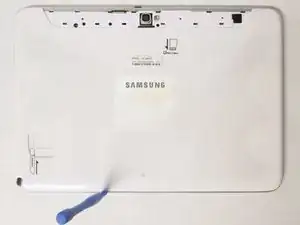
It is necessary to remove the silver piece covering the camera first before removing the bigger back piece.
-
Use the plastic opening tools to pry along the indicated box.
-
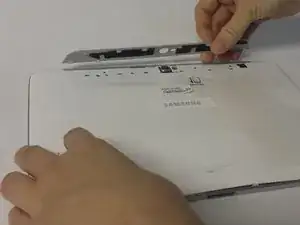
Lift up the silver piece to reveal the rest of the back cover.
-
-
-
Unscrew the three screws indicated by the red circles with the Philips #00 screwdriver.
-
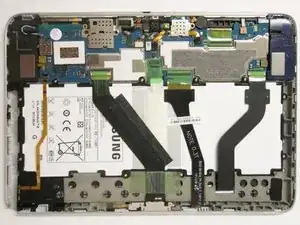
Using the plastic opening tools pry along the bottom of the device, moving to the sides of the cover to the top.
-
Remove the back cover.
-
-
-
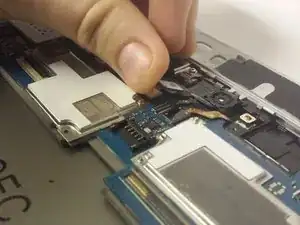
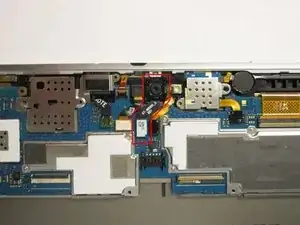
Start by lifting the white connector to remove the part indicated by the red polygon.
-
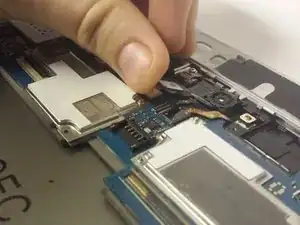
Gently pry along the camera hub to lift it out of its location.
-
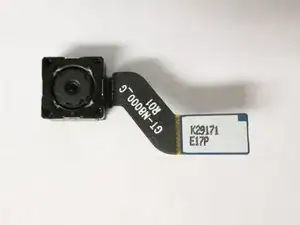
This is your camera. Replace it with the new part.
-
To reassemble your device, follow these instructions in reverse order.
