Einleitung
Werkzeuge
Ersatzteile
-
-
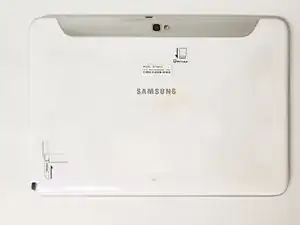
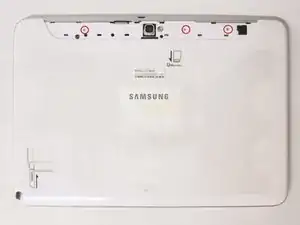
This is the back of the device and where you willl begin to take it apart
-
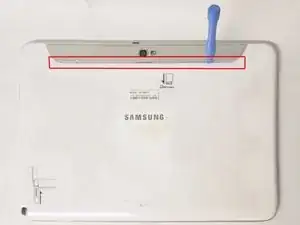
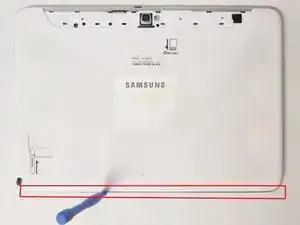
It is necessary to remove the silver piece covering the camera first before removing the bigger back piece.
-
Use the plastic opening tools to pry along the indicated box.
-
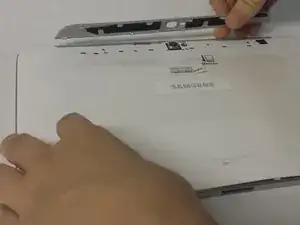
Lift up the silver piece to reveal the rest of the back cover.
-
-
-
Unscrew the three 5 mm screws indicated by the red circles with the Philips #00 screwdriver.
-
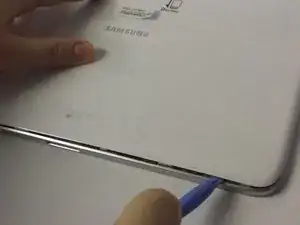
Using the plastic opening tools pry along the bottom of the device, moving to the sides of the cover to the top.
-
Remove the back cover.
-
-
-
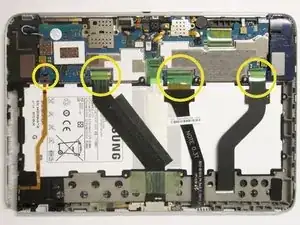
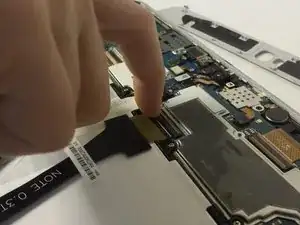
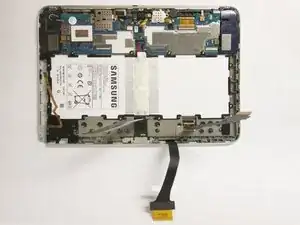
Carefully remove all of the ribbons that connect over the battery from the locations indicated by the yellow circles.
-
-
-
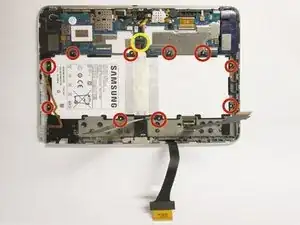
Remove all of the 3 mm screws indicated by a red circle with the #00 Philips screwdriver.
-
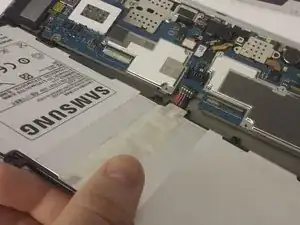
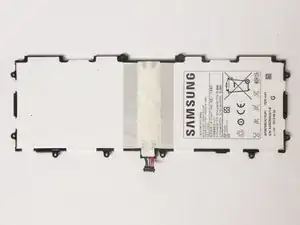
Disconnect the battery from the location indicated by a yellow circle
-
Now you may remove the battery.
-
-
-
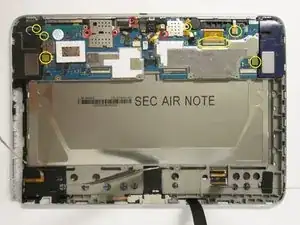
From the first photo:
-
Remove all the components marked by yellow circles
-
Unscrew all the 2 and 3 mm screws marked by the red circles with the #00 Philips screwdriver.
-
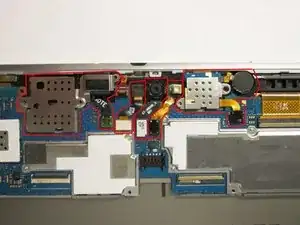
From the second photo:
-
Starting with the motherboard connectors, remove all the components marked in red.
-
-
-
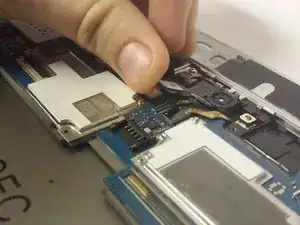
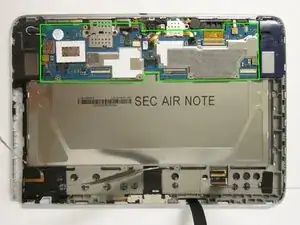
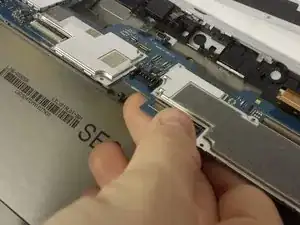
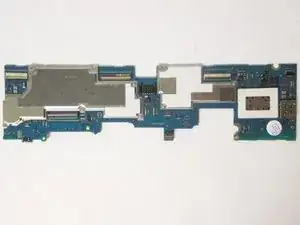
Once you have removed all the components connected to the motherboard, gently lift up on the area surrounding the green box and remove your motherboard.
-
-
-
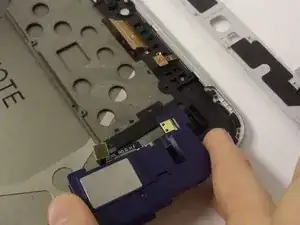
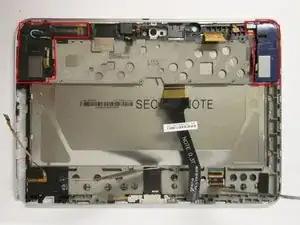
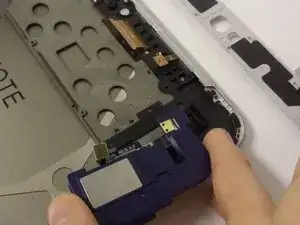
Apply pressure to the locations boxed in red to remove the loudspeaker modules.
-
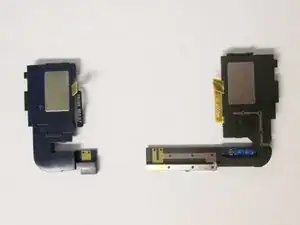
These are your loudspeaker modules, replace with the new parts
-
To reassemble your device, follow these instructions in reverse order.
2 Kommentare
I wouldn't say that a guide "hopes" to do anything.
In Step 7, mention that you should use the plastic tools to pop the speakers out of the device.
