Einleitung
Werkzeuge
Ersatzteile
-
-
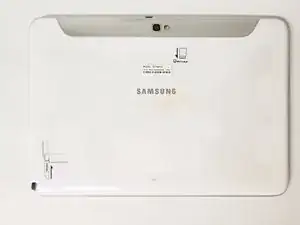
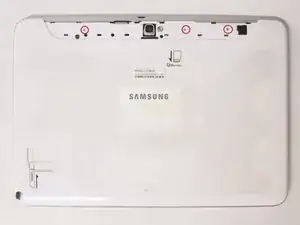
This is the back of the device and where you willl begin to take it apart
-
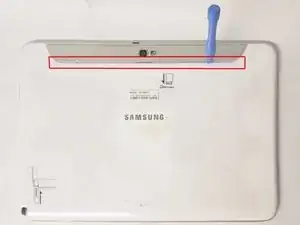
It is necessary to remove the silver piece covering the camera first before removing the bigger back piece.
-
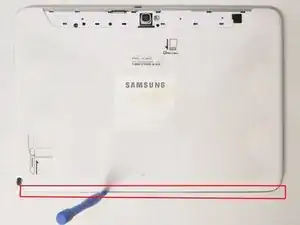
Use the plastic opening tools to pry along the indicated box.
-
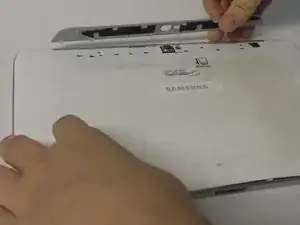
Lift up the silver piece to reveal the rest of the back cover.
-
-
-
Unscrew the three 5 mm screws indicated by the red circles with the Philips #00 screwdriver.
-
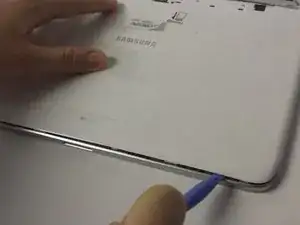
Using the plastic opening tools pry along the bottom of the device, moving to the sides of the cover to the top.
-
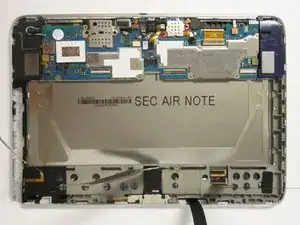
Remove the back cover.
-
-
-
Unscrew the two 2 mm screws indicated by the red circles with the #00 Philips Screwdriver.
-
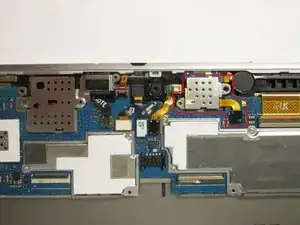
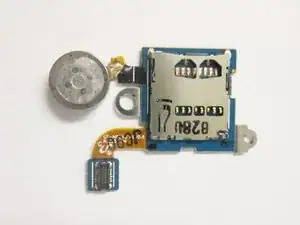
Starting with the black motherboard connector, remove the module indicated by the red box in the second picture.
-
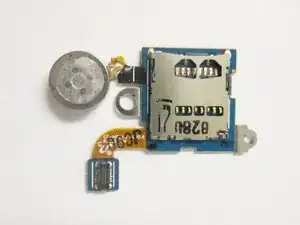
Replace the microSD port with a similar model.
-
To reassemble your device, follow these instructions in reverse order.
2 Kommentare
Be sure to include screw lengths to the nearest mm on all guides.
In this guide, you missed a step on removing the battery.
