Einleitung
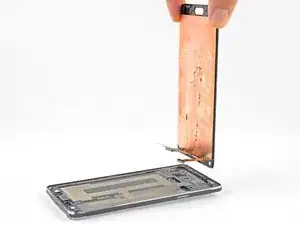
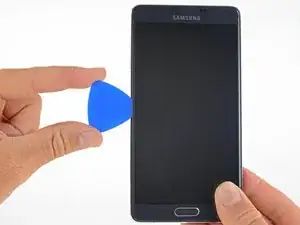
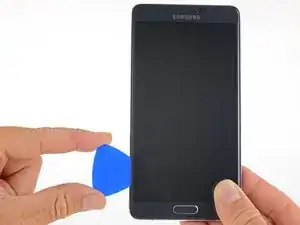
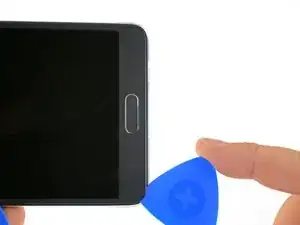
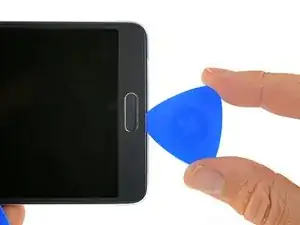
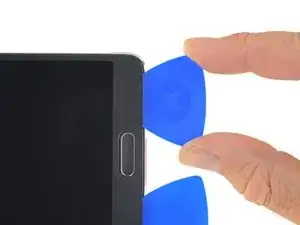
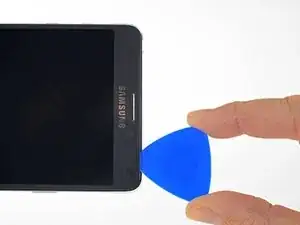
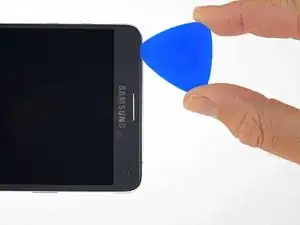
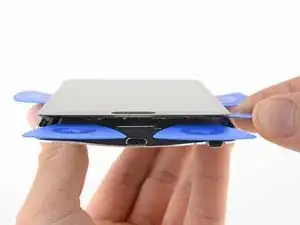
Use this guide to replace the display and touch panel on your Galaxy Note 4.
If the frame is damaged or bent, it's important to replace it, or else the new screen may not mount correctly and can suffer damage from uneven pressure.
The process of separating the display from the frame usually destroys the display, so don't follow this guide unless you intend to replace the display.
Werkzeuge
Ersatzteile
-
-
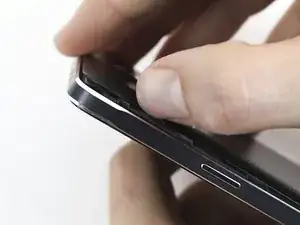
Insert a fingernail or plastic opening tool into the divot to the left of the rear-facing camera.
-
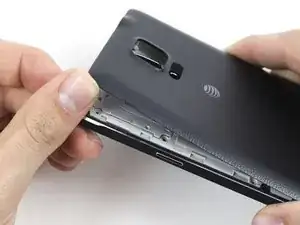
Gently pry and twist the flexible rear cover off the back of the phone.
-
-
-
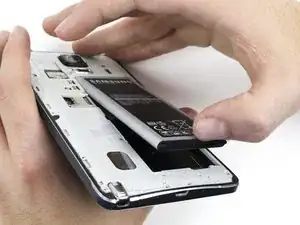
Insert a fingernail or plastic opening tool into the recess in the bottom right corner of the battery and lift upward.
-
Remove the battery.
-
-
-
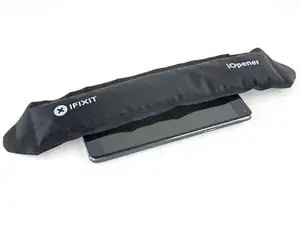
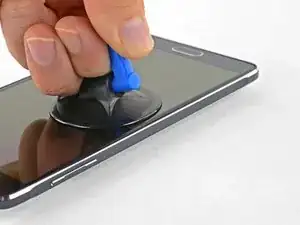
Once the screen is warm to the touch, apply a suction cup as close to the heated edge of the phone as you can.
-
If your display is badly cracked, the suction cup may not stick. Try lifting the display with strong tape, or superglue the suction cup in place and allow it to cure so you can proceed.
-
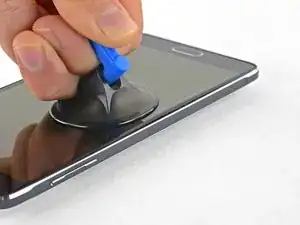
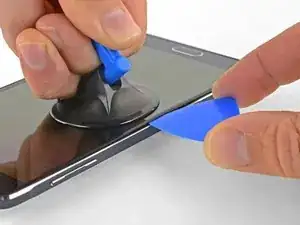
Lift on the suction cup, and insert an opening pick under the display assembly.
-
-
-
Slide the opening pick along the left edge of the display to separate the adhesive underneath.
-
If cutting becomes difficult, reheat and reapply the iOpener.
-
Leave the pick in place to prevent the adhesive from re-adhering and grab a second pick as you proceed to the next step.
-
-
-
Apply a heated iOpener to the bottom of the phone.
-
Slide an opening pick along the bottom of the phone.
-
-
-
Insert an opening pick 0.5 inches (12.5mm) into the left side of the bottom edge of the phone.
-
Once the pick has cut through the adhesive, leave it in place to prevent the adhesive from resealing.
-
-
-
Insert an opening pick 0.5 inches (12.5mm) into the right side of the bottom edge of the phone.
-
Once the pick has cut through the adhesive, leave it in place to prevent the adhesive from resealing.
-
-
-
Apply a heated iOpener to the right edge of the phone.
-
Slide the opening pick along the right edge of the display to separate the adhesive underneath.
-
Leave the pick in place to prevent the adhesive from re-adhering and grab a second pick as you proceed to the next step.
-
-
-
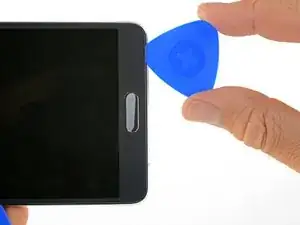
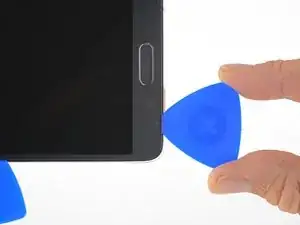
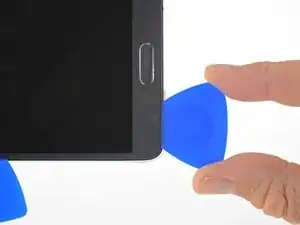
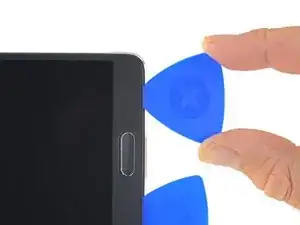
Gently slide an opening pick under the top edge of the display to separate the adhesive underneath.
-
-
-
Use your picks as needed to finish separating the adhesive beneath all areas of the display.
-
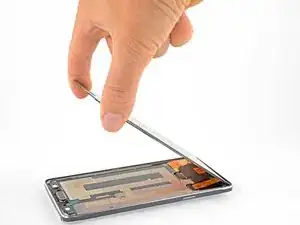
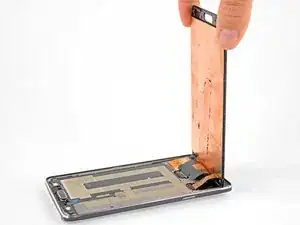
Pry the bottom part of the display away from the phone until they are fully separated.
-
-
-
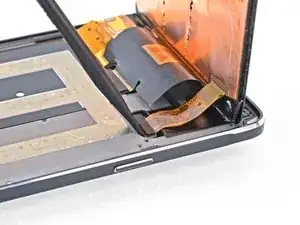
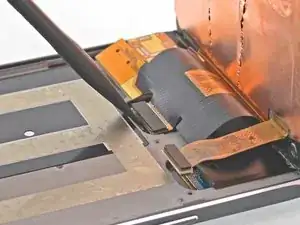
Use the flat end of a spudger to pry the display cable connector straight up and out of its socket.
-
-
-
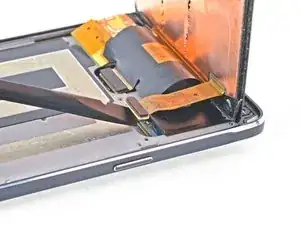
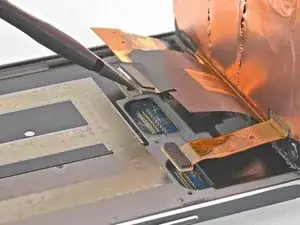
Use the flat end of a spudger to pry the digitizer cable connector straight up and out of its socket.
-
-
-
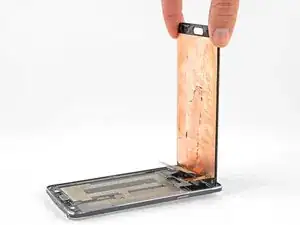
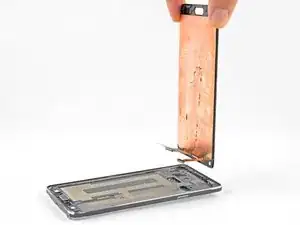
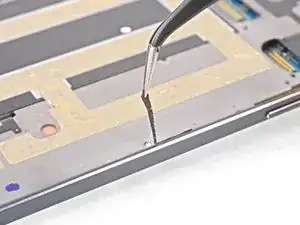
Remove the display.
-
After removing all traces of glue and glass from the frame, clean the adhesion areas with 90% (or higher) isopropyl alcohol and a lint-free cloth or coffee filter. Swipe in one direction only, not back and forth.
-
To reassemble your device, follow these instructions in reverse order.
Ein Kommentar
Merci, en prenant bien le temps et avec les outils ça la fait. Une bouillotte a la place du Iopenit mais le pack Pro Teck Toolkit est suffisant pour cette ouvrage. c'est clairement pas une course, j'étais pas loin des 2 heures mais j'ai récupéré un bon écran sur un tel hs pour remplacer l'écran cassé de mon vieux Note 4. il a reprit vie comme en 2019...J'ai encore du mal a le croire. Merci beaucoup, je n'aurai pas osé me lancer sans ce tuto. ps:la parti recollage manque de détails et de photos selon moi
cyp cabs -
