Einleitung

Use this guide to install a new rear facing camera.

  1. kG2UScBcTXmHPYVN
    kG2UScBcTXmHPYVN
    r4XSpAUaXIPiQtya
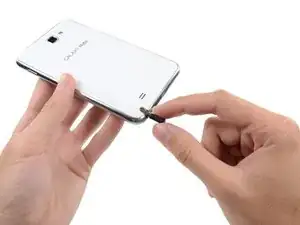
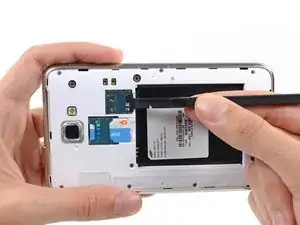
    • Grasp the cap of the stylus and remove it from its slot in the midframe.

  2. PI2tDAugVYFNGMZt
    PI2tDAugVYFNGMZt
    ULINckCfSInHyeXC
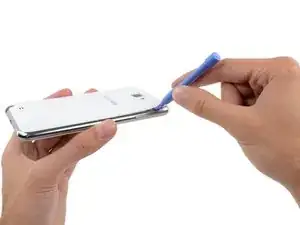
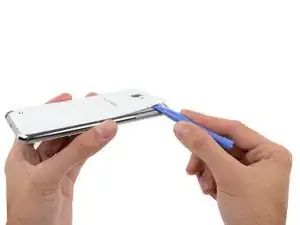
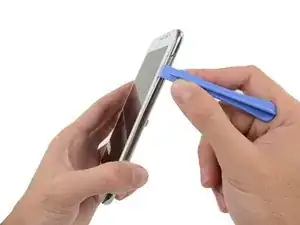
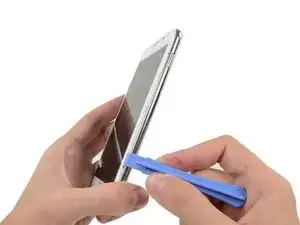
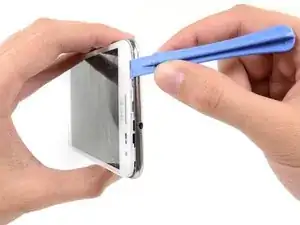
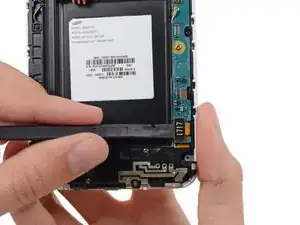
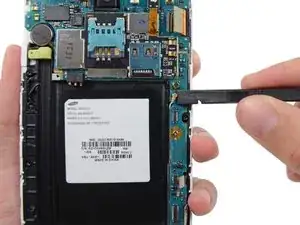
    • Pry with a plastic opening tool, or your fingernail, in the divot to the right of the rear-facing camera, near the volume rocker.

  3. MpHKKCVKwRo1RioU
    MpHKKCVKwRo1RioU
    LjfTJSNt4T2cjv6h
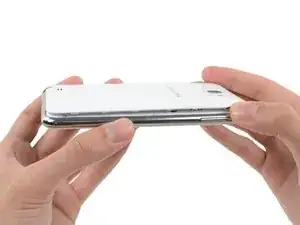
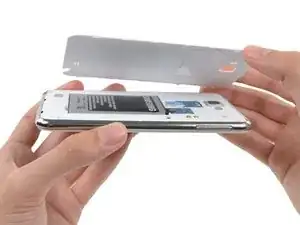
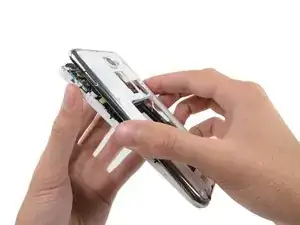
    • Lift and remove the rear case from the phone.

  4. SWy2hhjKDS33U3Y3
    SWy2hhjKDS33U3Y3
    GGlu32H1KPjCmsW6
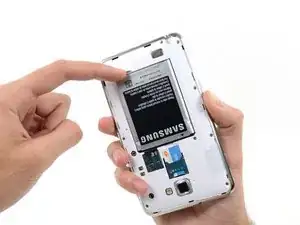
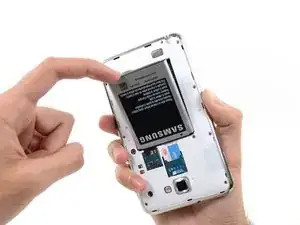
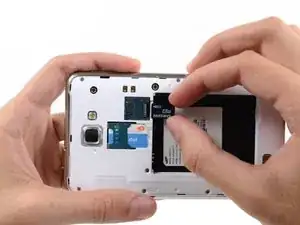
    • Insert your finger in the notch of the battery compartment.

    • Press the battery toward the rear facing camera while pulling outward.

  5. 5BiCRBrtTPyJ4tk1
    5BiCRBrtTPyJ4tk1
    UFTfVPJSKVrPKL5Y
    EJuYT2OyjoQGAbxv
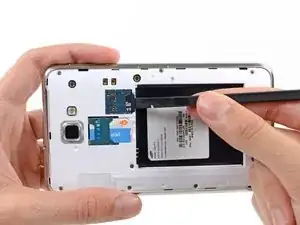
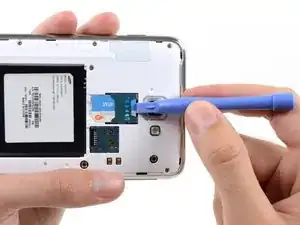
    • Use the flat end of a spudger, or your fingernail, to press the microSD card slightly deeper into its slot until you hear a click.

    • After the click, release the card and it will pop out of its slot.

    • For reassembly, push the microSD card into the slot until it clicks in place.

  6. 52J2RI4TEZeQ11sJ
    • Remove the microSD card from its slot in the midframe.

  7. hG4veoOGQKGFuZkq
    hG4veoOGQKGFuZkq
    pDBkVSJTftaWxwFB
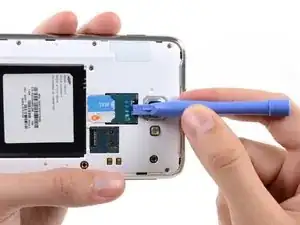
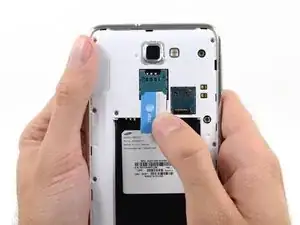
    • Use a plastic opening tool, or your fingernail, to push the SIM card out of its compartment.

  8. 3ehlDrRM3RjKad1D
    3ehlDrRM3RjKad1D
    xPbkXNKtiPj6Divg
    • Slide the SIM card out the rest of the way with your thumb and remove it from the device.

  9. hNi5V3SbxPG1DZ1M
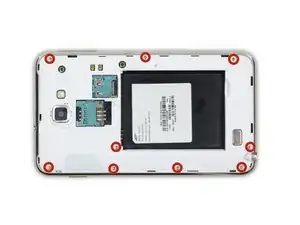
    • Remove the nine 3.4 mm Phillips #00 screws securing the midframe to the display assembly.

  10. rFPT6b3gYdjYmtS1
    rFPT6b3gYdjYmtS1
    BGPTnIyIZGYetEFv
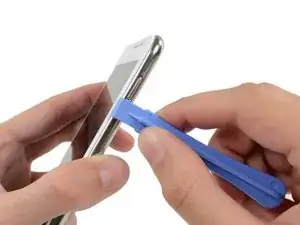
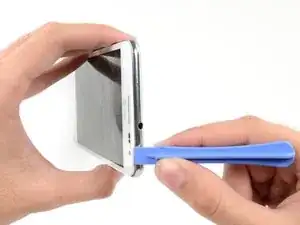
    • Insert your plastic opening tool to the left of the power button between the midframe and the front panel assembly and pry.

  11. VYiMNujtYmq4HTwa
    VYiMNujtYmq4HTwa
    Da1wnT3vJkTHsRdX
    PEMbIiI53Gg4VTUN
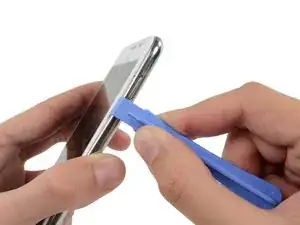
    • Slide the plastic opening tool down the seam.

  12. JdiLLBSNwDBK2cSw
    JdiLLBSNwDBK2cSw
    qLogubShioBGLvqh
    JTIw65fNcodstZe6
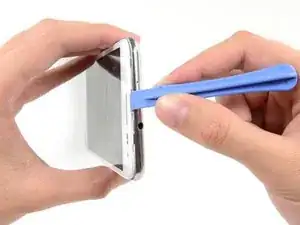
    • Insert your plastic opening tool to the left of the headphone jack between the midframe and the display assembly.

    • Slide the opening tool along the top edge of the phone.

    • Continue to run the plastic opening tool around the perimeter of the phone until the midframe is separated.

  13. PHSBcEoqFQgTMAVK
    PHSBcEoqFQgTMAVK
    4amJJFHaMvBcf13p
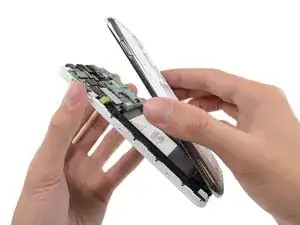
    • Remove the midframe from the display assembly.

  14. kosVNS1uAGPxAZAG
    kosVNS1uAGPxAZAG
    bLuU4EJIB16wP1hI
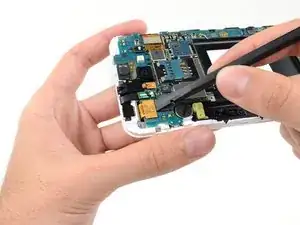
    • Use the flat end of a spudger to carefully disconnect the display cable connector.

  15. 1bFpbsFaVkKtXTpX
    1bFpbsFaVkKtXTpX
    GRsOCuglVJykACAS
    YfiK2H5wU1eNNJgA
    • Use a spudger to disconnect the front-facing camera assembly cable connector.

    • Disconnect the headphone jack/earpiece speaker assembly cable connector.

    • Disconnect the digitizer cable connector.

  16. N2UAEgSjgjErB2Qc
    N2UAEgSjgjErB2Qc
    EbBQebZEVKgPmw41
    ZnvokTfp5QYpjY2t
    • Disconnect the soft button cable connector with the flat end of a spudger.

    • Use a spudger to disconnect the USB board cable connector.

    • Disconnect the antenna cable connector.

  17. cBghSlKcHnCMGBZr
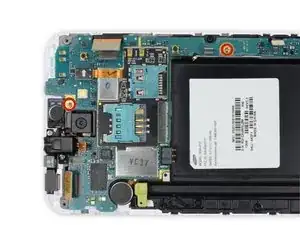
    • Remove the two 3.4 mm Phillips #00 screws securing the motherboard to the display assembly.

  18. uphlJRIiwtJI6Dxt
    uphlJRIiwtJI6Dxt
    1GqrPWFQjZMMQdKM
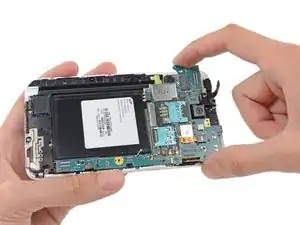
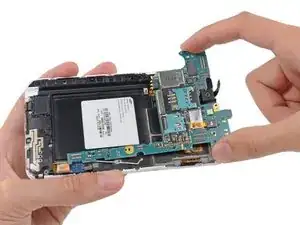
    • Remove the motherboard assembly from the display assembly.

  19. ePQPNo1Yq6K2mKVJ
    ePQPNo1Yq6K2mKVJ
    PTChbNlaJXYYy4kN
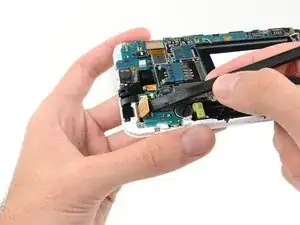
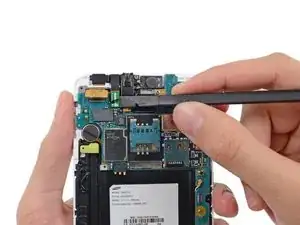
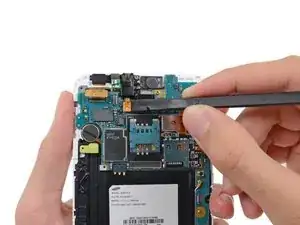
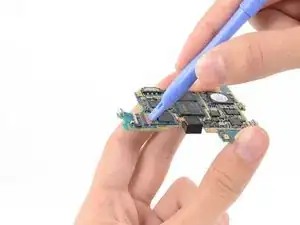
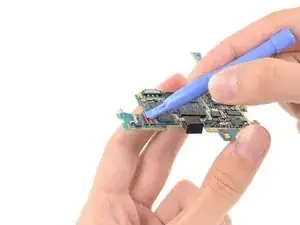
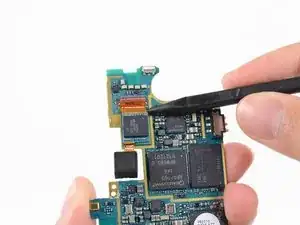
    • Use a plastic opening tool to flip the release tab on the rear-facing camera cable ZIF connector.

    • Only pry on the tab, not the connector itself.

    What's the wiring diagram for board and camets

    Blanca -

    What'd the camera wiring diagram or board diagram

    Blanca -

  20. xF6qknTlhd15q6ZN
    xF6qknTlhd15q6ZN
    ocNmhLMR6VQDPbJq
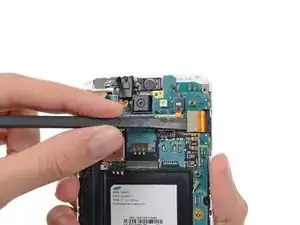
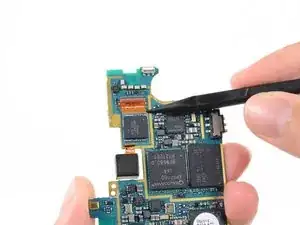
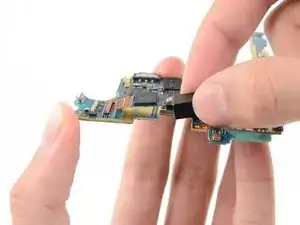
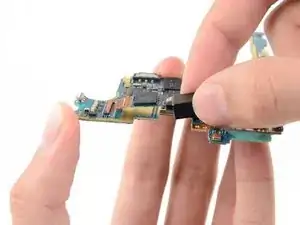
    • Slide the tip of a spudger under the rear-facing camera cable to slide it out of the ZIF connector and free it from the light adhesive.

  21. 3VUfhiZrM5SQogcJ
    • Remove the rear-facing camera.

Abschluss

To reassemble your device, follow these instructions in reverse order.
Sam Goldheart

Mitglied seit: 19/10/12

457712 Reputation

0 Kommentare