Einleitung

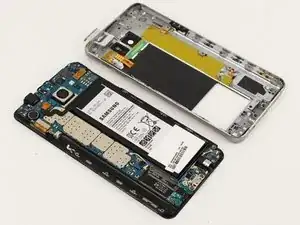
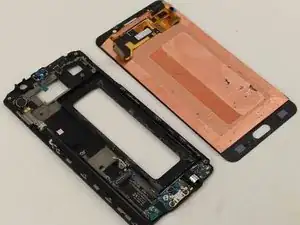
Cracked the screen on your shiny new Galaxy Note 5?Use this guide to replace a cracked or broken display on your Samsung Galaxy Note 5. In this guide, you will be melting the adhesive holding the back glass in place. Then, you will seperate the middle housing before removing the display.

Note: The display removal process usually destroys the display, so only follow this guide if you are replacing the display with a new one.

  1. pNvDqs5HyTSfMWVy
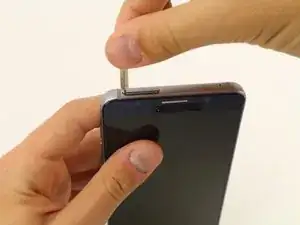
    • Insert a SIM Ejector Tool into the small hole on the left side of the top edge of the device.

    • Press down until the SIM Card Tray begins to protrude out of the device.

  2. hX1EpGJJNfyARZqx
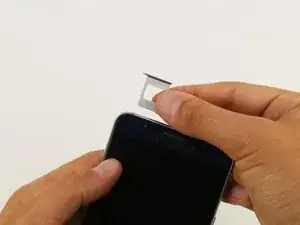
    • Remove the SIM Card Tray from the slot.

  3. dQlA5UQb6nDaIOTs
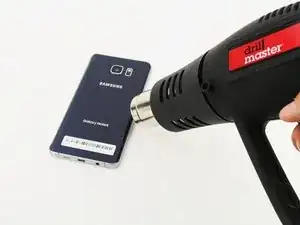
    • Heat the back of the device with a heat gun for two minutes.

  4. AAI464DBOb2RJl3R
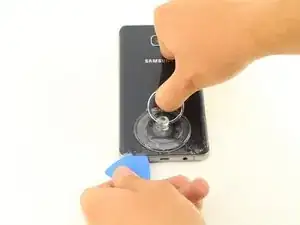
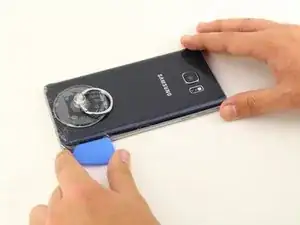
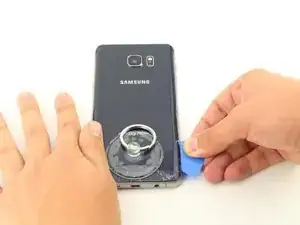
    • Once the device is very warm to the touch, place a suction cup near the bottom of the back of the device.

    • Make sure to place the suction cup on the flat part of the glass.

    • Gently pull upwards on the suction cup to separate the rear glass from the body of the phone.

    • While pulling upwards, insert a pick under the rear glass

    Ouch Didn't get it hot enough? Hopefully you ordered the back plate too, luckily they ain't too expensive

    Tuan Bui -

  5. drT6UFOoBqBAkVO2
    • Keeping the pick under the rear glass, move the pick along the bottom edge of the device to cut the adhesive.

  6. tLgvCOQafmstP2dx
    • Repeat the previous heating and cutting procedure for the remaining three sides of the phone.

    • Leave a pick on each side as you continue to the next to prevent the adhesive from resealing.

  7. 21XoNxWbgIDyRuBo
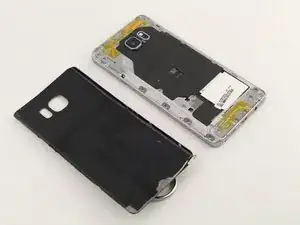
    • Once all adhesive has been cut, gently lift up the rear glass to remove it.

  8. UOGsAjYISNqWuRDY
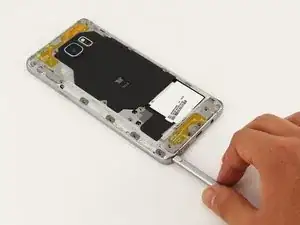
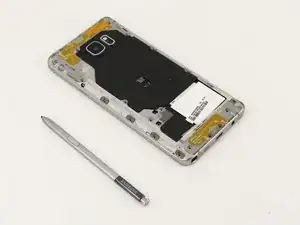
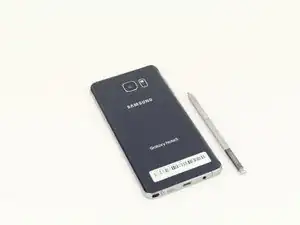
    • Remove the S-Pen from the bottom of the device.

  9. eOsExqwke6NJEb1P
    eOsExqwke6NJEb1P
    aIDAILQ4sPEQJ6Bk
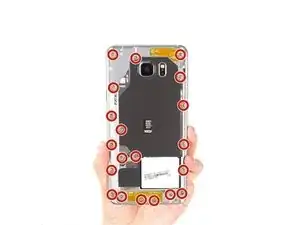
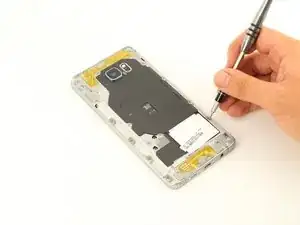
    • Remove 20 5mm screws with a Phillips #1 Screwdriver.

    Phillips #0 in my particular case?

    Emmanuel Garcia -

  10. UwNvJZLYkByLZbFD
    UwNvJZLYkByLZbFD
    TRRYUUxLDRxAhEmB
    dXMm6RPOg24EATrd
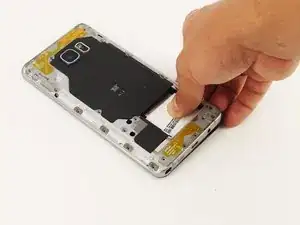
    • Grip the back of the device and press down on the white square to remove the middle housing.

  11. KfjbSCyHBy1HH4Th
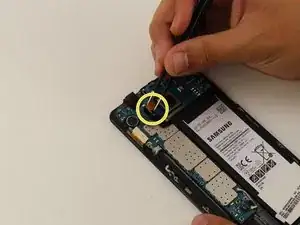
    • Loosen the two signal cable connectors.

    Not the ones at the bottom but the ones connected to the mainboard

    Emmanuel Garcia -

  12. LpX2TaXH2ySASEPH
    LpX2TaXH2ySASEPH
    XeAmSrY6iPeYMPYa
    DAqWWrOG1t21nVPy
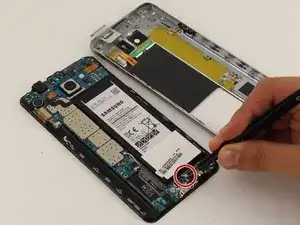
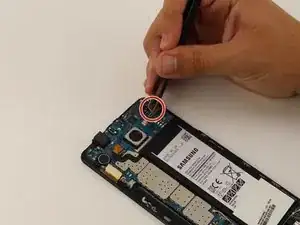
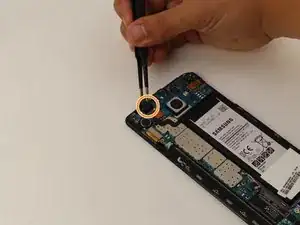
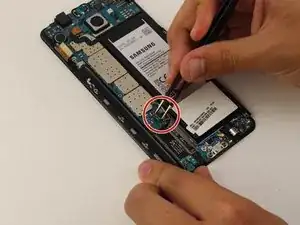
    • To disconnect flexes, carefully pull up on the exposed tab with tweezers.

    • Disconnect the battery flex.

    • Disconnect the earpiece flex.

    • Disconnect the battery flex.

    There‘s a bunch more flex cables to disconnect that are not shown here. Refer to Mainboard Replacement Guide for further details.

    Emmanuel Garcia -

  13. VYC5jJVGS1dfcb2F
    • Remove the teal navigation button flex.

  14. yHSOv3c2kRKZQhsi
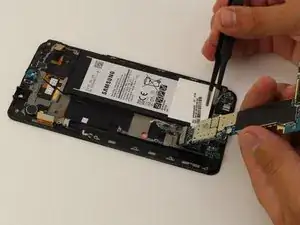
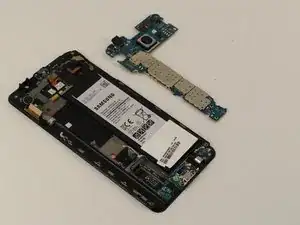
    • Gently lift up the motherboard from the top end to remove.

    • Make sure all flexes are disconnected before removing the motherboard. If the motherboard does not easily detach, remove any connected flexes.

  15. MiUPZPCfwUYtrQOG
    MiUPZPCfwUYtrQOG
    tnJIPKTUVZGKfXoi
    iAAUZKspCqbX1Fmf
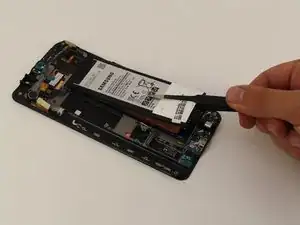
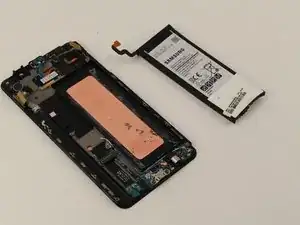
    • With the motherboard removed, slowly pry off the battery with tweezers, starting at the bottom.

    • Be careful not to puncture the battery as this could cause permanent damage.

    I use a curled plastic guitar pick to get underneath the battery. It’s a really bad idea to use metal tools for this.

    Bryan Rought -

  16. iDnKxyC2bVNTQ2XI
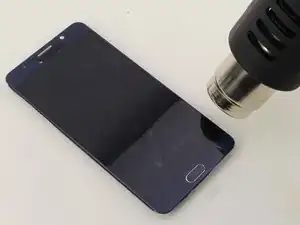
    • Heat the display for two minutes with a heat gun.

  17. Rqqtkhu1bIcAVE6P
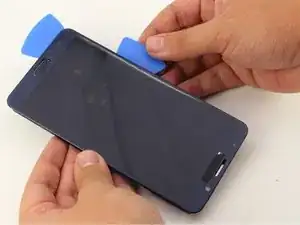
    • Once the display is very warm to the touch, slide a pick between the LCD and the LCD shield on the bottom edge of the device.

    • Slide the pick across the bottom to cut through the adhesive.

  18. cnOp4QF4wnWGJfSC
    • The display is now removed.

Abschluss

To reassemble your device, follow these instructions in reverse order.

Alexander Laucius

Mitglied seit: 19/04/18

1479 Reputation

6 Kommentare

Worked like a charm

Ronald Sapp -

How does one bond everything back together?

lcplthomasc -

I am working in fixing my own Note 5. I have heard that double-sided tape made specifically for this task are best. You can find different options here: https://www.magazingsm.ro/adeziv-geam-si...

Cristina -

I have now replaced the display on my Note 5 and actually I didn’t even use the glue I bought. The original glue is quite a lot and the new display comes with glue on the back of it. Thanks again, Alexander, for your helpful instructions!

Cristina -

This was very helpful. Many thanks to the author. may God add many years to his life.

Peterson -
You say no u hing about being careful about the switches ribbon cables or thr push button. I guess you assume that it come as part of the screen assembly. Will it doesn't. Complete moron to leave a step out of the instructions.

Dick foru -