Einleitung
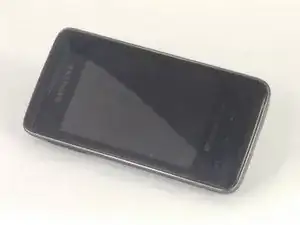
By following this guide you should be able to replace the headphone jack in 10-20 minutes. By replacing the headphone jack, you will fix any headphone related audio issues such as static, muffled sounds, or poor earphone audio quality.
Werkzeuge
-
-
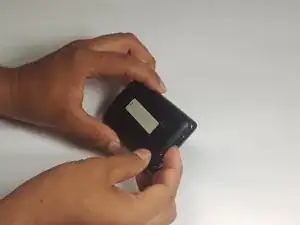
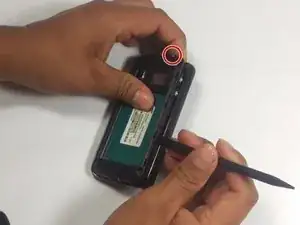
Using your hands, carefully remove the back panel by popping the open slit, near the headphone jack, outwards.
-
-
-
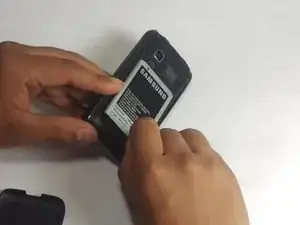
Using your fingernail or nylon spudger, remove the battery by lifting upward in the recess of the bottom right corner.
-
-
-
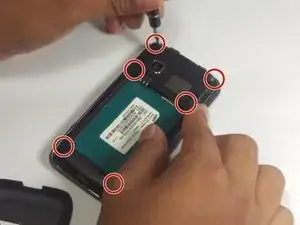
Using the nylon spudger, carefully unhinge and pry the secondary rear panel using the recessed tabs on the left and right sides.
-
-
-
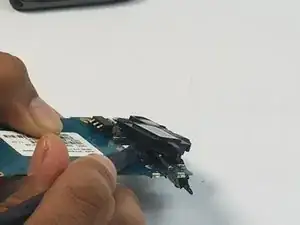
Using the spudger lift the speaker assembly upward, so you may have access to the headphone assembly.
-
-
-
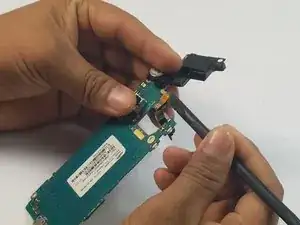
Using the spudger, carefully unplug and remove the headphone port assembly by lifting upward on the ribbon cable.
-
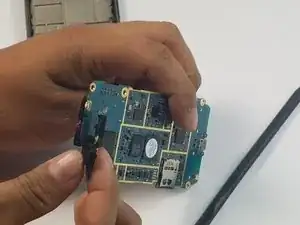
The headphone jack should lift off of the motherboard.
-
To reassemble your device, follow these instructions in reverse order.
