Einleitung
Werkzeuge
-
-
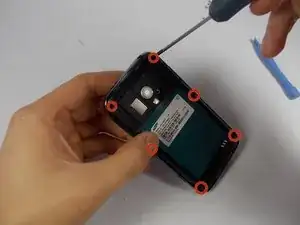
With a small phillips-head screw driver, remove the six screws holding the back panel in place.
-
-
-
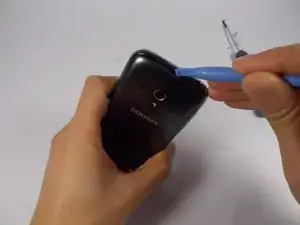
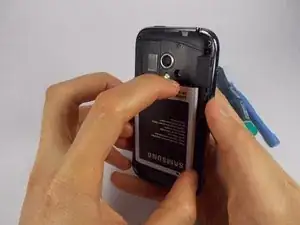
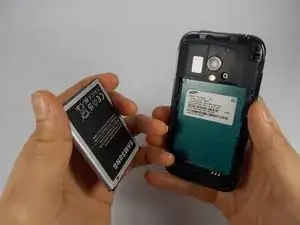
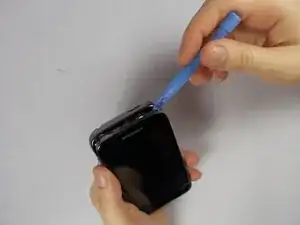
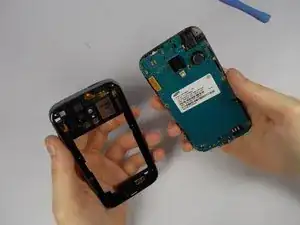
Use the pry tool to pry the back panel from the rest of the phone. Pry from the edge closest to the screen for simplicity.
-
-
-
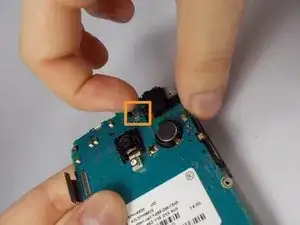
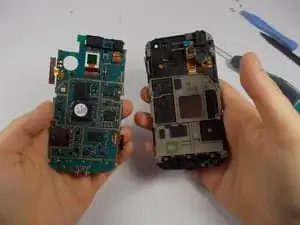
Using tweezers, gently lift connectors from motherboard.
-
A connector will be on the upper left
-
The second connector is located towards the top of the phone. Above the camera. It comes off with ease.
-
-
-
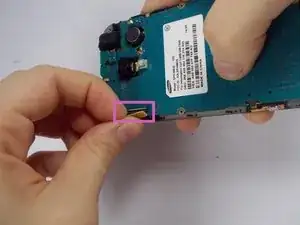
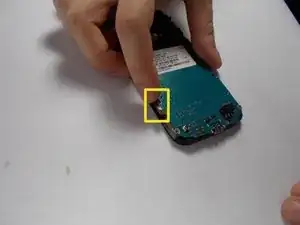
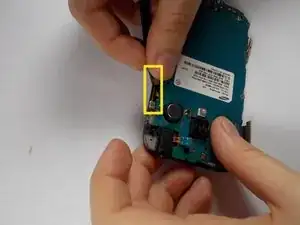
Use the tweezers to carefully remove the 2 adhesive orange ribbons.
-
These stay attached to the motherboard so be careful not to break them.
-
They are on the side of the phone.
-
-
-
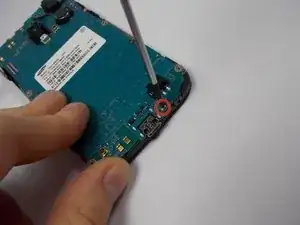
Use a philips-head screwdriver to remove the single screw on the bottom of the phone. Located to the right of the charging port.
-
-
-
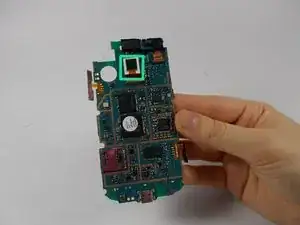
Hold the motherboard with the circuits facing towards you
-
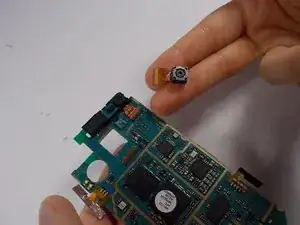
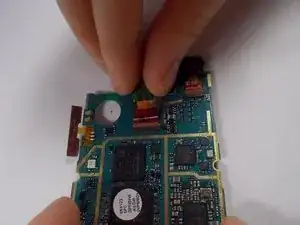
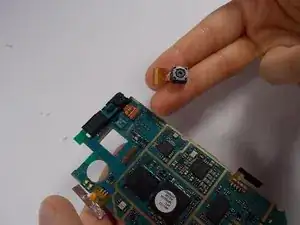
Gently take the back camera with two fingers and pull up-wards. A wiggle may help.
-
To reassemble your device, follow these instructions in reverse order.
