Einleitung

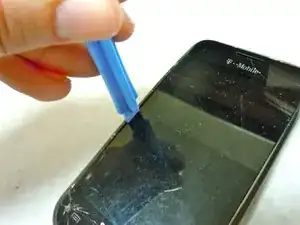
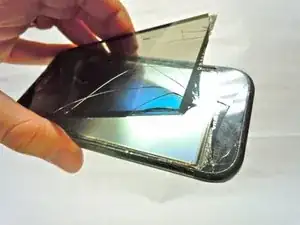
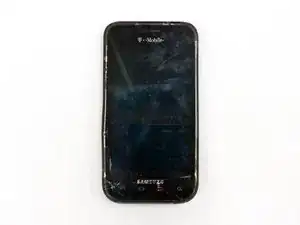
Drop your phone one too many times? Cracked screen? Replace it quickly and at a low cost by following this guide.

  1. UikZogRNCMwpwYq4
    UikZogRNCMwpwYq4
    SCBfUteKAXbJSmJP
    4Ddoo2VoV4BoGPaf
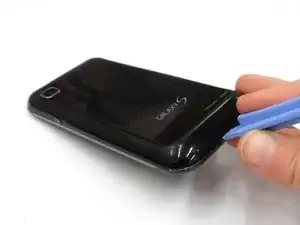
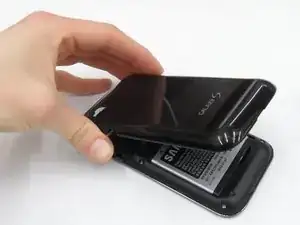
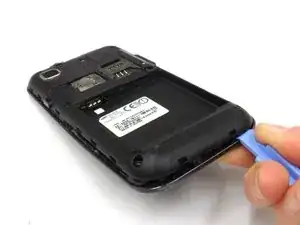
    • Locate the small slit on the bottom edge of the device between the back and front cases.

    • Pop the back case off by inserting your finger and pulling the case away from the phone.

    • If necessary (it shouldn't be), use the Plastic Opening Tools to pry the back case off.

  2. Qd1RTweupSHDICUD
    Qd1RTweupSHDICUD
    WPx1lBaLrOSgJgDt
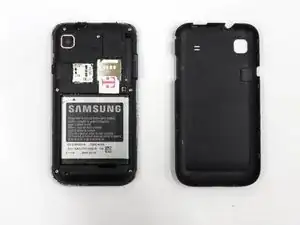
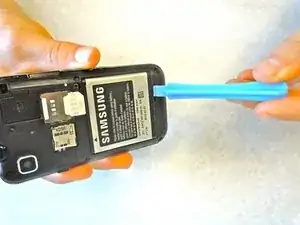
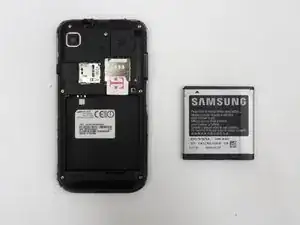
    • Remove the battery by pushing the bottom edge of the battery up and away from the phone

    • If you would prefer, you may use the Plastic Opening Tools for this step as well.

  3. FPwZVFJUnjxWcBV2
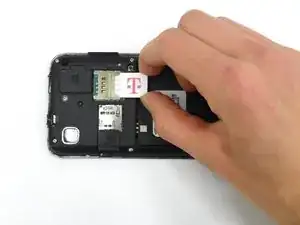
    • Remove SIM card by pushing down and away from the slot, then pulling it out toward the bottom edge of the phone.

  4. Np3AdaYVFgrEK3iU
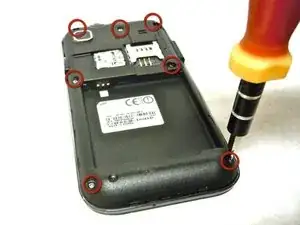
    • Remove the seven 4.5 mm Phillips #00 screws along the perimeter of the phone.

  5. 5pCHnh1Z4AIS6Zxy
    5pCHnh1Z4AIS6Zxy
    dHYoaBb5yisSbhxs
    ptAAU6FpVeEo5wmD
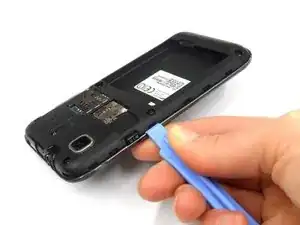
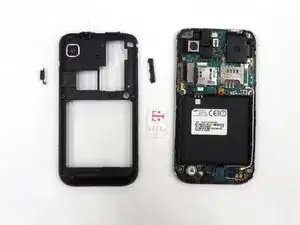
    • Staring near the power button, use a plastic opening tool to disengage the plastic clips securing the midframe.

    • Work carefully, and disengage all of the clips before removing the midframe.

    • The power button and the volume control button on the sides of the phone will fall out when the midframe is removed.

  6. QOFEA2lvXGFRaYJa
    QOFEA2lvXGFRaYJa
    WBAVreYi1VHGhhdi
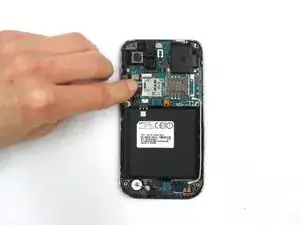
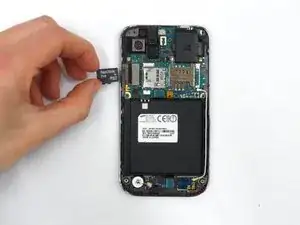
    • Slide the SD card out of its slot.

  7. VOYuqbmeMGUwEitB
    VOYuqbmeMGUwEitB
    ZJhYwqZEqvwWZIgZ
    U2fsSppw2nrAkZ6I
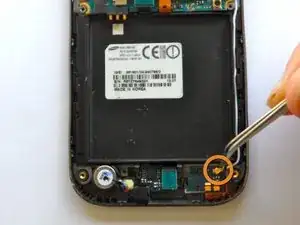
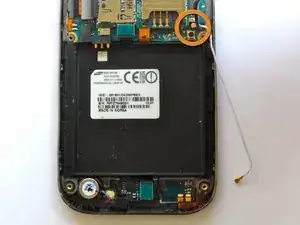
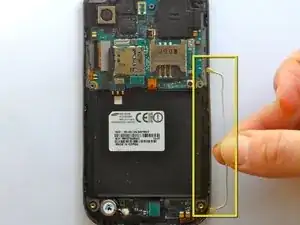
    • Disconnect the antenna using Tweezers. Do the lower end first, and then the upper.

    • Do the lower end first, and then the upper.

    • Pull the antenna cable out.

  8. tbX4lPQXQCNv2bWJ
    tbX4lPQXQCNv2bWJ
    6lsUJLdFOYFIhQLL
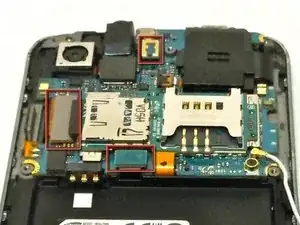
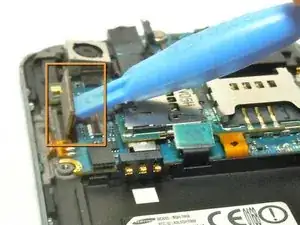
    • Locate the three snap on ribbon cable connectors on the motherboard.

    • Carefully disconnect the ribbon cable connectors using the Plastic Opening Tools.

  9. qXldijAYuaj4eCTV
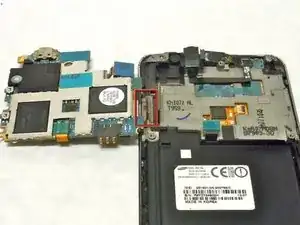
    • With the three ribbon cable connectors detached, the motherboard can be folded over to the left.

    • Take care when moving the motherboard not to allow any of the ribbon cables to be pulled on.

    • The motherboard will still be connected to the body of the phone by the power button's ribbon cable, which is glued in place.

  10. pXtaUxIhutmMBksp
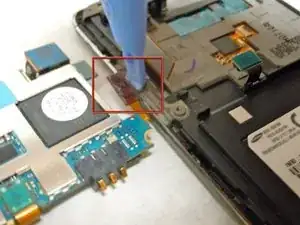
    • Remove the power button ribbon cable from the body of the phone by using the Plastic Opening Tools.

    • Take care to not damage the button itself or its connecting ribbon cable when detaching the button.

    • The glue which holds the button in place will remain tacky allowing the button to be replaced without the need for additional glue.

  11. 2ioB5dA3gFredSNR
    2ioB5dA3gFredSNR
    vWY22tlwebPMlNpT
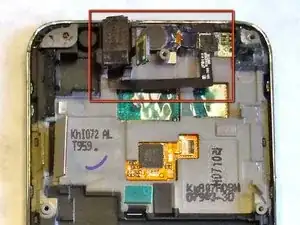
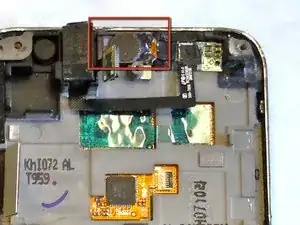
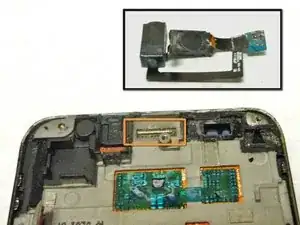
    • With the motherboard removed, the Headset Jack and Ear Speaker are now accessible.

    • Use the Plastic Opening Tools to gently pry up the Headphone Jack to remove it from the body of the phone.

    • The Headphone Jack is held in place with adhesive that will remain tacky after being removed, allowing it to be replace without the need for additional glue.

  12. IoxarqCg3NjcxNSP
    IoxarqCg3NjcxNSP
    H5ZirtID5etUJCDK
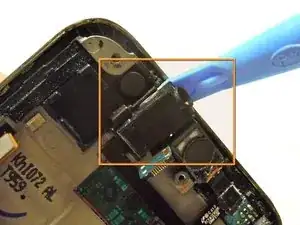
    • Disconnect the Ear Speaker from the body of the phone be gently prying up the speaker using the Plastic Opening Tools.

    • The connection holding the Ear Speaker in place is the same kind as the snap on ribbon cables that were disconnected in a previous step.

    • With the Headphone Jack and Ear Speaker both disconnected from the body of the phone, they can be removed from the phone and set aside.

  13. KXmGLDdF2HZFTnmF
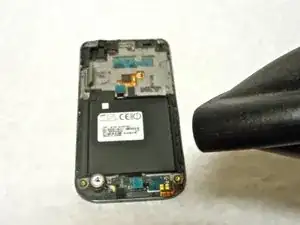
    • Use a heat gun or hairdryer to loosen the adhesive that secures the touch panel to the screen assembly.

    • Wear heat resistant gloves when removing the screen.

  14. NmHtSwOCNZMZfVsv
    NmHtSwOCNZMZfVsv
    RNOHZqs1ShsUwwIC
    • Use a plastic opening tool or guitar pick to carefully remove the touch panel from the screen assembly.

    • Start from the top edge and carefully wedge your tool between the screen and frame.

    • Carefully slide your tool along the framework.

    • If the screen is cracked, cover the face in masking tape to prevent broken glass from chipping off.

    • You may need to reheat the adhesive as you work around the edges.

Abschluss

To reassemble your device, follow these instructions in reverse order.
Taylor Catlin

Mitglied seit: 16/01/13

79 Reputation

0 Kommentare