Einleitung
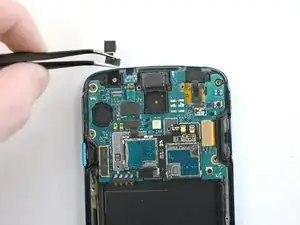
If you've noticed that your selfies are foggy or dark, use this guide to replace the front facing camera in your Samsung Galaxy S4 Active.
Please keep in mind that replacing components in waterproof devices may hinder the waterproof seal.
Werkzeuge
Ersatzteile
-
-
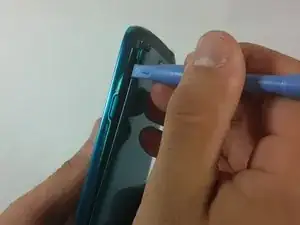
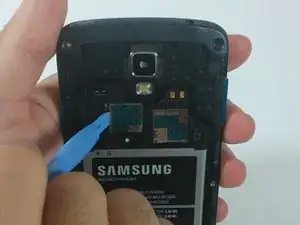
Pry with a plastic opening tool, or your fingernail, in the divot to the left of the rear-facing camera, near the power button.
-
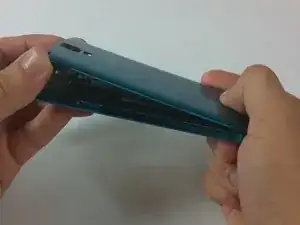
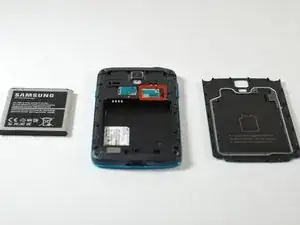
Lift the rear case by the corner nearest the divot and remove it from the phone.
-
-
-
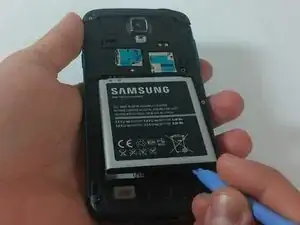
Insert a plastic opening tool, or your finger, into the notch of the battery compartment and lift the battery upward to remove it.
-
-
-
Use a plastic opening tool, or your fingernail, to press the microSD card slightly deeper into its slot until you hear a click.
-
After the click, release the card and it will pop out of its slot.
-
Remove the microSD card.
-
-
-
Use a plastic opening tool, or your fingernail, to press the SIM card slightly deeper into its slot until you hear a click.
-
After the click, release the card and it will pop out of its slot.
-
Remove the SIM card.
-
-
-
Use the tip of a spudger to remove the four metallic pads located in each corner of the device.
-
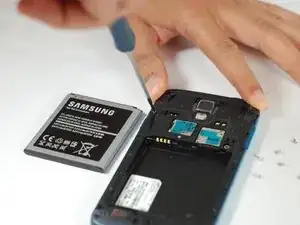
Using a Phillips #00 screwdriver, remove the 12 screws connecting the midframe to the device.
-
-
-
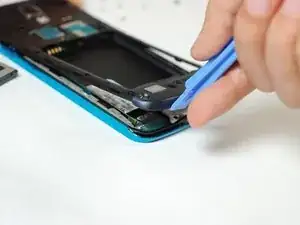
Use the plastic opening tool to pry around the entire edge of the midframe now to release it from the front case.
-
-
-
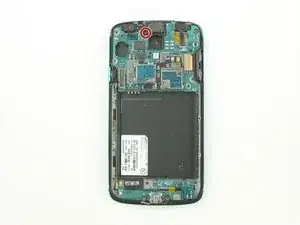
Using the Phillips #00 screwdriver, remove the single 0.3mm screw securing the black cover over the camera sensor.
-
-
-
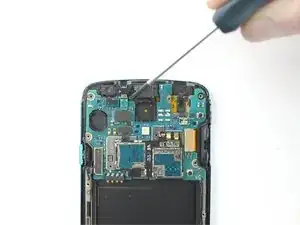
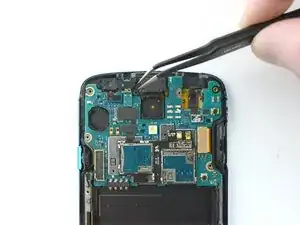
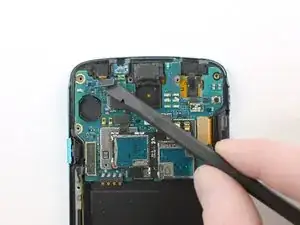
Using a spudger, disconnect the blue press-fit connector by pulling up gently.
-
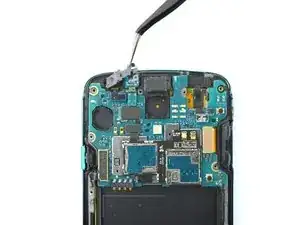
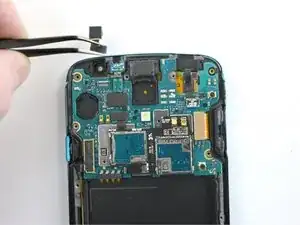
Lift the front-facing camera out of the device.
-
To reassemble your device, follow these instructions in reverse order.
