Einleitung
To replace the 16 megapixel rear-camera, follow the steps to remove all previous components required. Take full precaution when operating tools such as heat guns, as they can cause potential health hazards.
Werkzeuge
-
-
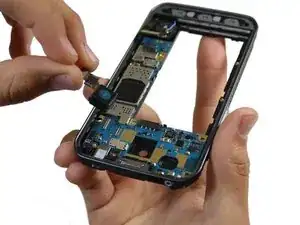
Insert your fingernail or plastic opening tool into the divot at the top of the rear-facing camera.
-
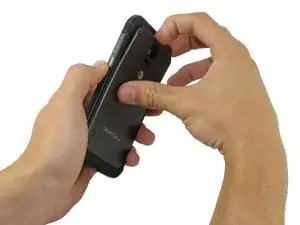
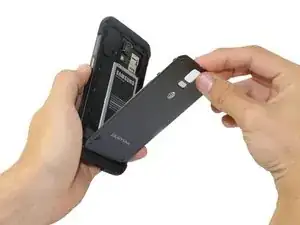
Gently pry and twist the flexible rear cover off the back of the phone.
-
-
-
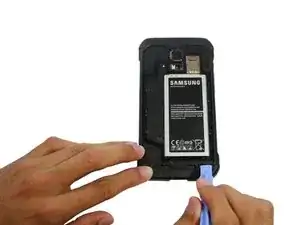
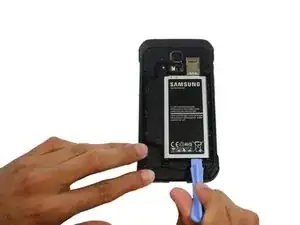
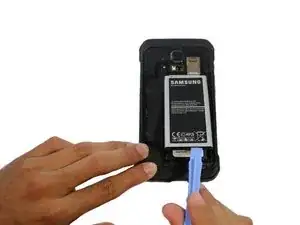
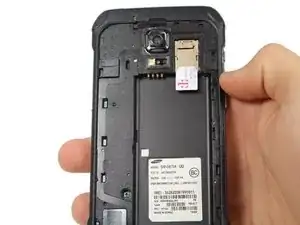
Insert a fingernail or plastic opening tool into the recess in the bottom right corner of the battery and lift upward.
-
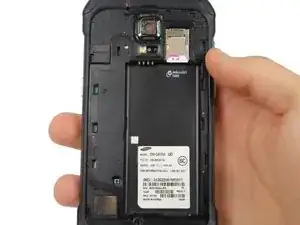
Remove the battery away from the phone.
-
-
-
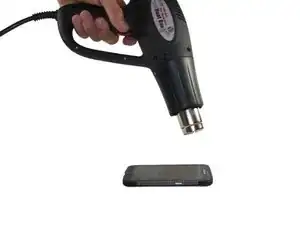
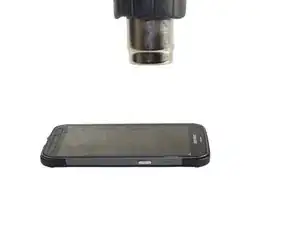
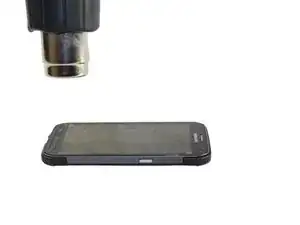
Use a heat gun at an approximate distance of 2-3 inches from the phone to apply heat to the phone and loosen up the adhesive in the display.
-
-
-
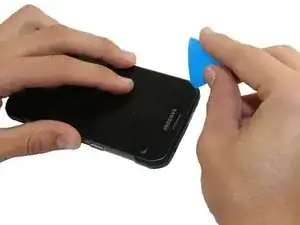
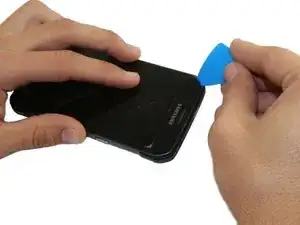
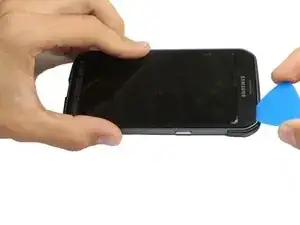
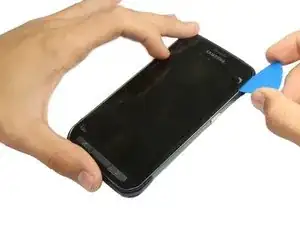
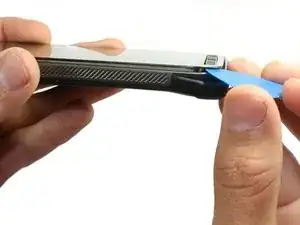
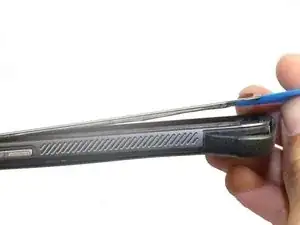
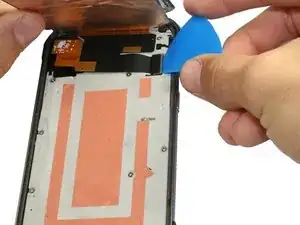
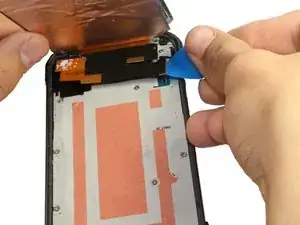
Starting from the upper left corner, insert a guitar pick in between the display and the phone case.
-
-
-
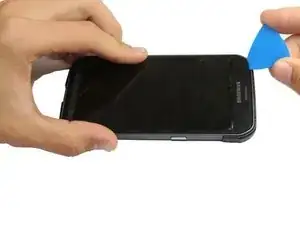
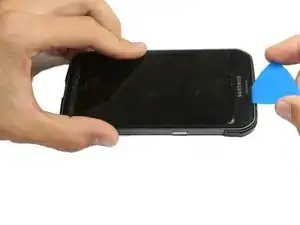
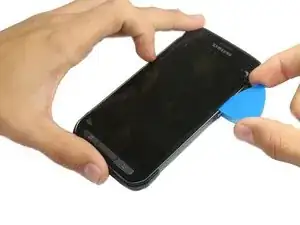
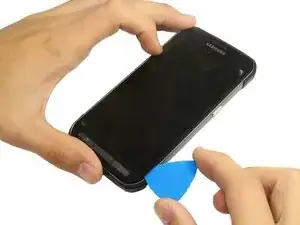
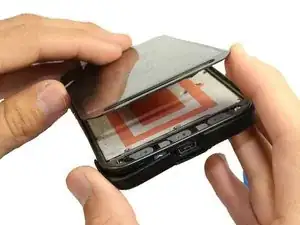
Use the pick to pry the sides and lower part of the display by sliding the pick through the phone.
-
-
-
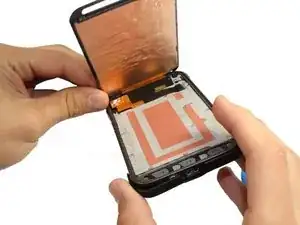
Use the sharp tip of a guitar pick to lift the front panel assembly cable connector straight up off its socket on the motherboard.
-
Safely remove the front panel assembly from phone.
-
-
-
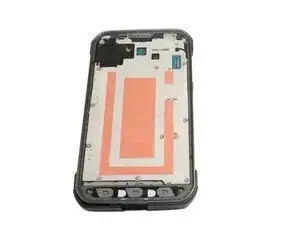
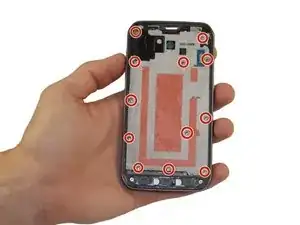
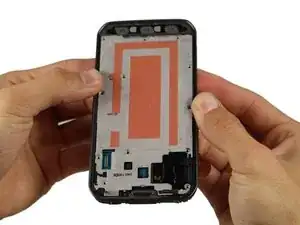
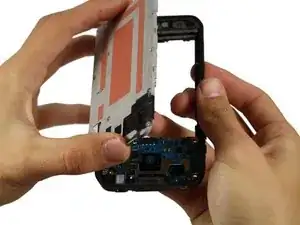
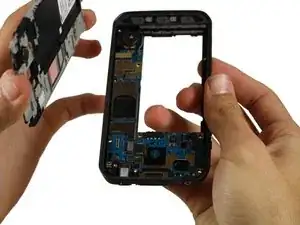
Push upward from the back side your phone (where the battery should go) to pop out the large gray piece.
-
-
-
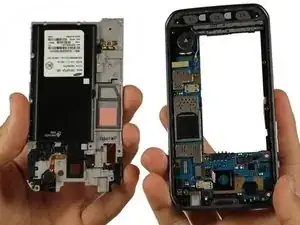
You should now have two different pieces. To continue we will only use the piece with the motherboard (Shown on the right side of the picture).
-
-
-
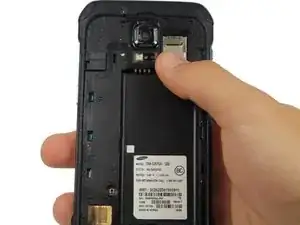
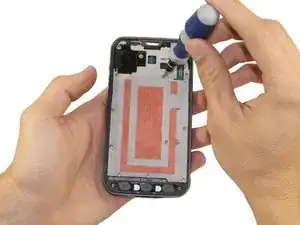
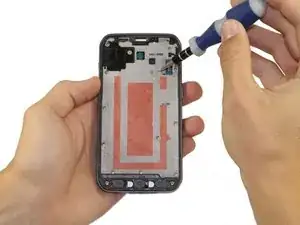
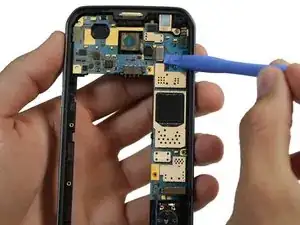
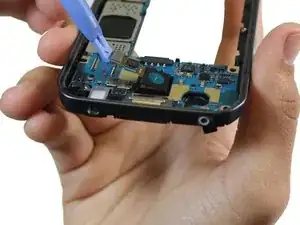
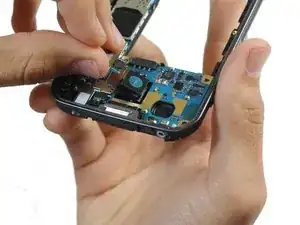
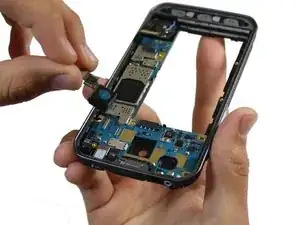
Use your finger or a plastic opening tool to disconnect the rear-facing camera from the motherboard.
-
To reassemble your device, follow these instructions in reverse order.
6 Kommentare
Where did you purchase the replacement camera/lens?
Same here. I only need the lens cover.
On ebay sales

Great looking guide with well lit pictures and very concise bullet points.
Rusbell Gonzalez -