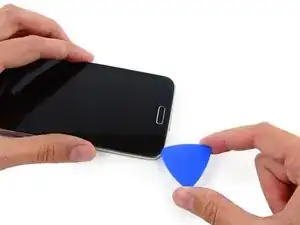
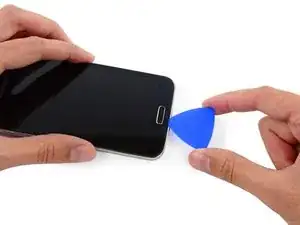
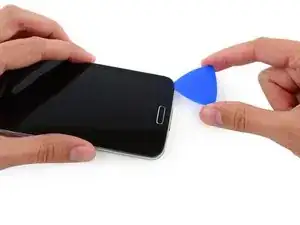
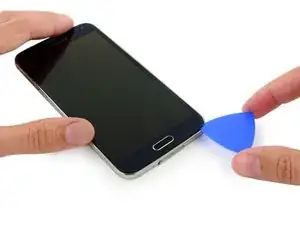
Einleitung
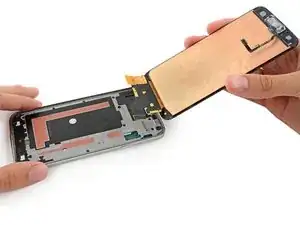
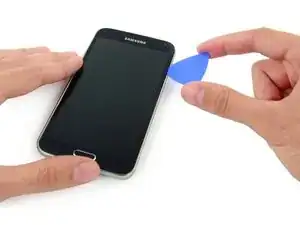
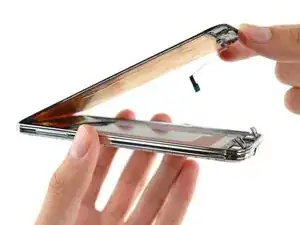
Verwende diese Anleitung, um die Display Einheit zu ersetzen, die das Frontglas, Digitizer und Home Button Kabel beinhaltet.
Werkzeuge
Ersatzteile
-
-
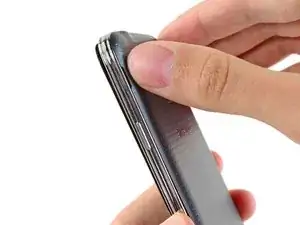
Gehe mit dem Fingernagel oder einem Plastic Opening Tool in die Einkerbung links neben der Rückkamera.
-
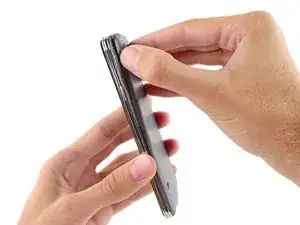
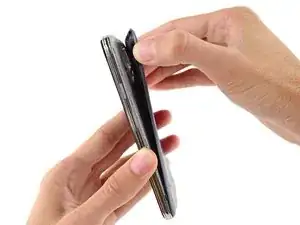
Entferne das flexible Rückgehäuse vorsichtig durch Hebeln und Verdrehen von der Rückseite des Gerätes.
-
-
-
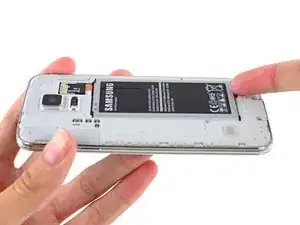
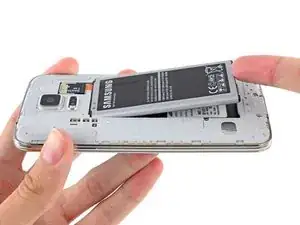
Gehe mit einem Fingernagel oder einem Plastic Opening Tool in die Einbuchtung in der rechten unteren Ecke des Akkus und hebe ihn nach oben.
-
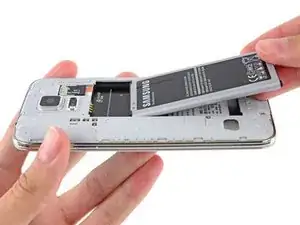
Entferne den Akku von deinem Gerät.
-
-
-
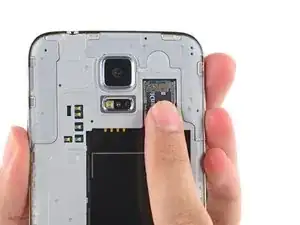
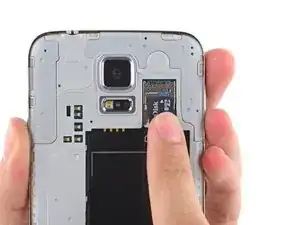
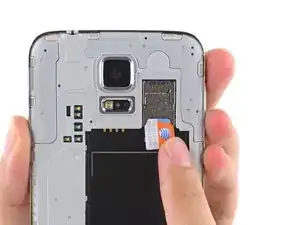
Hole die microSD Karte von Hand aus dem Slot.
-
Entferne die microSD Karte von deinem Mobiltelefon.
-
-
-
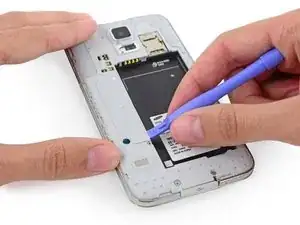
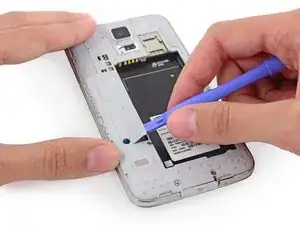
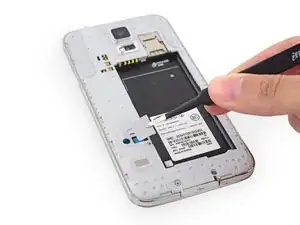
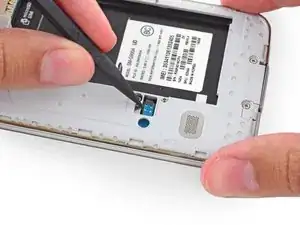
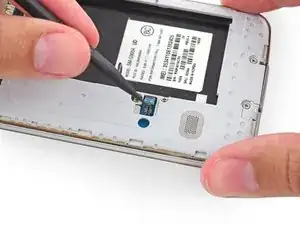
Verwende ein Plastic Opening Tool, um das Mittelrahmen-Anschlussplatte aus Kunststoff nach oben zu hebeln.
-
Entferne die Anschlussplatte mit einer Pinzette.
-
-
-
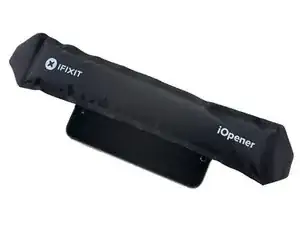
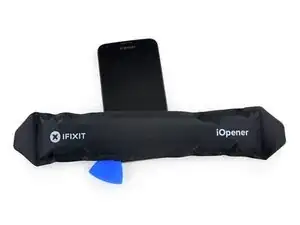
Platziere den erhitzten iOpener für mindestens 90 Sekunden auf der linken Seite des Mobiltelefons.
-
Wärme den iOpener wieder auf und platziere ihn auf der rechten Hälfte des Gerätes.
-
-
-
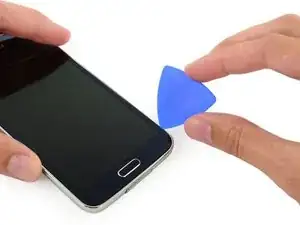
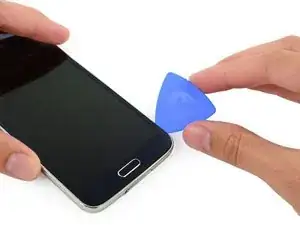
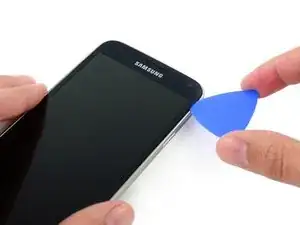
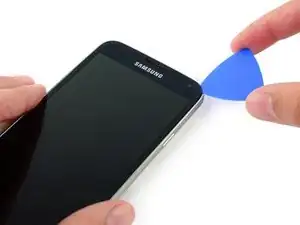
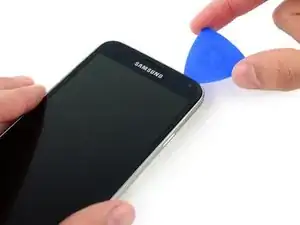
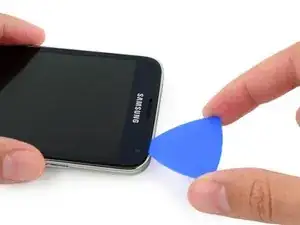
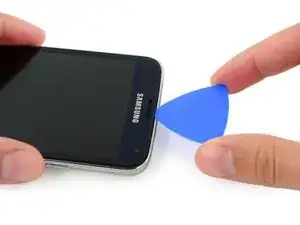
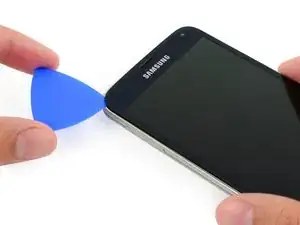
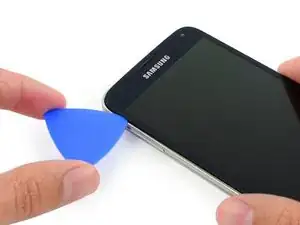
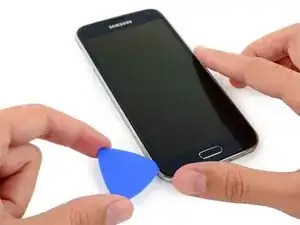
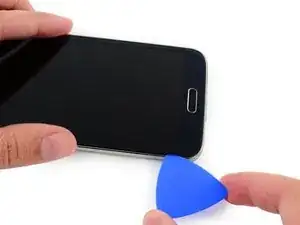
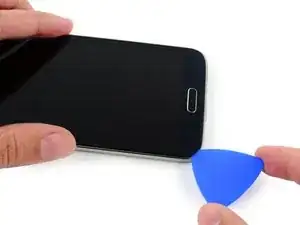
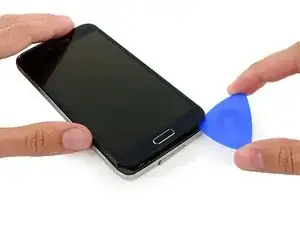
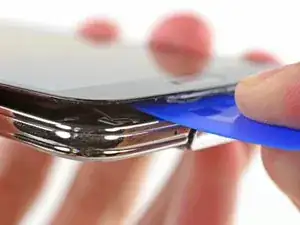
Führe die Kante eines Opening Picks unterhalb der rechten unteren Ecke des Frontglases ein.
-
-
-
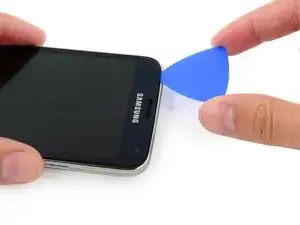
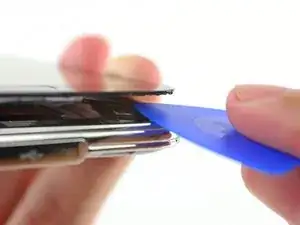
Fahre das Opening Pick entlang der Oberseite des Mobiltelefons und sei dabei vorsichtig, das Pick nicht zu tief einzuführen.
-
-
-
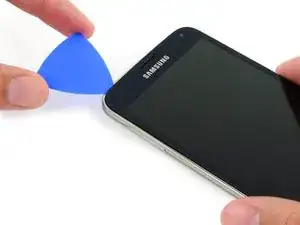
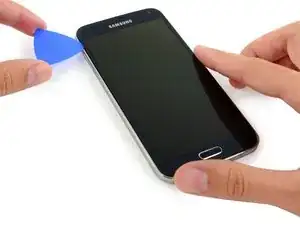
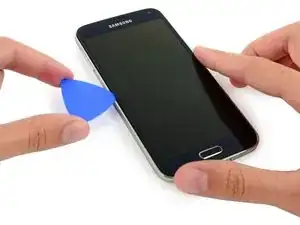
Fahre das Opening Pick entlang der linken Hälfte des Mobiltelefons und stoppe an der unteren linken Ecke.
-
-
-
Fahre mit dem Pick entlang bis zur linken unteren Ecke des Mobiltelefons und gehe sicher, dass es richtig platziert ist.
-
-
-
Fahre mit dem äußersten Ende von einem Opening Pick entlang der unteren Kante des Displays, um den letzten verbleibenden Kleber zu lösen.
-
-
-
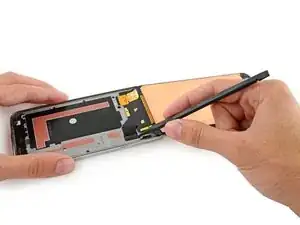
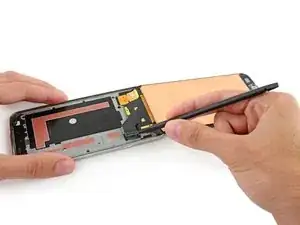
Führe ein Opening Pick unter die Soft Button Icons auf dem Display ein und heble die Button Kabel auf der Innenseite des Front Panels ab.
-
-
-
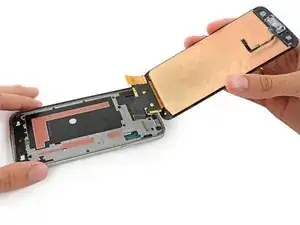
Hebe den Kabelstecker der Front Panel Einheit mit der Spudgerspitze aus seinem Anschluss auf dem Logic Board.
-
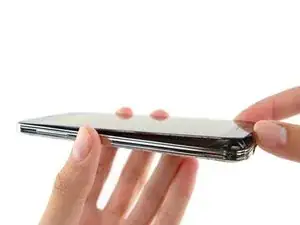
Entferne die Front Panel Einheit vom Mobiltelefon.
-
Arbeite die Schritte in umgekehrter Reihenfolge ab, um dein Gerät wieder zusammenzubauen.
36 Kommentare
Be aware that the LCD is glued not just at the edges, but also in the middle (the orange areas in the photos for Step 20. These can adhere strongly enough to cause the LCD to crack. Don't ask how I know that.
I cracked it this way, so yeah. Any way to get the glue fluetly enough to get the LCD off the rest of the Phone? (the LCD and digitalizer is cracked anyway)
Onfortunately I read this to late. Many thanks anyway for confirming I'm not the only one ;)
Been there man. Had my Samsung Galaxy S5 Active pull one of those numbers. not a fun time.
Just found out about that, during my first time. Thanks for the tip.
Am I missing something?
How does it get re glued when you reverse the process? Doesn't it need to be re glued so water doesn't get into the hardware past the screen?
That would be my concern, the phone not being waterproof after the repairs are completed.
Thanks for your insight. Guide is done very well.
Bogdan.
I agree Bogdan Georgescu, the step of adding a new screen is not covered in these instructions but would be very helpful to know if anyone has experience? The instructions are wonderful to help you remove a screen, but the process of replacing is lacking for me. Has anyone had success replacing a screen that primarily has had surface damage? (I pay a monthly insurance fee on my galaxy s5 phone. But in addition, if I wanted to replace it, it will cost another $200 to get a replacement (refurbished - someone else's junk?) phone. I'd rather chance starting with replacing my screen myself, with the help from this online community if possible? Thank you!!! Karen
Karen -
They don't use glue, they use double sided adhesive that is not easy to find. 3M double sided tape works well but I have had screens come up when using the 3M adhesive. So yes you need to apply adhesive before install of new screen to keep it water resistant. The phone is and never was waterproof just resistant and I recommend using the best double sided tape you can get as you will fudge up the already adhered tape.
As mentioned above, the screens are held down by double sided tape, usually made by the 3M company. But most other good quality tape can do the same. The proper tapes are cut perfectly to fit all the little adge bits of the casing-to-screen, and that's all that makes it waterproof.
A thing to remember is, most people loose the charger cover anyway, so worrying about a perfect screen seal from water doesn't matter then I guess as water will just flow in anyway.
The screen isnt really waterproof, its just water resistant, so it's okay for the odd splash, but drop it in a bucket, and it's probably ruined :-( unless the bucket is empty of course ;-) When I refit a screen, i put a 5mm strip of my own tape down the centre (it MUST be the thinnest tape possible!!) and that helps keep the screens in place, but that idea varies from one phone model to another.
I replaced my midframe, but I cut the cables to the back and menu buttons. I also ripped some of the foil on the back of my screen, but that didn't seem to hurt anything.
