Einleitung

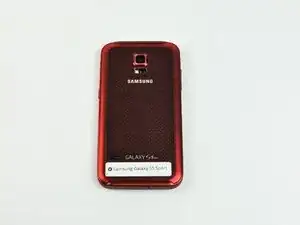
This guide will show you how to replace the back facing camera on this device. This guide requires removal of the screen, buttons, battery and protective plate. This may mean that to replace this camera, other parts of the device must be replaced as well.

  1. FM3fjMeaOyLGlyPd
    FM3fjMeaOyLGlyPd
    OLLZPiMmtZUmoFHA
    WNVDZBZbkOZWDxUd
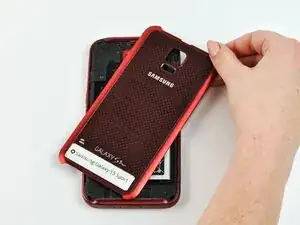
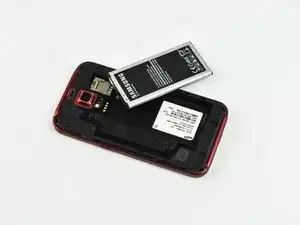
    • Remove the back casing of the phone using the notch located at the top.

    Attention! This is under no circumstances a moderate repair!!! Most likely you'll break the LCD trying to it from the frame.

    Nothing is moderate difficulty with this phone except replacing the battery.

    If your screen/LCD is already damaged than it's easy because you don't care about it anymore.

    The part itself is around $200. You've warned!

    Marius -

  2. Idjclw6X6xgtDJZH
    Idjclw6X6xgtDJZH
    SS2CjxKG5dEZV2cF
    Vef6kx1VilN2GDDp
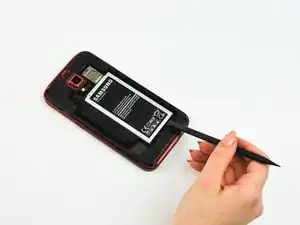
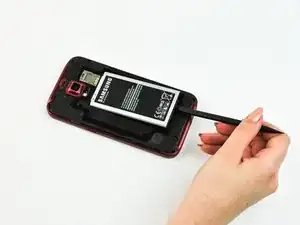
    • Lift up the battery using a plastic spudger or fingernail.

    • Damaging the battery may result in physical injury and/or damage to the phone.

  3. CUJBLmadHdQHXW1L
    CUJBLmadHdQHXW1L
    4tDKsnDhRcQItJmr
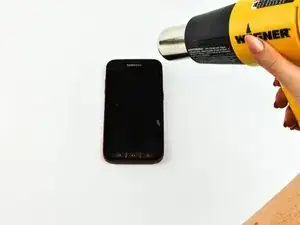
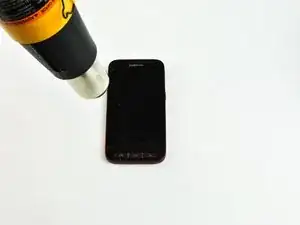
    • Turn on the heat gun.

    • Make sure you don’t touch the metallic tip. You will burn yourself.

    • Hold the heat gun roughly 6 inches away from the screen of the phone and slowly run the heat around the edge of the screen.

    • Keep at least 6 inches of distance from the screen. Keep moving the heat around to avoid warping the phone screen or internal parts.

  4. oZFDVVi3LXOwtZwq
    oZFDVVi3LXOwtZwq
    TcBd6xJQpwsOBvwW
    ClVhbac5JcKoZZ4E
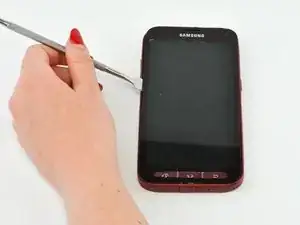
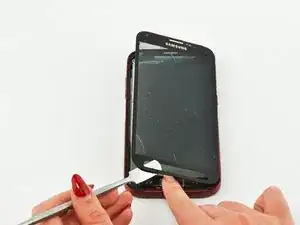
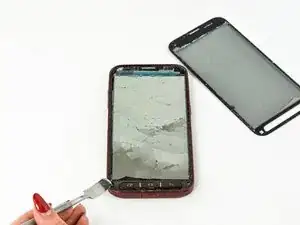
    • Using a plastic opening tool or spudger, pry up the screen after the adhesive has melted.

    • When working with electronics, it's important to choose a tool that's ESD-safe to avoid accidental damage to the device. The metal spudger is great when you need serious prying power, but the regular black nylon spudger or a plastic opening tool should be used whenever possible.

    • Because it is a water-resistant phone, the screen cannot be taken apart without breaking.

  5. MpHvLgL6CAUS3whY
    MpHvLgL6CAUS3whY
    htWcLZpOpLpwuJvM
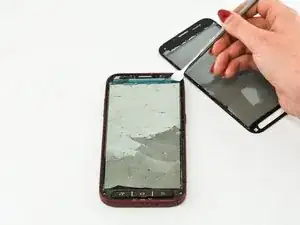
    • The plastic cover of the phone may separate from the LCD screen. If so, also remove the LCD screen with the regular nylon spudger.

    • In the upper right area of the LCD screen, there is a connecting ribbon. Be careful not to rip its connection to the motherboard.

    • Do not hold the phone too close to your face or eyes. Small glass shards may dislodge or the metal spudger may slip.

  6. XxACk6nOKe23VQK4
    XxACk6nOKe23VQK4
    TUV1r35nHvEvrTb1
    JydTtTfM1YhrjNNU
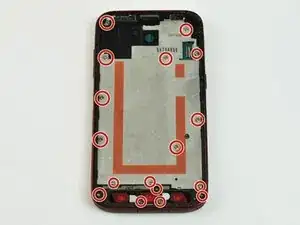
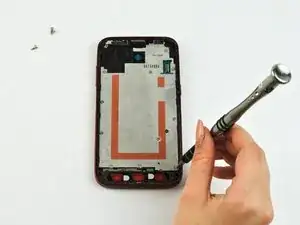
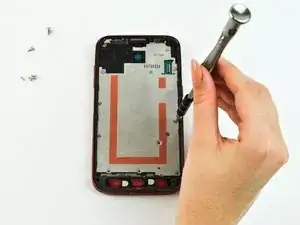
    • Remove the seventeen screws around the plate.

  7. AyDGkwkHHEUkhWUK
    AyDGkwkHHEUkhWUK
    thRpuH4nMRUiXVki
    bBAZENyvFMDbwLdE
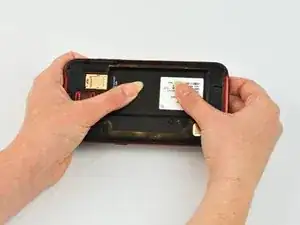
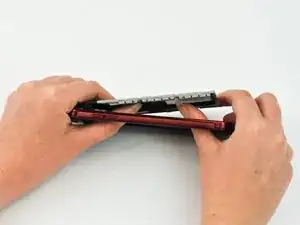
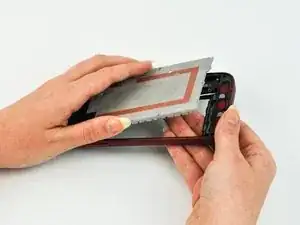
    • Push the plate out by applying pressure to the battery cavity.

  8. nC2fYFVHQEcWTaQB
    nC2fYFVHQEcWTaQB
    HFSF66upZyCgjkJ2
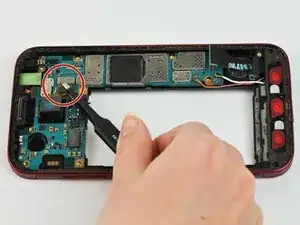
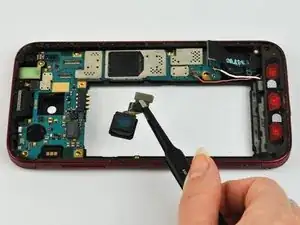
    • Remove the back facing camera from the top of the phone by first disconnecting the ribbon cable from the connector with a spudger or tweezers.

    • Apply delicate pressure.

Abschluss

To reassemble your device, follow these instructions in reverse order.
Samantha McGilvray

Mitglied seit: 25/02/16

154 Reputation

0 Kommentare