Einleitung
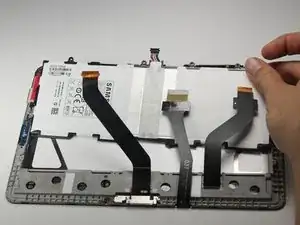
You will first need to remove the back panel of the device to gain access to the battery housing. There are four total cables to disconnect before the battery comes free: one power cable that runs between the motherboard and the battery itself, and three ribbon cables that inhibit access to the battery. A small electronics screwdriver, preferably a Phillips #00, will remove the screws holding the battery in its housing. From there the battery can be replaced.
Werkzeuge
Ersatzteile
-
-
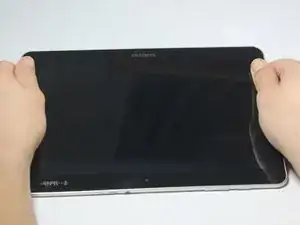
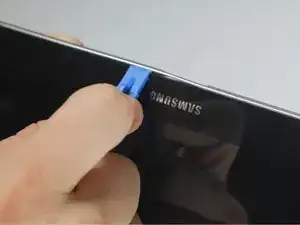
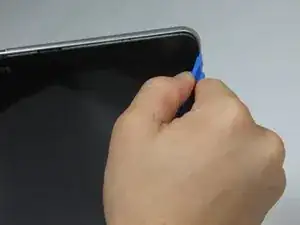
Using the plastic opening tool, start in the center near the charge port and wedge the angled tip between the plastic back and the glass screen.
-
Create a wedge and apply pressure. Use the tool to separate the screen from the back until you hear an audible “pop."
-
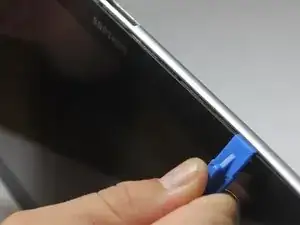
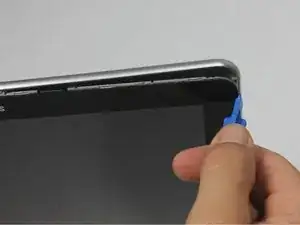
Continue to wedge the tool about every inch along the current edge.
-
-
-
Once the bottom edge has been loosened, work towards a bottom corner from the other edge and continue to wedge gently until you can “pop” the corner out.
-
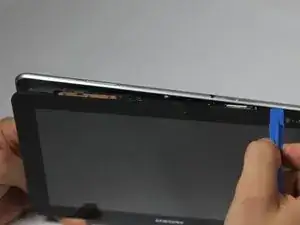
Continue this process on the other bottom corner until it can be popped out as well.
-
-
-
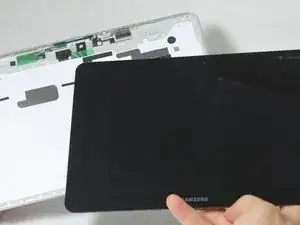
Place your hand between the device and the back panel. Then continue the wedging motion along the top edge of the device until the back panel comes loose.
-
-
-
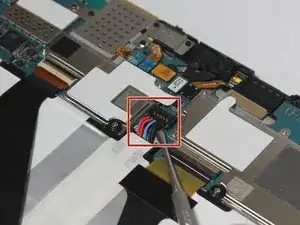
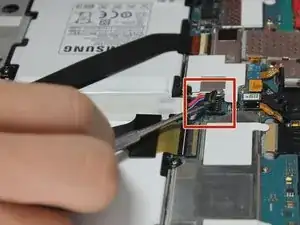
The connection between the battery and motherboard is a group of four wires in black housing that can be found near the top middle of the device. Using a plastic spudger or a flat, slim tool, lift the black connector housing upwards to disconnect it.
-
-
-
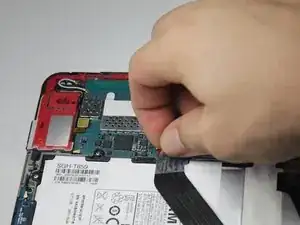
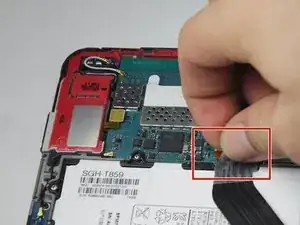
Remove the small piece of tape covering the ribbon connector.
-
You don't need to save this piece of tape.
-
-
-
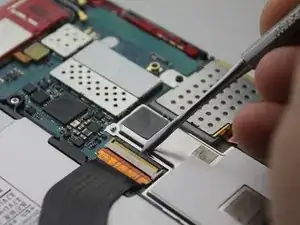
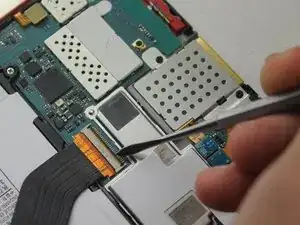
Carefully slide a plastic spudger under the black strip of plastic on the far side of the ribbon connector housing.
-
Lift the black strip upwards. This will release the ribbon.
-
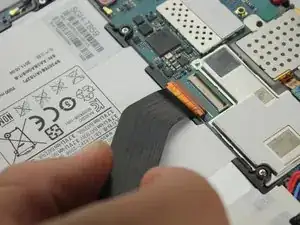
Slide the ribbon out of the connector.
-
Repeat this step to release the other two ribbons.
-
You will need to remove the tape from covering those connectors, too.
-
-
-
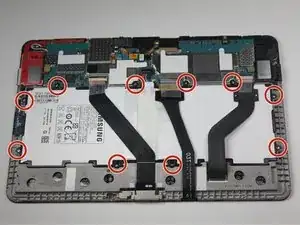
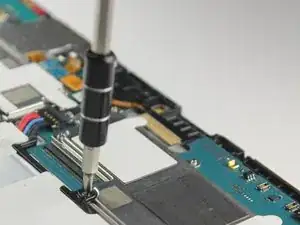
Use the Phillips #00 screwdriver to unscrew the 10 3mm screws holding the battery in place.
-
To reassemble your device, follow these instructions in reverse order.
Je pense qu'il y a un problème sur ce tuto, quand on démonte la vitre avant, le LCD reste sur la tablette.
Antonio Jimenez -
Surtout ne faites pas comme indiqué sur les photos, il faut décoller la plaque grise au niveau de l'appareil photo, déclipser le tour de la face arrière, et dévisser les trois vis du haut côté caméra.
Antonio Jimenez -