Einleitung

  1. oXvWTiblBCNkLUvs
    oXvWTiblBCNkLUvs
    g3a2fUqY2rSiswXs
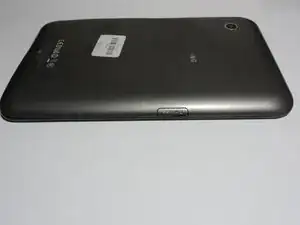
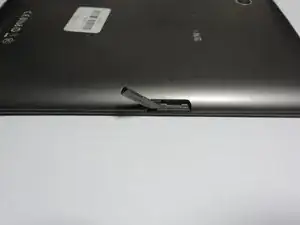
    • Power the device down completely

    • Remove the SD card from the SD card slot.

  2. rlNSbXEpQBpwYhpH
    rlNSbXEpQBpwYhpH
    GHADxKIEwEqXGA4N
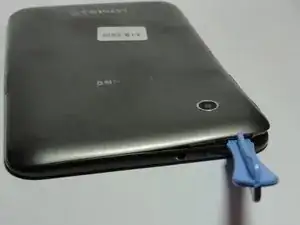
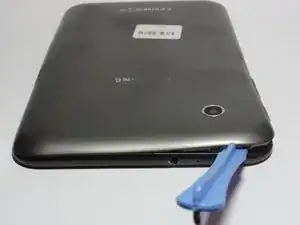
    • Use the prying tool to separate the front and rear panels by slipping the tool underneath the screen edge and sliding it around the entire device.

    • Be sure to unclip all of the clips on the back panel or it will be difficult for you to pull it off and may damage the tablet.

  3. xaQ2EVn3ypcjVtwI
    xaQ2EVn3ypcjVtwI
    KaRMpLHLW2c1KBbk
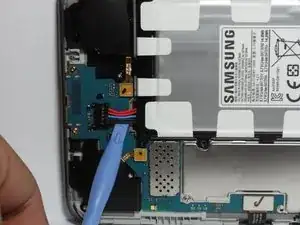
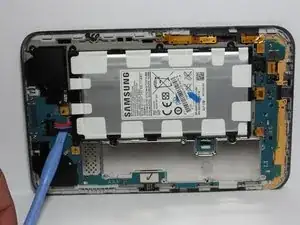
    • Remove the battery Flex Cable from its socket by placing the pry tool under the wires and gently prying it out.

    • When you are placing in the new battery, it helps to connect the socket first or else it becomes difficult to properly align once the battery is in place.

  4. NToUyPUWEk4jAHil
    NToUyPUWEk4jAHil
    ayNTNQkQmcZEZHG4
    vCG6YlsGKy35ZTyq
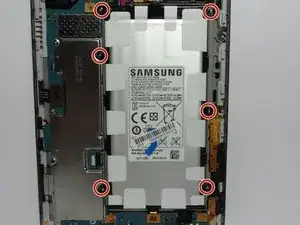
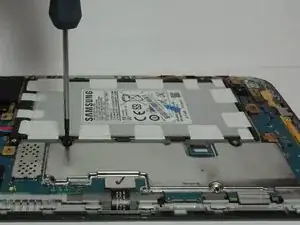
    • Using the Phillips precision screw driver remove the six 4 mm screws holding the battery in place.

    • Once the battery is loose, remove as shown.

    tis tib sirkat parij

    lokmankhanrony93 -

  5. LC2BGOrx1pSOnrrn
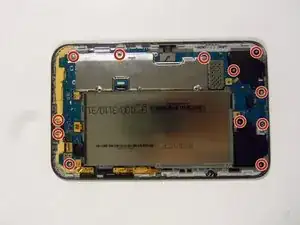
    • Using the Phillips #00 precisions screwdriver, remove the 12 4mm screws holding in the motherboard.

  6. HkidS3wsbFBNFbFc
    HkidS3wsbFBNFbFc
    cMt5VvvFjqrtOYQG
    VZyeKYaduKBHcDgU
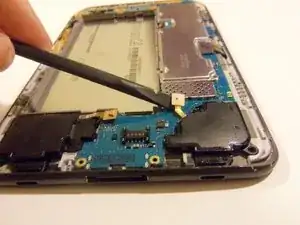
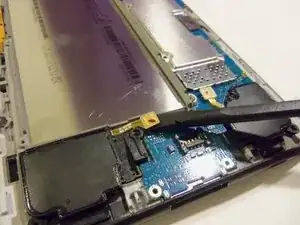
    • Release all flex cable connections at the bottom section of the motherboard.

    • Using the plastic pry tool release connections for both loudspeakers.

    • Once disconnected gently remove the loudspeakers from the device.

  7. kO3SwdgVcXq1K2f6
    kO3SwdgVcXq1K2f6
    b2XTybgUoMSXL6tD
    1tKdjd3lDLDopOPt
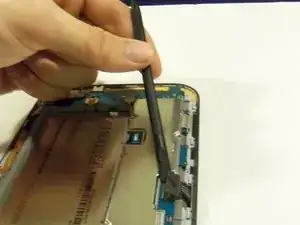
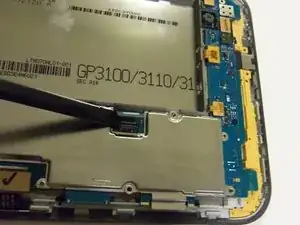
    • Release all flex cables on the right side of the device motherboard as shown.

    • Using the plastic pry tool, release the touch screen flex cable from its socket.

    • With the same tool release the LCD screen flex cable form its socket.

  8. BRf3NQTDQwyGcXkQ
    BRf3NQTDQwyGcXkQ
    IwqAWsRJagXjPZvs
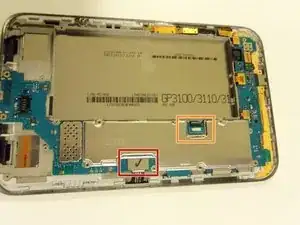
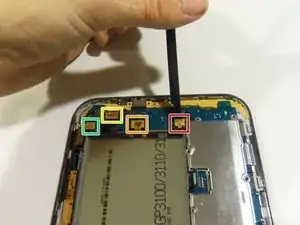
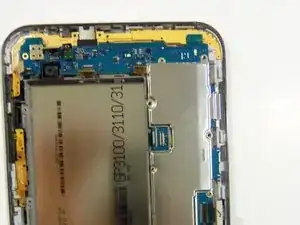
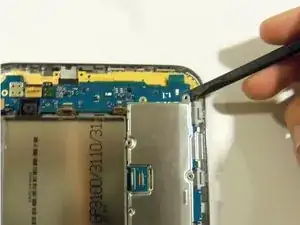
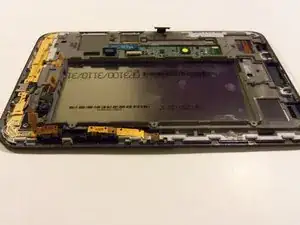
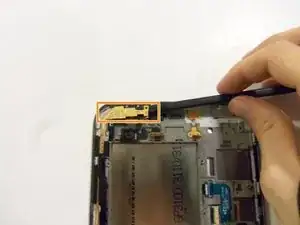
    • Release all flex cables on the upper portion of the motherboard.

    • Using the plastic pry tool release the sensor flex cable from its socket.

    • With the same tool release the camera flex cable from its socket.

    • Release the front camera flex cable from its socket.

    • Release the side button's flex cable from its socket.

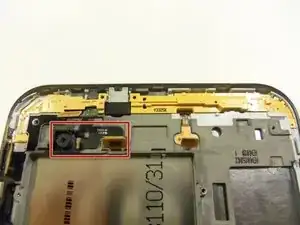
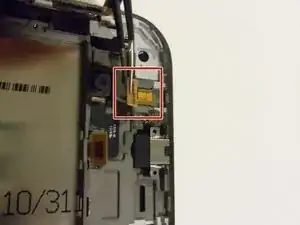
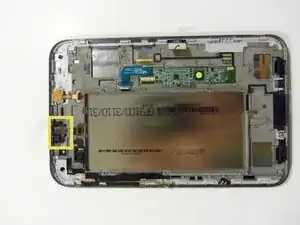
    • There is one more Flex cable to remove, it's to the right of the front camera connector (see previous picture with connector highlighted in yellow box). It connects the top microphone and headphone jack.

  9. 4xYG4KGiACMXEmyo
    4xYG4KGiACMXEmyo
    jDGMNLXqvG2pMhCv
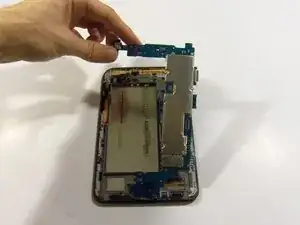
    • Gently remove the motherboard from the device.

    • Be sure no flex cables get caught on the motherboard while you are removing it or the flex cables may become damaged.

    • It is easier to begin lifting the motherboard from the top rather than the bottom.

  10. mDOSd1tqoYqKaNKd
    mDOSd1tqoYqKaNKd
    UPcLROM4fbSPbItT
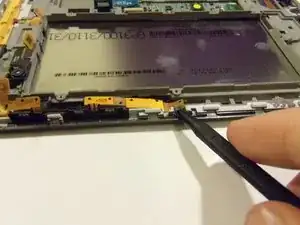
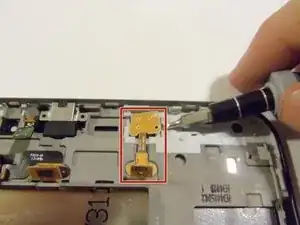
    • Release the button flex cable using the plastic spudger tool.

    • Be careful when removing the flex cable due to how small the button flex cable is and the strong adhesive that holds it in place.

  11. Tuq21AZmmk4BtbyC
    Tuq21AZmmk4BtbyC
    DdbdrrbQfmFH4Lab
    eLN2meJ4djvDMaLK
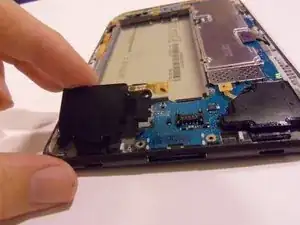
    • Remove the main camera using the plastic spudger tool.

    • Using the plastic spudger tool, remove the two main spacers.

  12. ZfyOlQWiYp1sGS4M
    • Remove the front facing camera using the precision tweezers.

  13. powsoEoQSoPvFgwQ
    powsoEoQSoPvFgwQ
    bTfOgGXGPxDbRmhT
    jlwEA3mpadTOINsE
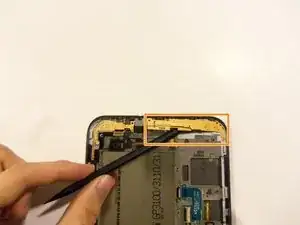
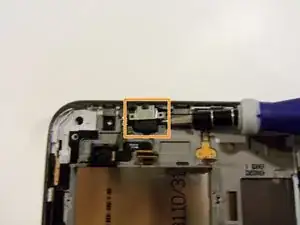
    • Remove the sensor flex cable using the flat-head screwdriver.

    • Remove the cover that is over the headphone jack using the precision flat-head screwdriver.

    • Remove the headphone jack using the precision flat-head screwdriver.

    • Be careful removing the headphone jack and take your time because the adhesive is very strong.

  14. o5sNhhoGPREvNjtN
    o5sNhhoGPREvNjtN
    GnmW44XIDom3ZsRU
    wFIltNaycLCyUBuh
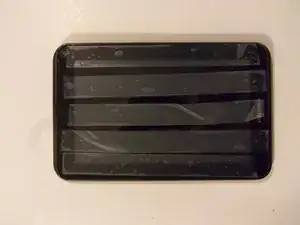
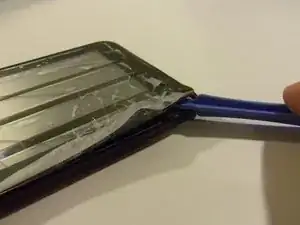
    • Place tape over the front of the touch screen to catch broken glass. The wider the tape the better.

    • Heat up the touch screen in some way to release the strong adhesive.

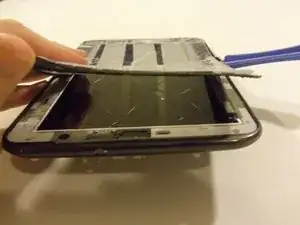
    • Using the safe pry tool, pry up the edge of the touch screen and slowly work your way around the entire device.

  15. SjuZPrTUMQNLNgl1
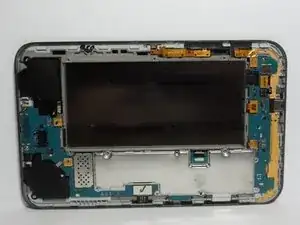
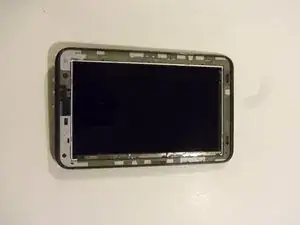
    • Congratulations, this is what your device should look like after the touch screen has been removed.

  16. WEZdfQmrooNULdR4
    WEZdfQmrooNULdR4
    x4oOVjRmAkVsLNh2
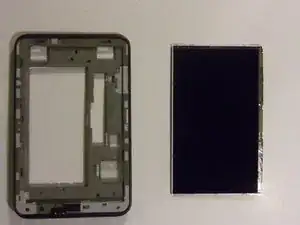
    • Press gently from the back of the device to loosen the LCD screen until it separates.

    • Be careful with the flex cable so it does not catch on the frame while removing the screen.

Abschluss

To reassemble your device, follow these instructions in reverse order.
Paul

Mitglied seit: 05/03/15

2162 Reputation

0 Kommentare