Einleitung
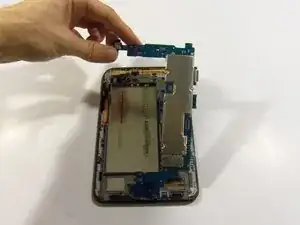
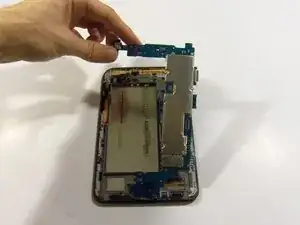
This guide will show you how to remove a faulty motherboard from this device.
Werkzeuge
Ersatzteile
-
-
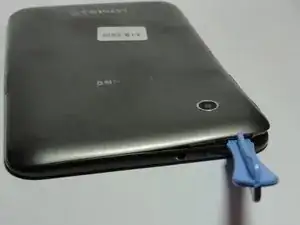
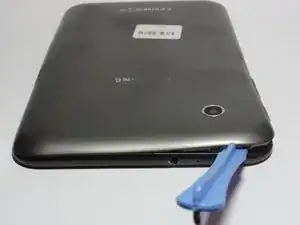
Use the prying tool to separate the front and rear panels by slipping the tool underneath the screen edge and sliding it around the entire device.
-
-
-
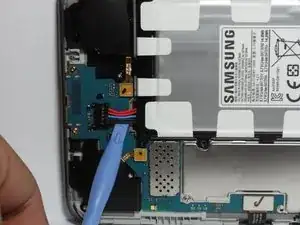
Remove the battery Flex Cable from its socket by placing the pry tool under the wires and gently prying it out.
-
-
-
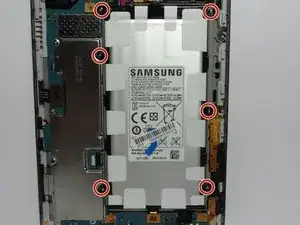
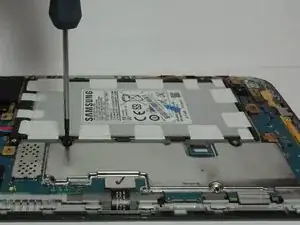
Using the Phillips precision screw driver remove the six 4 mm screws holding the battery in place.
-
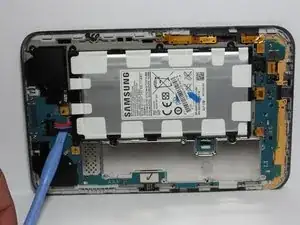
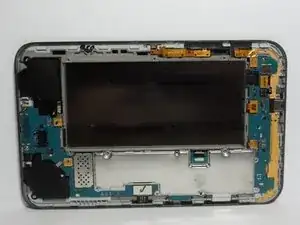
Once the battery is loose, remove as shown.
-
-
-
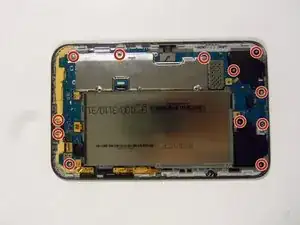
Using the Phillips #00 precisions screwdriver, remove the 12 4mm screws holding in the motherboard.
-
-
-
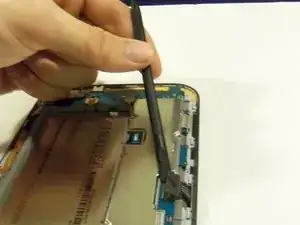
Release all flex cable connections at the bottom section of the motherboard.
-
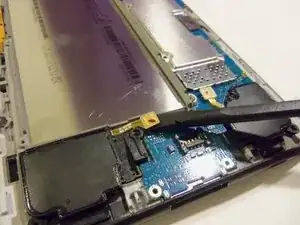
Using the plastic pry tool release connections for both loudspeakers.
-
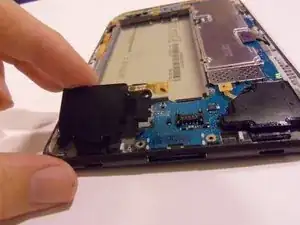
Once disconnected gently remove the loudspeakers from the device.
-
-
-
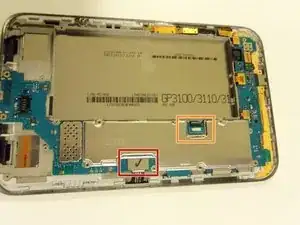
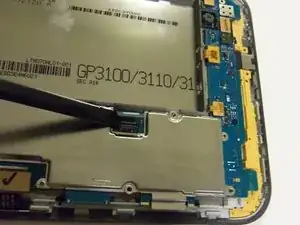
Release all flex cables on the right side of the device motherboard as shown.
-
Using the plastic pry tool, release the touch screen flex cable from its socket.
-
With the same tool release the LCD screen flex cable form its socket.
-
-
-
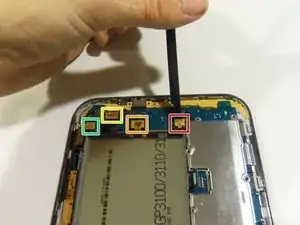
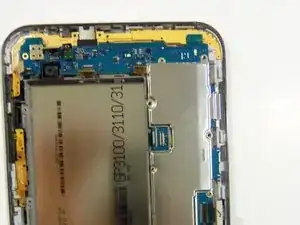
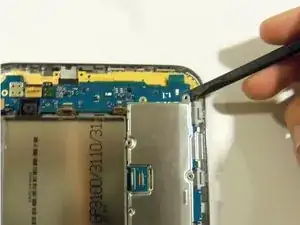
Release all flex cables on the upper portion of the motherboard.
-
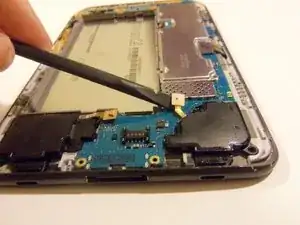
Using the plastic pry tool release the sensor flex cable from its socket.
-
With the same tool release the camera flex cable from its socket.
-
Release the front camera flex cable from its socket.
-
Release the side button's flex cable from its socket.
-
-
-
There is one more Flex cable to remove, it's to the right of the front camera connector (see previous picture with connector highlighted in yellow box). It connects the top microphone and headphone jack.
-
To reassemble your device, follow these instructions in reverse order.
