Einleitung

  1. NJTXKkeXC6WewVR3
    NJTXKkeXC6WewVR3
    mlBXlcBUhwMR1QIw
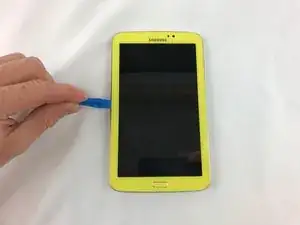
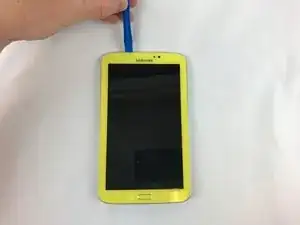
    • Using the plastic opening tool to open up the device, wedge in the seam between the screen and the back cover. Slide the tool around all the edges and remove the screen from the back cover

  2. BOyKNXZFRB4lUr2u
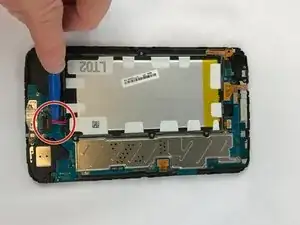
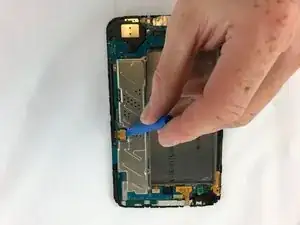
    • Unplug the battery connection carefully using the plastic opening tool.

  3. IKAABjGXeTIm4EeC
    IKAABjGXeTIm4EeC
    dOMdsctLIgM2lhPp
    25ZpxSYDrirbSsFZ
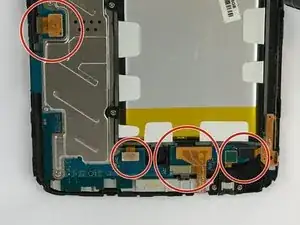
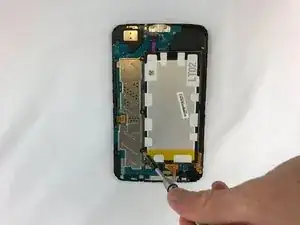
    • Before Changing the motherboard, you have to lift up the (ZIF) zero insertion force by using the plastic opening tool, separating the connector from the batter ribbon cable

  4. eOSmeqVUGluAlCE1
    eOSmeqVUGluAlCE1
    4IJeNEPKhlNHsIFy
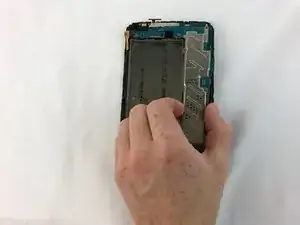
    • Unscrew the ten 4mm PH000 bolts holding the motherboard on the device

  5. sskqyxdlmXX3GUXg
    sskqyxdlmXX3GUXg
    RYTFNABvYlDRnR6Z
    gPqsagHRvcr3wjdV
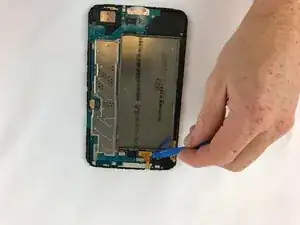
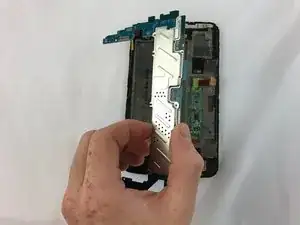
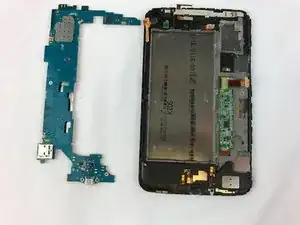
    • Remove the mother board from the device by carefully lifting it out.

  6. IHZH5PcZCoISOipQ
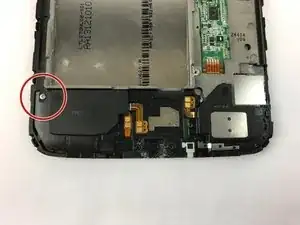
    • Remove the last screw holding down the speaker.

  7. LY1waN5dvDFBmh1y
    LY1waN5dvDFBmh1y
    VpDMpWfTjMKRia1G
    XxLBDdDkYuDqYNPT
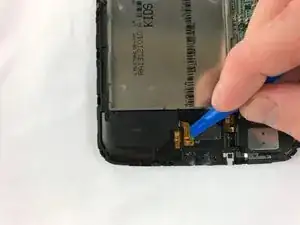
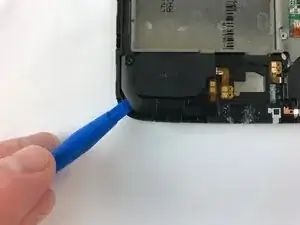
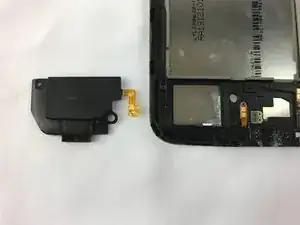
    • Remove the speaker using the plastic splunger

Abschluss

To reassemble your device, follow these instructions in reverse order.
ajhoffman

Mitglied seit: 05/01/14

164 Reputation

0 Kommentare