Einleitung
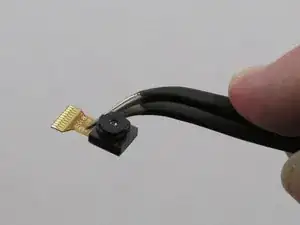
This guide will walk you through how to replace the Camera in your Samsung Galaxy Tab 3 Lite. To do this, you'll need to remove the back case of your tablet beforehand. The guide for that is listed here as well. Follow all instructions carefully, and take your time.
Werkzeuge
-
-
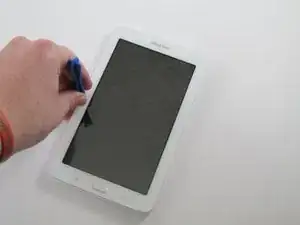
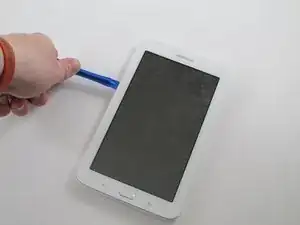
Using a plastic opening tool, wedge in the seam between the screen and the case.
-
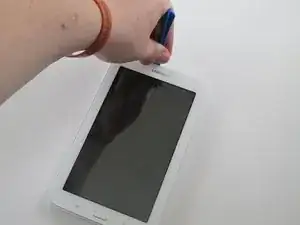
Rock the tool by moving it towards and away from the middle of the screen, trying to separate the tape holding the screen and case together.
-
This is a long process, so don't try and rush it. Also, be careful about applying pressure.
-
-
-
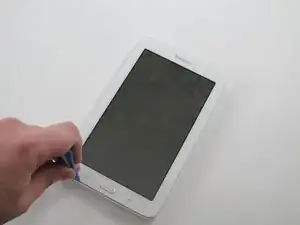
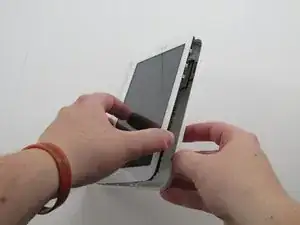
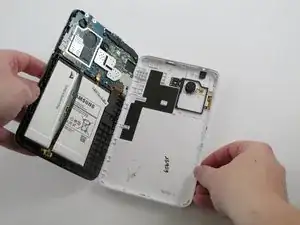
After separating the tape holding the screen and case together, slowly start taking the screen off the case from the opposite side of the side with the buttons
-
-
-
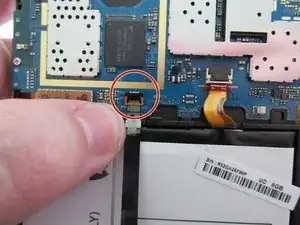
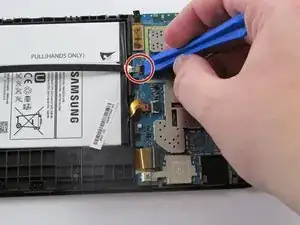
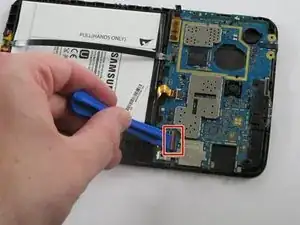
Use a plastic opening tool to lift up the zero insertion force (ZIF) connector holding down the ribbon cable.
-
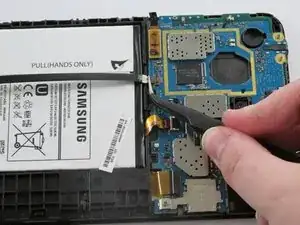
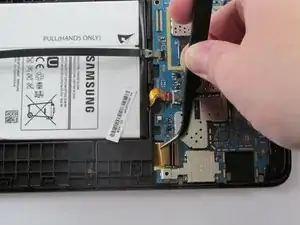
Use the precision tweezers to gently pull the ribbon cable out of the ZIF connector.
-
-
-
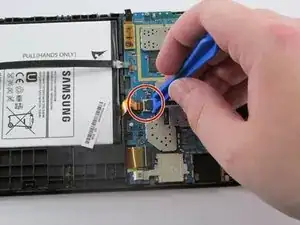
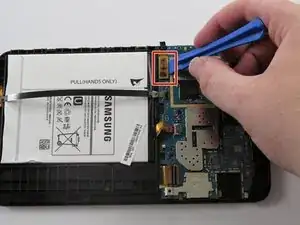
Use the plastic opening tool to lift up the zero insertion force (ZIF) connector holding down the battery ribbon cable.
-
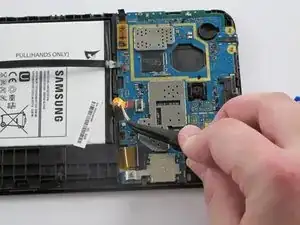
Use the precision tweezers to remove the ribbon cable from the ZIF connector.
-
-
-
Use the plastic opening tool to lift up the zero insertion force (ZIF) connector holding down the battery ribbon cable.
-
Use the precision tweezers to remove the ribbon cable from the ZIF connector.
-
-
-
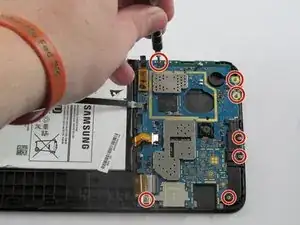
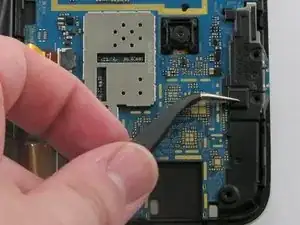
Use the precision tweezers to remove the black plastic corner on top of the motherboard.
-
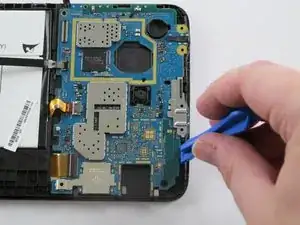
Use the plastic opening tool to pull the motherboard off the case.
-
-
-
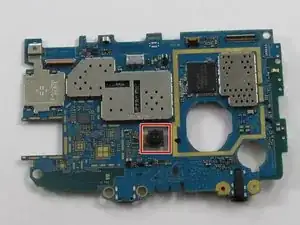
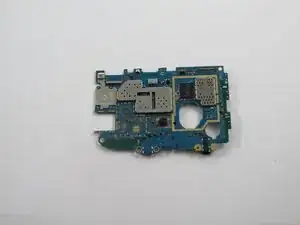
Flip the motherboard over and locate the camera in the middle.
-
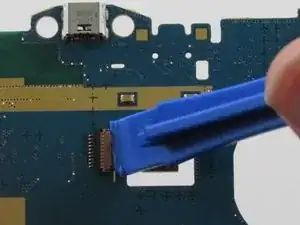
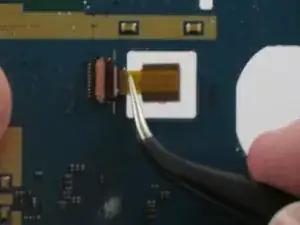
Use the plastic opening tool to gently lift up the flap holding the camera cable in place.
-
To reassemble your device, follow these instructions in reverse order.
