Einleitung
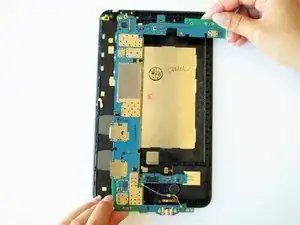
In this guide, you will learn how to replace the motherboard- the very foundation of the tablet's function. Though you might be frightened to replace such a complicated component of the tablet, do not worry. The many steps involved in the process take up quite some time, but are fairly easy to follow. All you need for the motherboard replacement are a good set of tools and this detailed guide to follow.
Werkzeuge
Ersatzteile
-
-
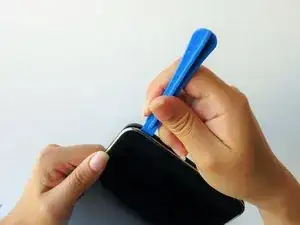
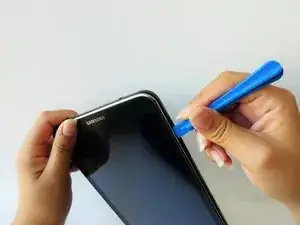
At the top of the tablet, nudge the blue plastic opening tool between the back plastic casing and the front panel's metal rim.
-
-
-
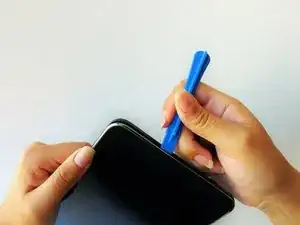
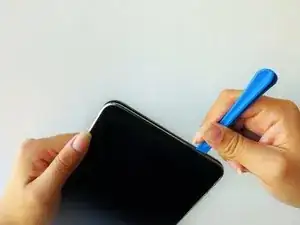
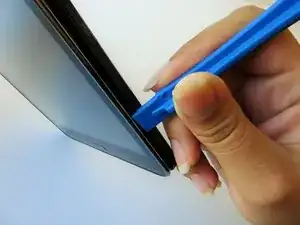
Continue prying the blue plastic opening tool along the perimeter of the tablet to separate the back plastic casing from the front assembly panel.
-
-
-
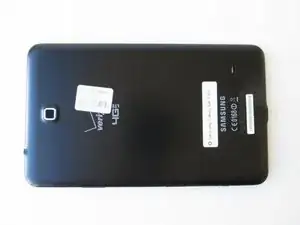
To avoid damaging the screen, gently set the tablet with the LCD screen faced down.
-
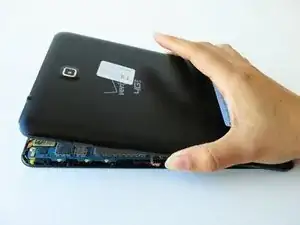
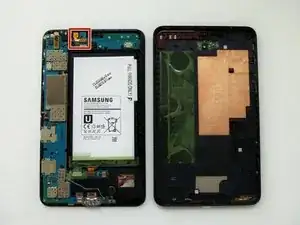
Firmly grasp the back plastic casing and lift it away from the front assembly panel.
-
-
-
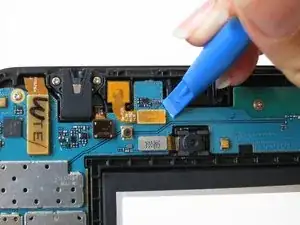
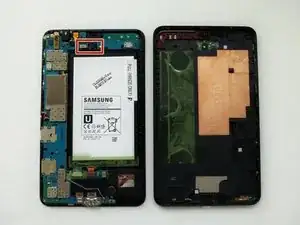
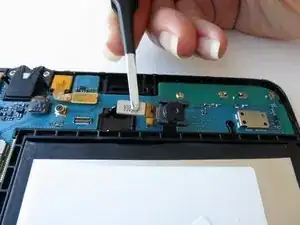
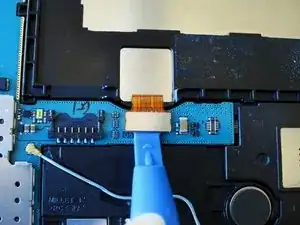
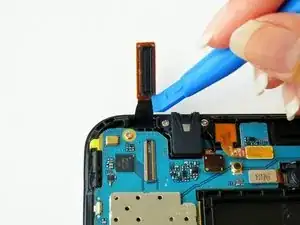
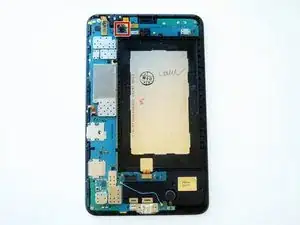
The front camera's ribbon cable is located just above the battery, slightly to the left.
-
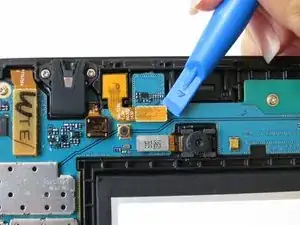
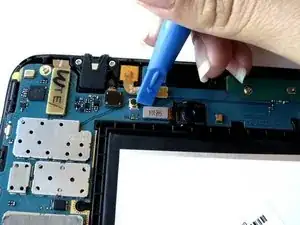
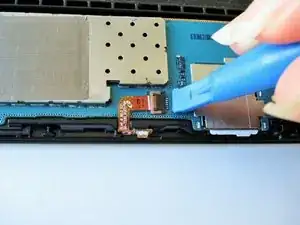
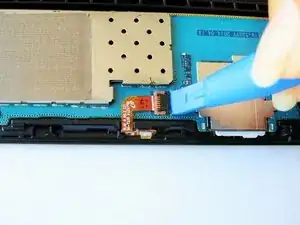
Carefully insert the flat end of the blue plastic opening tool under the connector at the end of the ribbon cable.
-
-
-
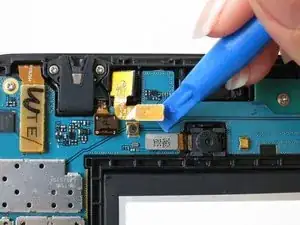
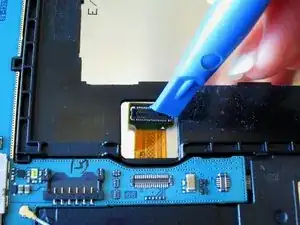
Slightly apply pressure and move the blue plastic opening tool downwards to pop the front camera’s gold rectangular connector from its socket on the motherboard.
-
-
-
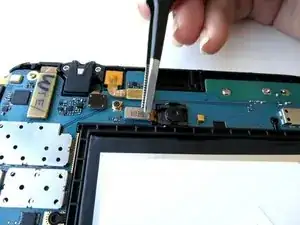
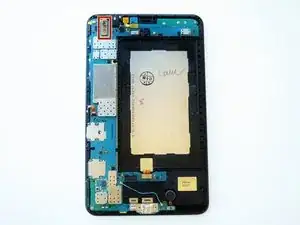
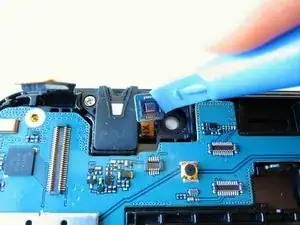
The back camera will be located near the top of the tablet in the center above the battery.
-
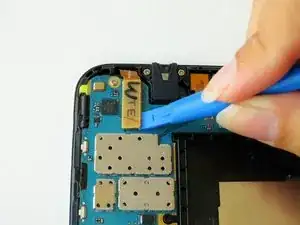
Carefully insert the flat end of the blue plastic opening tool under the metal rectangular end of the back camera’s cable connector.
-
-
-
Slightly apply pressure and move the blue plastic opening tool downwards to pop the back camera’s metallic rectangular connector from its socket on the logic board.
-
-
-
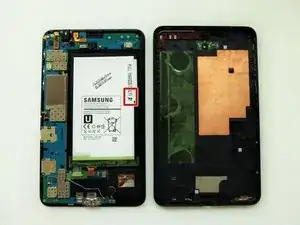
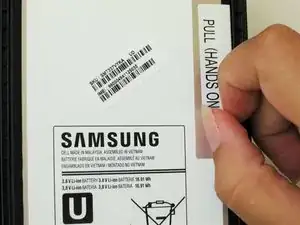
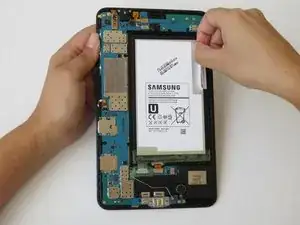
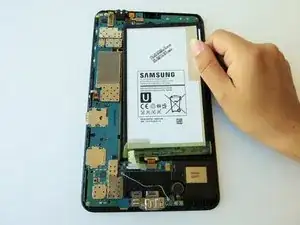
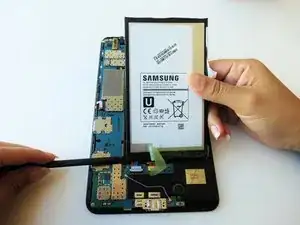
Peel up the detachable corner of the white plastic sticker that reads “pull (hands only).”
-
-
-
Using your thumb and index finger, pinch the tab and pull it up to remove the top right corner of the battery from the front panel assembly.
-
-
-
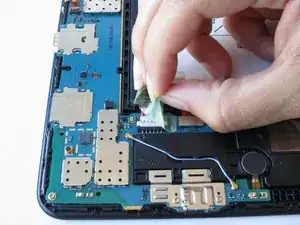
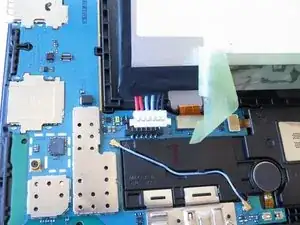
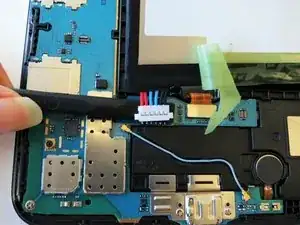
Run the spudger under the battery to disconnect the red and blue cable connector from the circuit.
-
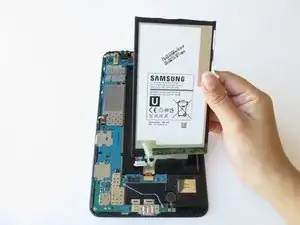
Lift the battery towards you, away from the front panel.
-
-
-
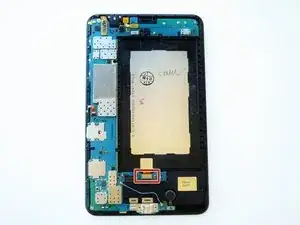
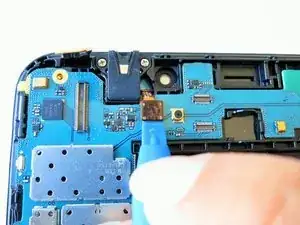
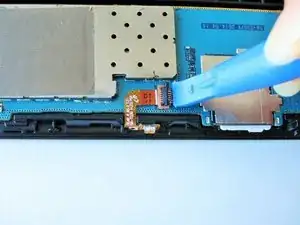
Slightly apply pressure and move the blue plastic opening tool downwards to pop the metallic rectangular connector from its socket on the mother board.
-
-
-
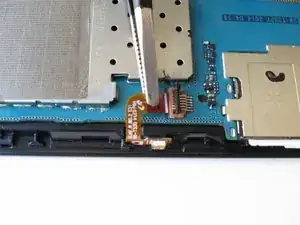
Slightly apply pressure and move the blue plastic opening tool downwards to pop the gold rectangular connector from its socket on the mother board.
-
-
-
Slightly apply pressure and move the blue plastic opening tool downwards to pop the gold square connector from its socket on the mother board.
-
-
-
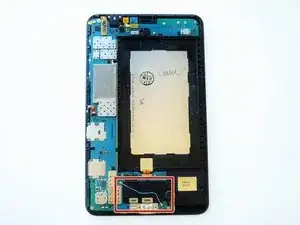
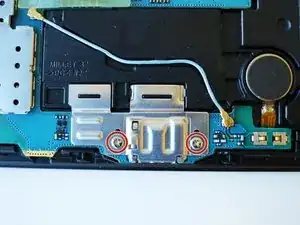
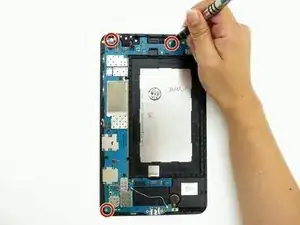
Remove two 2 mm #000 Phillips screws securing the metallic charger port cover to both the logic board and the front panel.
-
-
-
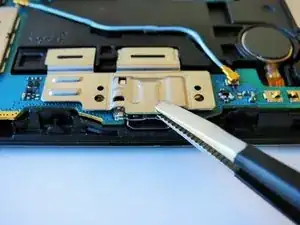
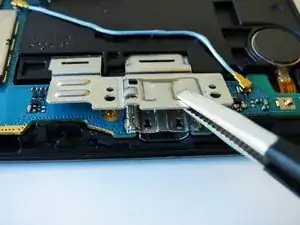
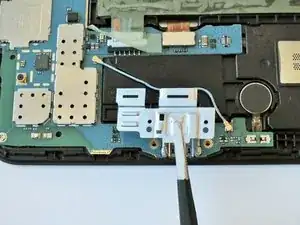
Squeeze the metal charger port cover piece with the tweezers to gently lift it from it's place.
-
-
-
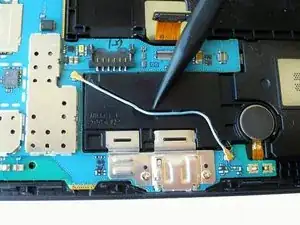
Carefully insert the flat end of the blue plastic opening tool under the black plastic fastener and lift.
-
-
-
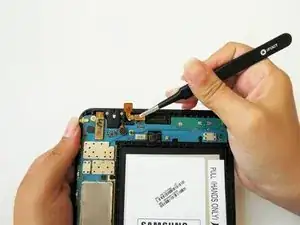
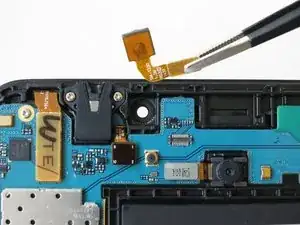
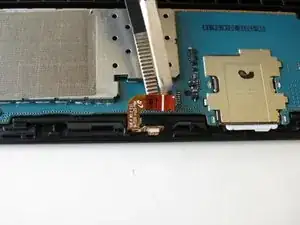
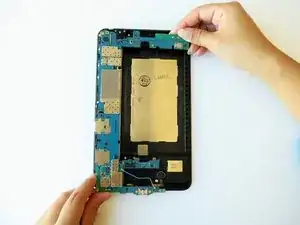
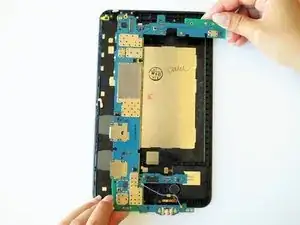
Squeeze the golden cable with the tweezers and gently pull the cable to the left to free the end of the golden cable.
-
To reassemble your device, follow these instructions in reverse order.


How do u find the tool to open it
Gm -
u can go and search on trade me
armaan devgun -
NOTE: Make sure to remove both the SIM card and the Micro SD card prior to disassembly. Failure to do so could result in broken parts.
Cameron -