Einleitung

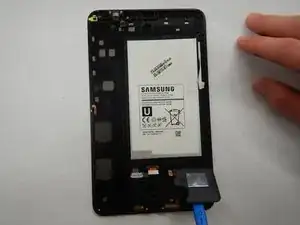
This guide will show you the steps you need to perform to replace the speaker in your device.

  1. klgIvuTwlJ2vHyMZ
    klgIvuTwlJ2vHyMZ
    kEOyeSVZaZWTanHQ
    VPXWPgIFSUhLPKdG
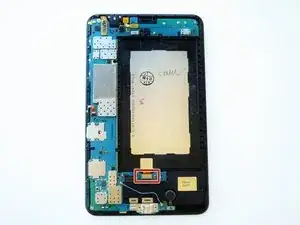
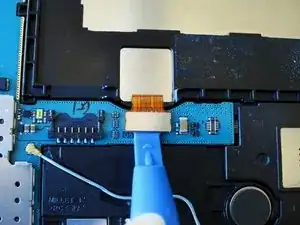
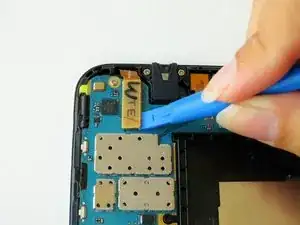
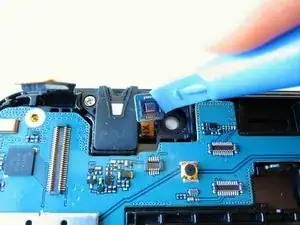
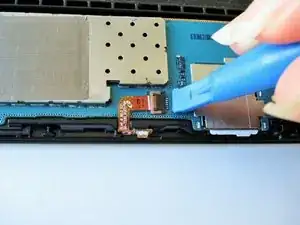
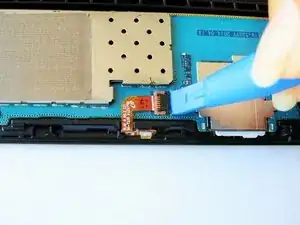
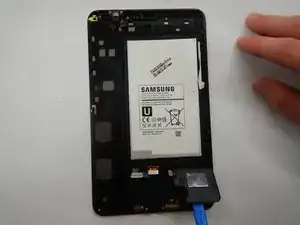
    • Slightly apply pressure and move the blue plastic opening tool downwards to pop the metallic rectangular connector from its socket on the mother board.

  2. WiEyiZls3bwrZxuN
    WiEyiZls3bwrZxuN
    MrFNOLk2TBUUnVJg
    mu4kikjhvIoAkQF4
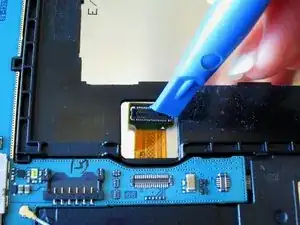
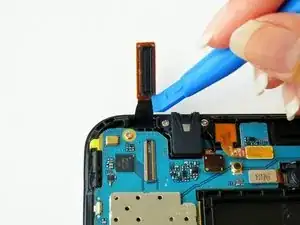
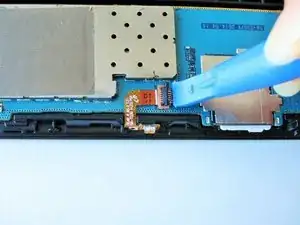
    • Slightly apply pressure and move the blue plastic opening tool downwards to pop the gold rectangular connector from its socket on the mother board.

  3. AZRy2iXTZxeskLK1
    AZRy2iXTZxeskLK1
    IAaZRi2A6YIV2gOy
    lNGgmVNQpSKMqbeB
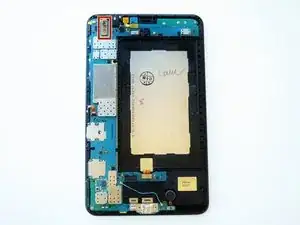
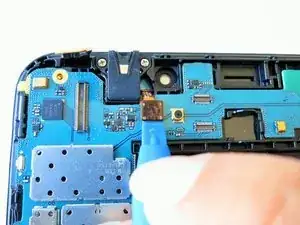
    • Slightly apply pressure and move the blue plastic opening tool downwards to pop the gold square connector from its socket on the mother board.

  4. NK4LE43ASwTikVvO
    NK4LE43ASwTikVvO
    eYUgKAcossmYXfIq
    FEuYID5Af2JFWofZ
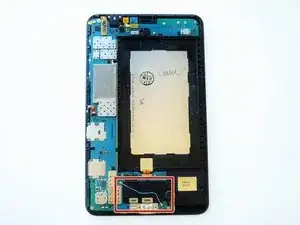
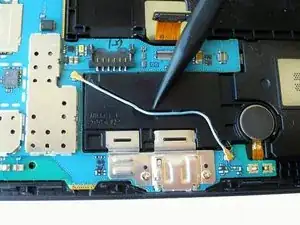
    • Using the spudger gently wedge the blue wire out of its compartment.

  5. lsuiReYVtAwBxvaw
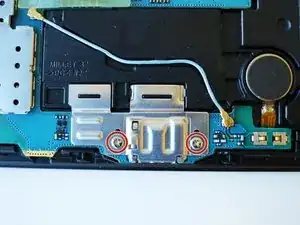
    • Remove two 2 mm #000 Phillips screws securing the metallic charger port cover to both the logic board and the front panel.

  6. DjdQ5dwTXe63yqCc
    DjdQ5dwTXe63yqCc
    GBrIRSCrywJD1VTh
    lXOXhlPX3JEmdpXx
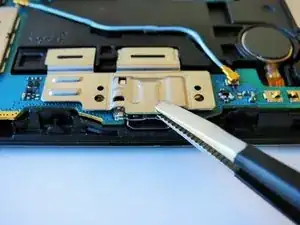
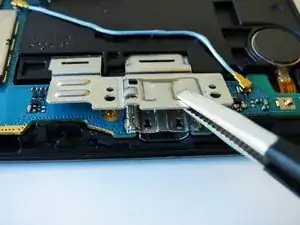
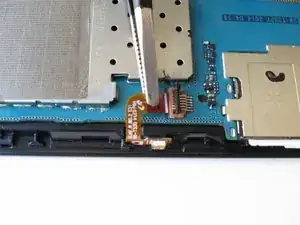
    • Squeeze the metal charger port cover piece with the tweezers to gently lift it from it's place.

  7. msfSBJTgrP1NKiij
    msfSBJTgrP1NKiij
    leyeti2ry3TJVKra
    XxLbVOKVgUfli4Ce
    • Carefully insert the flat end of the blue plastic opening tool under the black plastic fastener and lift.

    • Rotate your tablet counter clockwise to facilitate the process.

  8. WXZhmdvDZgrNp4r2
    WXZhmdvDZgrNp4r2
    fYGL23sOh4UwPdHK
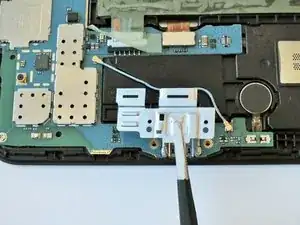
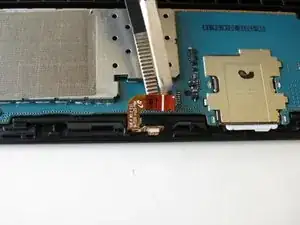
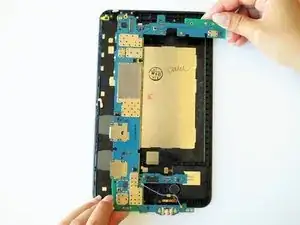
    • Squeeze the golden cable with the tweezers and gently pull the cable to the left to free the end of the golden cable.

    • The golden cable is delicate so use gentle force.

  9. FUJUTyUCHiFsiYWG
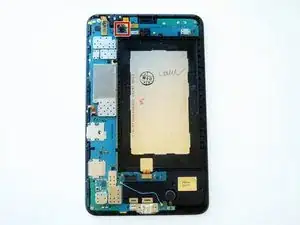
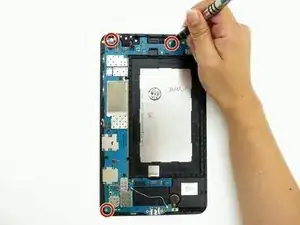
    • Remove three 2 mm #000 Phillips screws securing the mother board to the front panel.

  10. C5ZSfQcKpRT2kKuY
    C5ZSfQcKpRT2kKuY
    JbnSaKd3rNvuWJlL
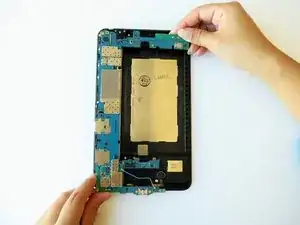
    • Using your hands, hold the opposite ends of the mother board corners, and lift.

  11. VqdqWq5NC3KQN1JW
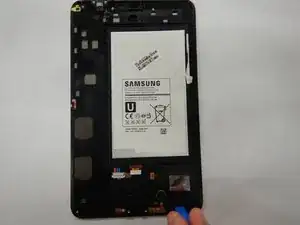
    • Insert the opening tool tip into the crack between the speaker and device.

  12. fqNA461knxeHgQAE
    • Gently pry up on the speaker to disconnect the speaker from the device.

Abschluss

To reassemble your device, follow these instructions in reverse order.
Chandler Davis Beale

Mitglied seit: 20/02/20

331 Reputation

0 Kommentare