Einleitung
Use this guide to replace the rear camera.
Werkzeuge
Ersatzteile
-
-
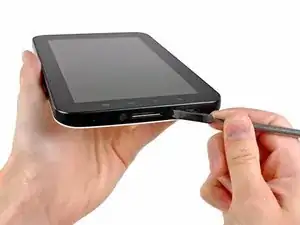
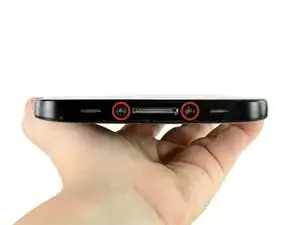
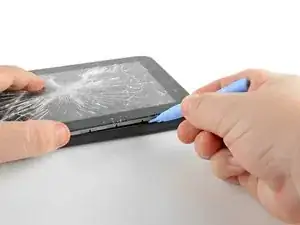
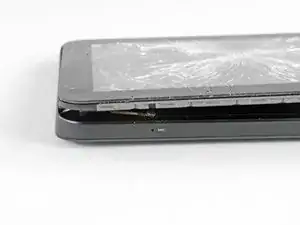
Use the flat end of a metal spudger to pry the two plastic tabs near the dock connector off the rear case.
-
-
-
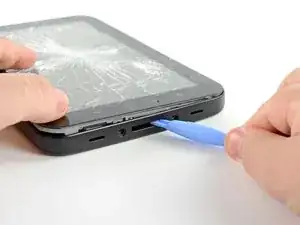
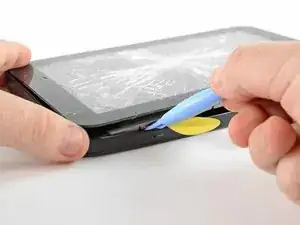
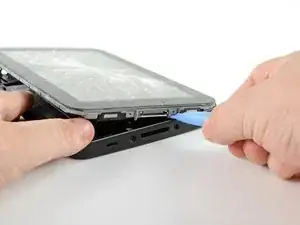
Insert a plastic opening tool near the bottom left edge of the rear case.
-
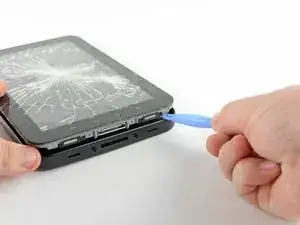
Use your plastic opening tool to gently create a small gap between the front panel and the rear panel near the bottom left edge.
-
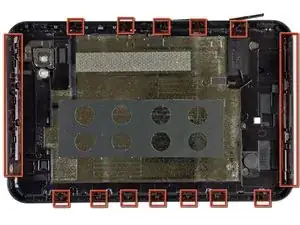
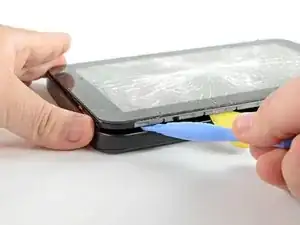
Run the plastic opening tool along the left side of the perimeter to create a bigger gap between the front panel and the rear panel.
-
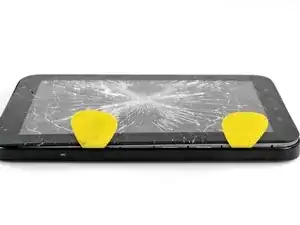
Insert two guitar picks into the small gap created by the plastic opening tool.
-
-
-
Insert the plastic opening tool into the dock connector and wedge it underneath the front panel/motherboard assembly.
-
Thrust the plastic opening tool downwards to create a gap near the lower left corner of the front panel assembly.
-
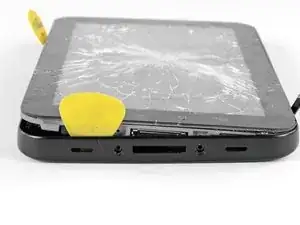
Insert a guitar pick into the newly created gap near the lower left edge of the Galaxy Tab.
-
-
-
Insert a plastic opening tool into the gap next to the left side of the guitar pick.
-
Simultaneously lift upwards and run the plastic opening tool along the top left corner of the Galaxy Tab to free the Front Panel Assembly from the retaining clips.
-
-
-
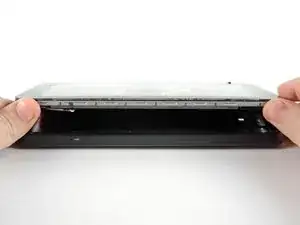
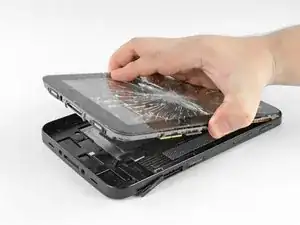
Slightly lift the left side of the front panel assembly to separate it from its housing within the rear panel.
-
-
-
Wedge the flat edge of an opening tool between the front panel and rear panel near the dock connector.
-
Use a plastic opening tool to pry the bottom right corner out of its housing in the rear panel.
-
-
-
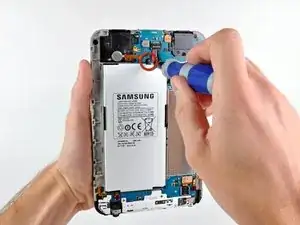
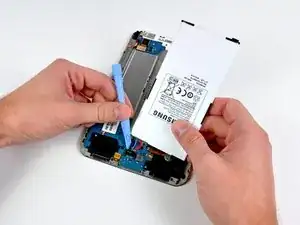
Use the edge of a plastic opening tool to pry the battery connector straight up off its socket on the motherboard.
-
-
-
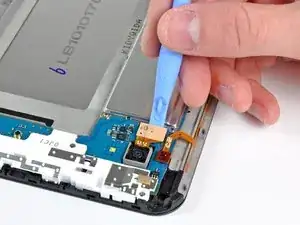
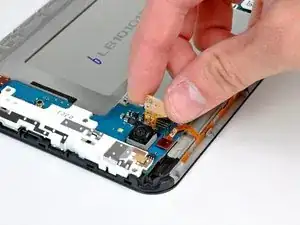
Use the edge of a plastic opening tool to pry the rear camera connector up from its socket on the motherboard.
-
To reassemble your device, follow these instructions in reverse order.
