Einleitung
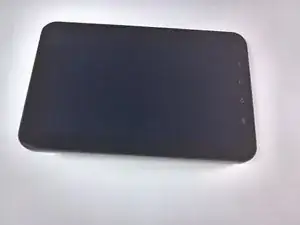
This guide will teach the reader how to replace the volume buttons on a Samsung Galaxy Tab 7.0 Sprint. This will require removing multiple parts before accessing the buttons.
Werkzeuge
Ersatzteile
-
-
Fully power off the device.
-
Disconnect and remove any cables that are connected to the device (i.e. chargers or headphones).
-
Place the device on a flat, stable, and clean surface.
-
-
-
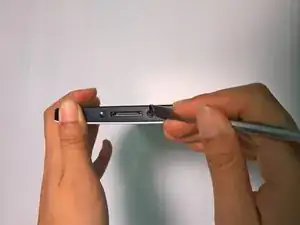
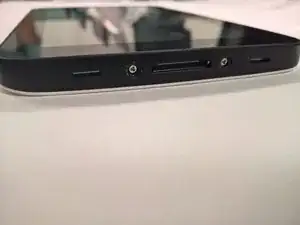
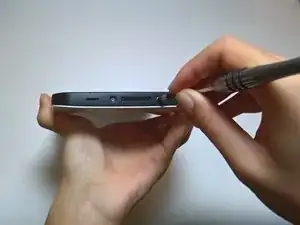
Remove the plastic tabs on the bottom of the device using the metal spudger, as shown in the pictures.
-
-
-
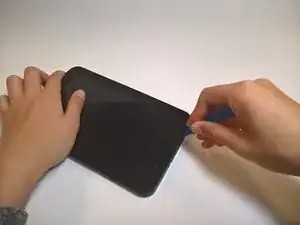
Wedge a plastic opening tool between the front and back panel, on the bottom right corner.
-
Slowly push the tool down to make a small gap between the front panel and the back panel.
-
Holding the tool steady, run the tool along the bottom part of the device from right to left. This will make the gap between the front panel and the back panel bigger.
-
-
-
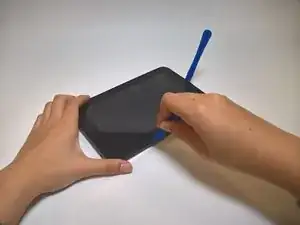
Leave the previously used tool wedged in the device.
-
Insert another plastic opening tool into the bottom of the left side, as shown.
-
Using a similar procedure to the last step, run the tool along the side and widen the front panel-back panel gap. This time, run the device from bottom to top.
-
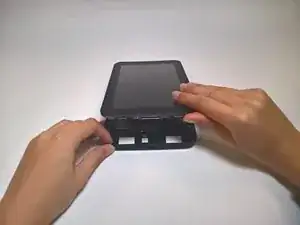
Repeat this process for the right side of the device, starting at the bottom of the right side.
-
-
-
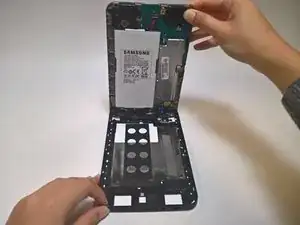
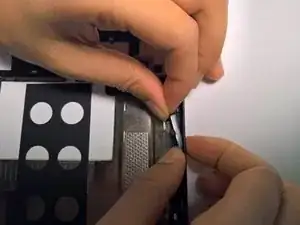
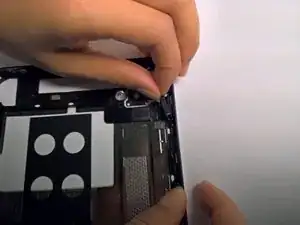
From the outside edge of the device, carefully push the volume button inwards towards the middle of the device.
-
Once the button is out of its slot, carefully remove it from the device.
-
To reassemble your device, follow these instructions in reverse order. Make sure all parts are aligned properly before attempting to put them back together.

