Einleitung
Werkzeuge
Ersatzteile
-
-
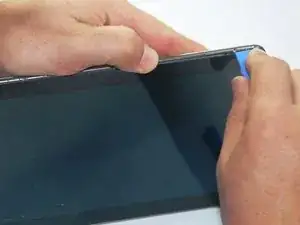
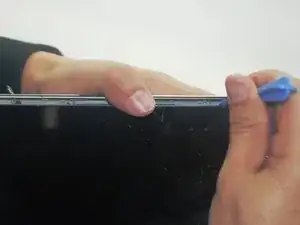
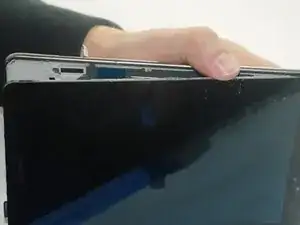
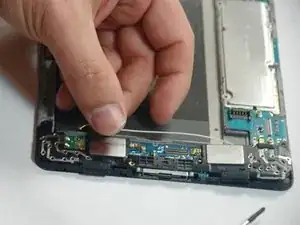
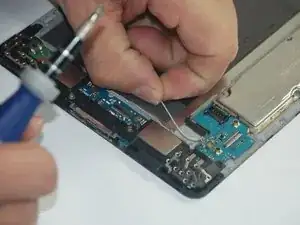
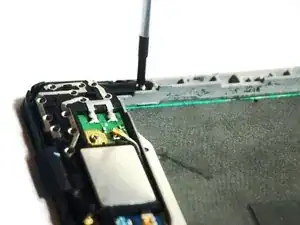
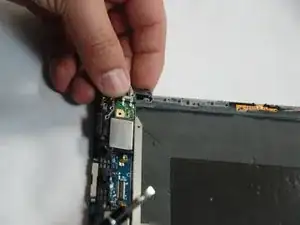
Using the prying tool, pry the silver binding from around tablet from glass edge. You will need to go around the device several times applying some force before it comes off.
-
-
-
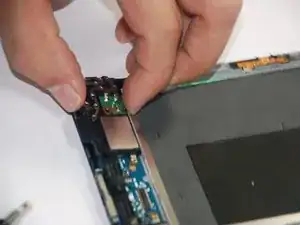
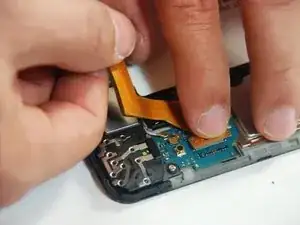
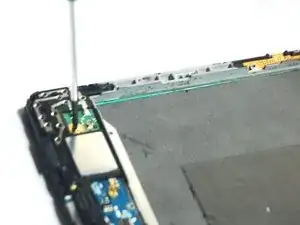
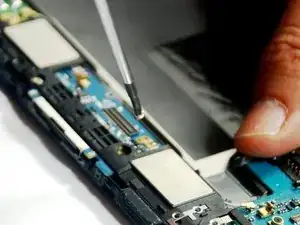
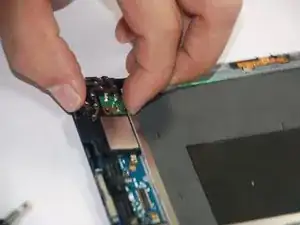
Disconnect the thin connector wire. Note the position both ends go to. There is a similar connection at one end of the wire that could be confused for the correct connection. Incorrectly reconnecting the wire upon re-assembly to this terminal will result in a malfunctioning unit!
-
Abschluss
To reassemble your device, follow these instructions in reverse order.
Ein Kommentar
Thanks for this post.
But, that was the speaker module and docking port assembly, not the motherboard!
The title is misleading!
