Einleitung
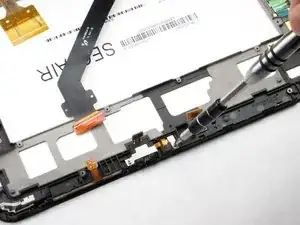
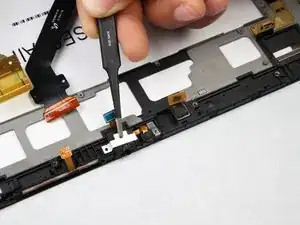
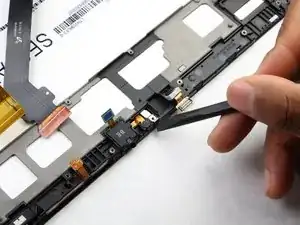
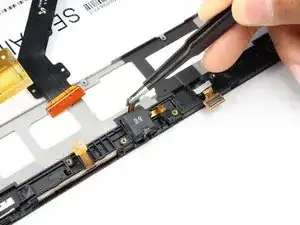
This guide will walk you through the process of replacing an unresponsive headphone jack on a Samsung Galaxy Tab 8.9.
Werkzeuge
-
-
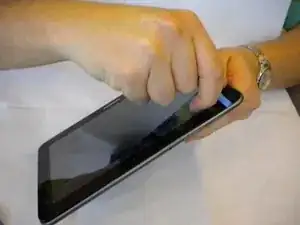
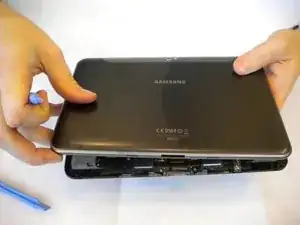
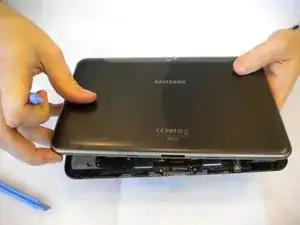
Insert a plastic opening tool between the back cover and screen of the Samsung Galaxy Tab 8.9 (as indicated in the photograph).
-
-
-
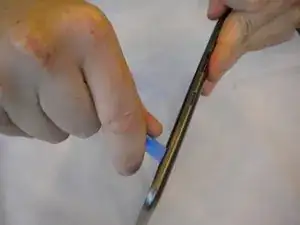
Slide the second plastic opening tool along the edge of the device to separate the back cover.
-
-
-
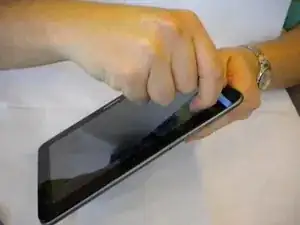
Insert a plastic opening tool between the back cover and the screen of the Samsung Galaxy Tab 8.9.
-
-
-
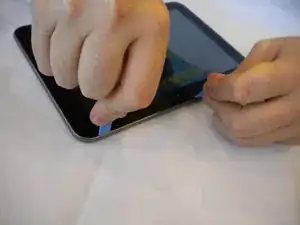
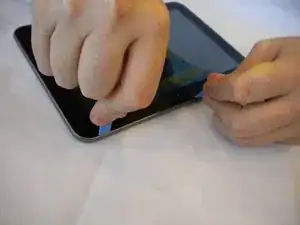
6 cm [2 in] away from the first plastic opening tool, insert a second plastic opening tool between the back cover and the screen.
-
-
-
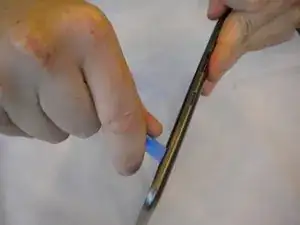
Slide the second plastic opening tool along the edge of the device to separate the back cover from the screen.
-
-
-
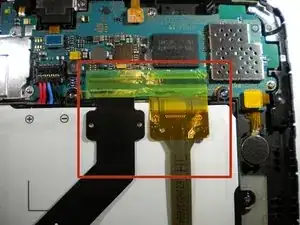
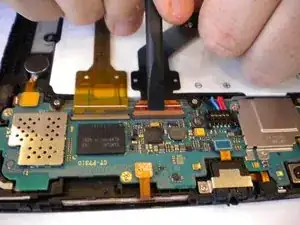
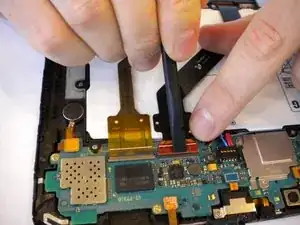
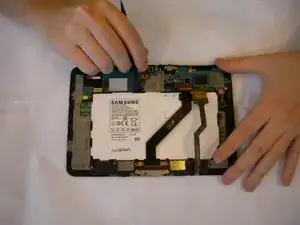
Insert a spudger under the orange tab.
-
Gently pry up the tab to disconnect the black flexible ribbon cable from the motherboard.
-
-
-
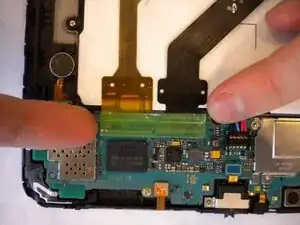
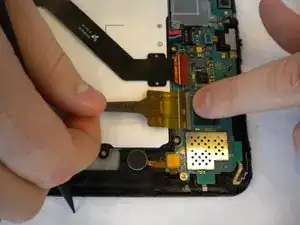
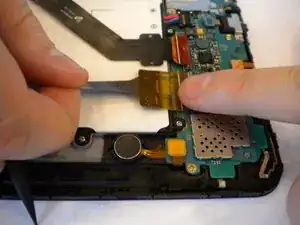
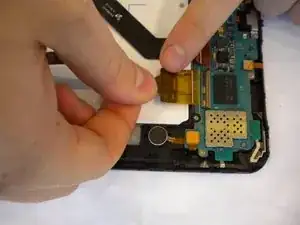
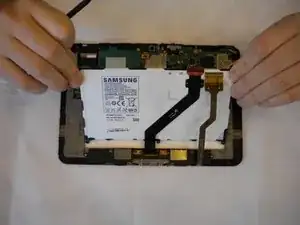
Carefully pull out the yellow flexible ribbon cable to disconnect it from the motherboard.
-
-
-
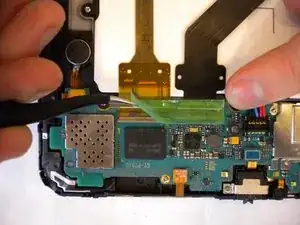
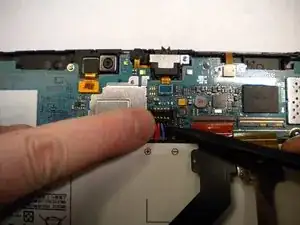
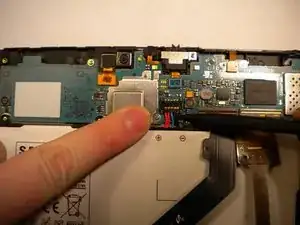
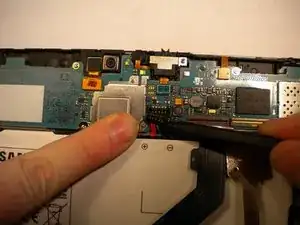
Insert the spudger under the red, black, and white cables.
-
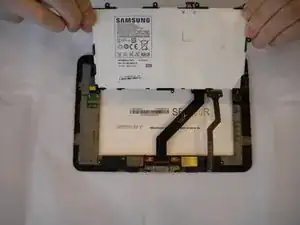
Pry up and detach the battery from the motherboard.
-
-
-
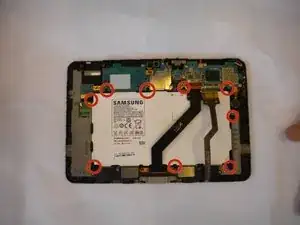
Use a Phillips #00 screwdriver to remove the nine 1 mm screws located around the battery.
-
-
-
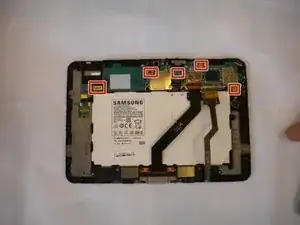
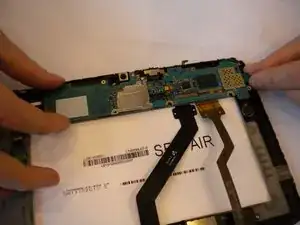
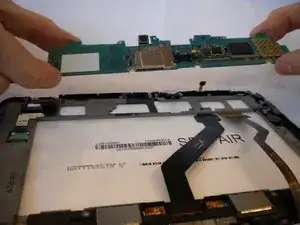
Locate the motherboard and 5 connectors on it.
-
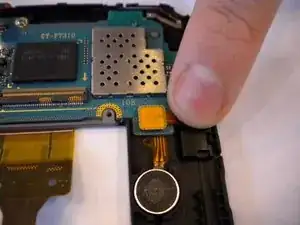
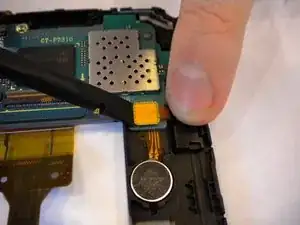
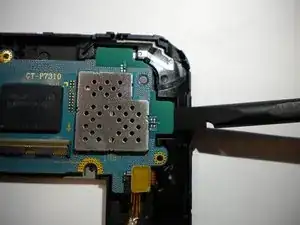
Pry up and detach the connector from the motherboard using the flat edge of the spudger.
-
Repeat for the 4 remaining connectors.
-
-
-
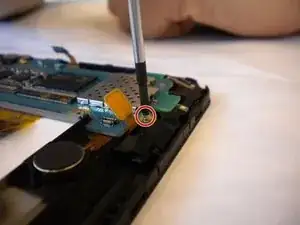
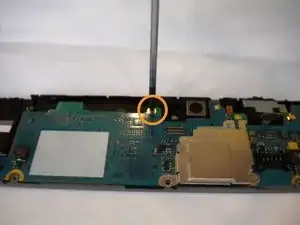
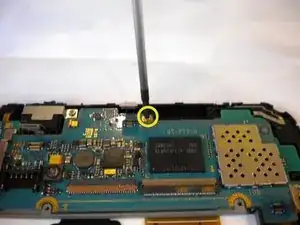
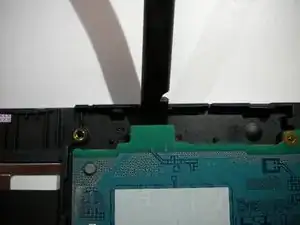
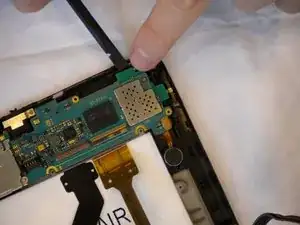
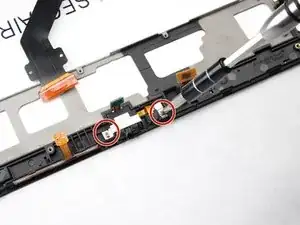
Using the Phillips #00 screwdriver, unscrew the 3 screws (1mm) that are located near:
-
Camera
-
Power and volume buttons
-
Tilt sensor
-
To reassemble your device, follow these instructions in reverse order.
