Einleitung

  1. JUFQlfqVvdtqwXDE
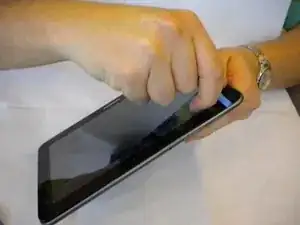
    • Insert a plastic opening tool between the back cover and screen of the Samsung Galaxy Tab 8.9 (as indicated in the photograph).

  2. st4ydVCPQKLDYyNf
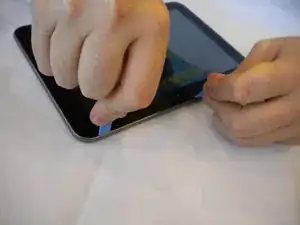
    • Insert a second plastic opening tool 6 cm (~2.4 inches) away from the first tool.

  3. 6nfwo1tTNACGMcTW
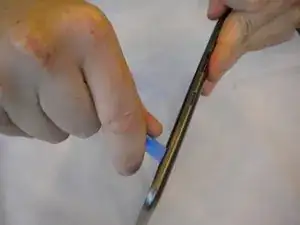
    • Slide the second plastic opening tool along the edge of the device to separate the back cover.

  4. haBkKFVNm4kHnxsQ
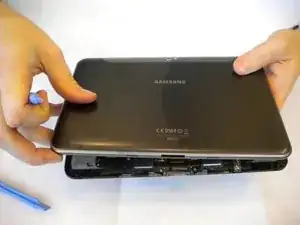
    • Using your hands, remove the back cover.

  5. ZOrs5Vv5Hscn6gR1
    ZOrs5Vv5Hscn6gR1
    WJaBkKyDSvIdZHop
    1NFK2WZXcUsNUGPl
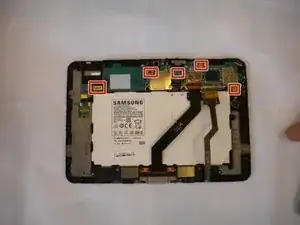
    • Locate the motherboard and 5 connectors on it.

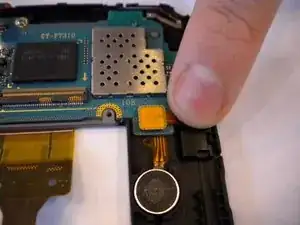
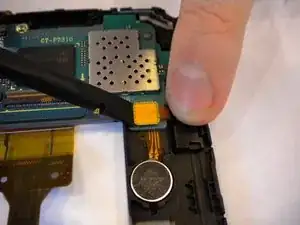
    • Pry up and detach the connector from the motherboard using the flat edge of the spudger.

    • Repeat for the 4 remaining connectors.

  6. Z6ByYHDvq4OCnnjq
    Z6ByYHDvq4OCnnjq
    YbfhE5GMPSyMs4iZ
    nNXCEWudgrhYbdZe
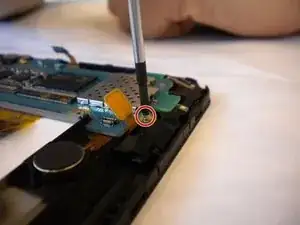
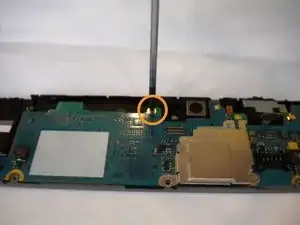
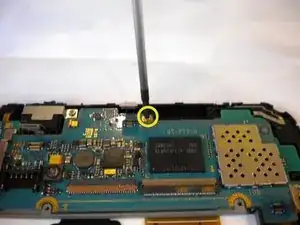
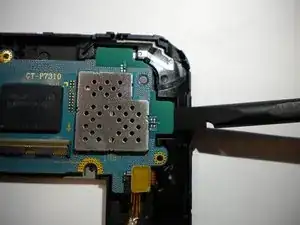
    • Using the Phillips #00 screwdriver, unscrew the 3 screws (1mm) that are located near:

    • Camera

    • Power and volume buttons

    • Tilt sensor

  7. CgciBfXlVvva1amJ
    CgciBfXlVvva1amJ
    5omApDFBMRFeU4PK
    LnakDpDeyMLMxMWN
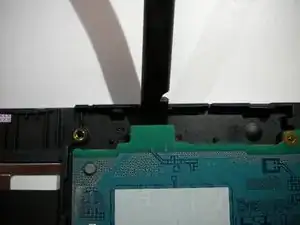
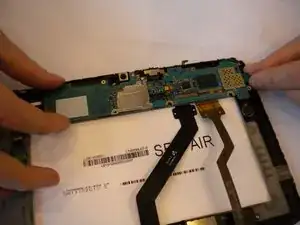
    • Using the flat edge of the spudger, pry and lift up the motherboard.

  8. y5NNrn6RIZIZp2LS
    y5NNrn6RIZIZp2LS
    BLpECDThjFlxTl5r
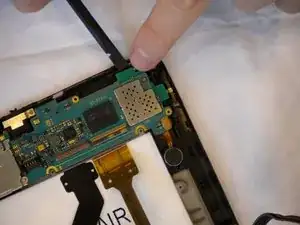
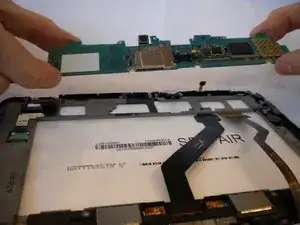
    • Pull away the motherboard from the housing.

  9. EU4ye5aBOe1ZwyDn
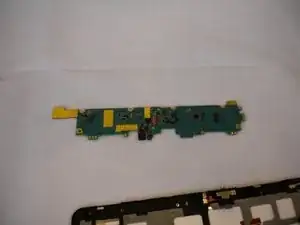
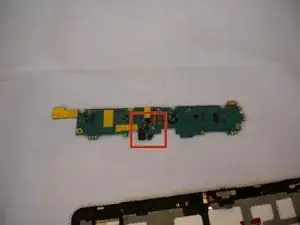
    • After removing motherboard from device, flip motherboard over.

  10. CxTWIPmlClBJbv35
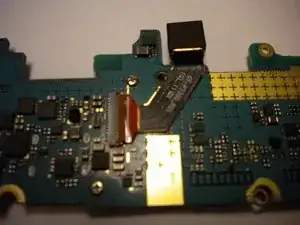
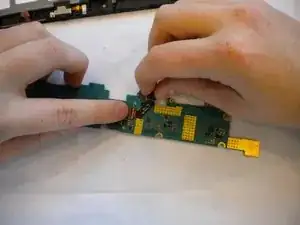
    • Camera is located in the center of motherboard.

  11. A5ltSMAAgeMJsIfn
    A5ltSMAAgeMJsIfn
    ZXSkt2HWOUDpXBbF
    3YJYYa5hWCfQqYcW
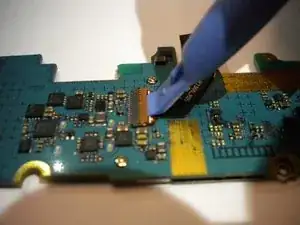
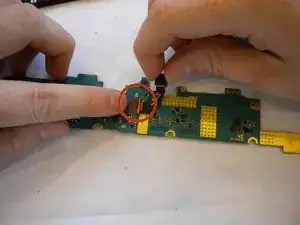
    • Using flat side of Spudger, lift orange tab connecting the flex ribbon of the camera to the motherboard.

  12. n2NtorxrOHPZGJCX
    n2NtorxrOHPZGJCX
    aL6U2KYWjYLTCIMj
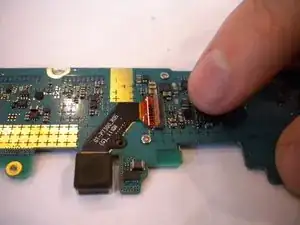
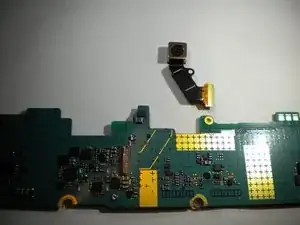
    • Remove the camera from the motherboard.

Abschluss

To reassemble your device, follow these instructions in reverse order.
Aleezee True

Mitglied seit: 30/09/14

532 Reputation

0 Kommentare