Einleitung
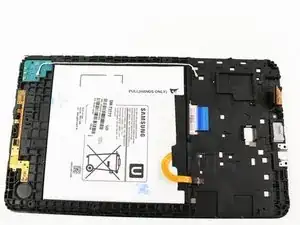
The battery of the Samsung Galaxy Tab E 8.0 may run out of charge rapidly or may not be able to hold charge at all. This guide will show how to replace the tablet's battery, which is attached to the front panel.
Werkzeuge
-
-
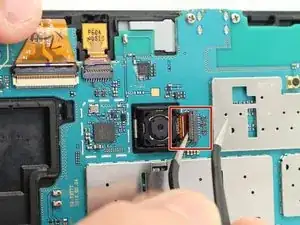
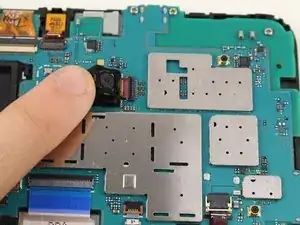
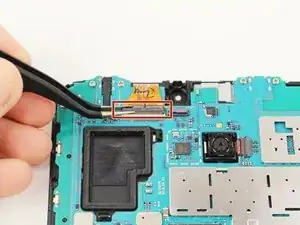
Use the tweezers to lift the switch connecting the back camera to the motherboard.
-
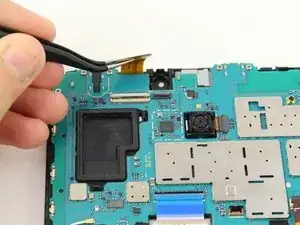
Use your hand to remove the back camera from the motherboard.
-
-
-
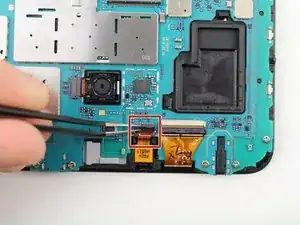
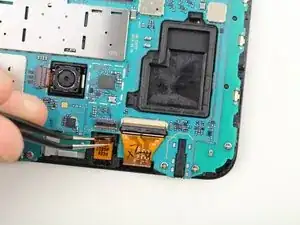
Use the tweezers to lift the switch connecting the front camera to the motherboard.
-
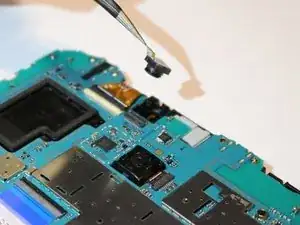
Remove the front camera from the motherboard by lifting with the tweezers.
-
-
-
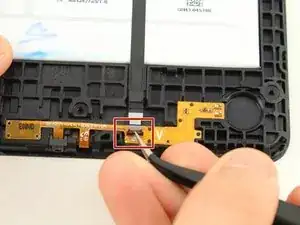
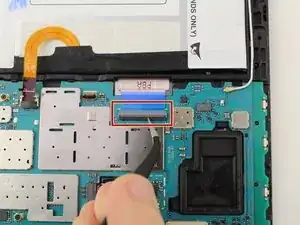
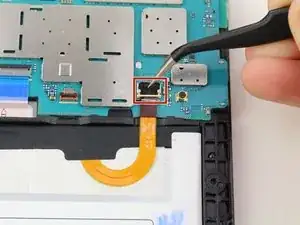
Use the tweezers to flip the switch on the bottom of the strap that goes over the battery.
-
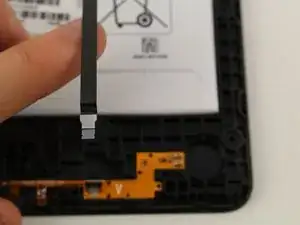
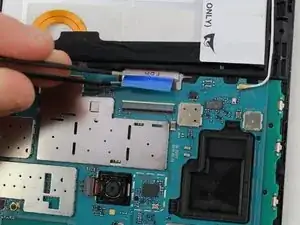
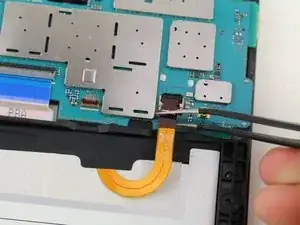
Release the strap from the switch by lifting the strap with your hand.
-
-
-
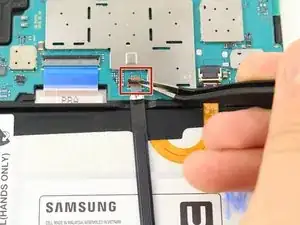
Use the tweezers to flip the switch that connects the top of the strap to the motherboard.
-
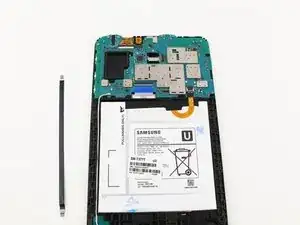
Lift the top end of the strap with your hand and remove the strap completely from the device.
-
-
-
Use the tweezers to flip the switch of the connector.
-
Lift the connector from the motherboard.
-
-
-
Use the tweezers to flip the switch of the blue connector on the motherboard.
-
Lift the connector from the motherboard.
-
-
-
Use the tweezers to flip the switch of the connector that runs from the battery to the motherboard.
-
Lift the connector from the motherboard.
-
-
-
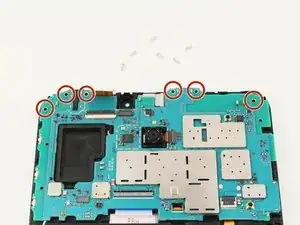
Use a JIS #00 screwdriver to remove the six 4.5mm screws at the top of the motherboard.
-
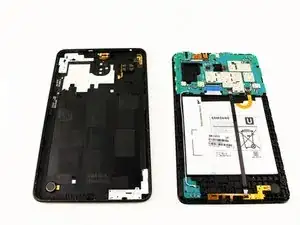
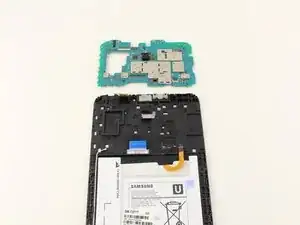
Lift the motherboard with your hand to detach the motherboard from the device.
-
-
-
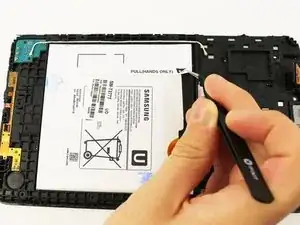
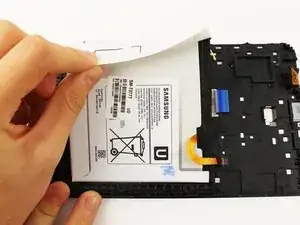
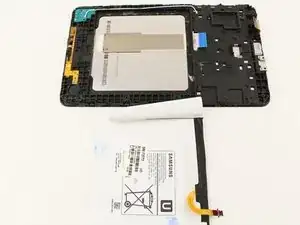
Use the tweezers to lift the flap on the left end of the battery and pull up with your hand to remove the battery.
-
To reassemble your device, follow these instructions in reverse order.
5 Kommentare
Any chance that the tablet will not charge even with a new battery?
Check to see if the ZIF connector is all the way in.
All you really need to do is take out the cable that runs over the battery. After that just disconnect the battery from the logic board and you can remove the battery with the tabs. A lot less steps and less steps that could go wrong.
Can confirm, completed the guide and skipped a total of four steps.
Pospesel -
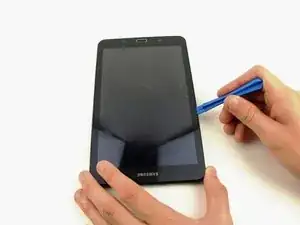
Note the T378 version has adhesive around the frame. It will need to be softened with some heat, first, but otherwise opens the same exact way. I wasn’t aware of this an accidentally cracked the digitizer lol. Thankfully, I had a spare.

deffently got to apply heat to that front screen due to the adessive bewhind or mostlikly crack the screen
Trent Weaver -