Einleitung
This guide demonstrates how to replace the battery on the Samsung Galaxy Tab E 9.6 Verizon.
Werkzeuge
-
-
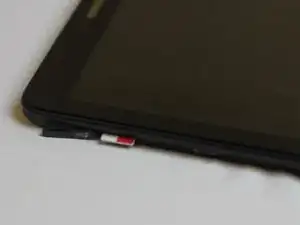
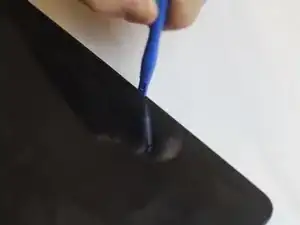
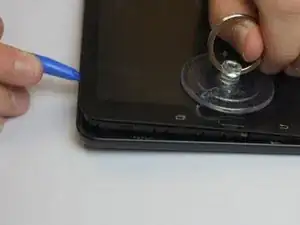
Insert the plastic opening tool by wedging it between the device's screen and back cover.
-
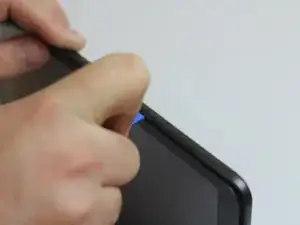
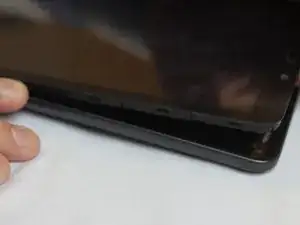
Move the plastic tool around the edges of the device to undo the plastic lips holding the casing together.
-
-
-
This process will become easier as more clips are separated.
-
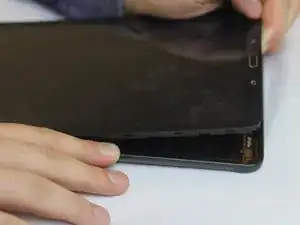
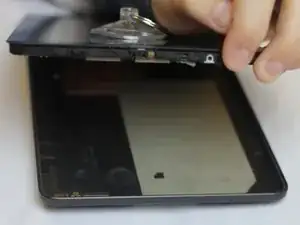
Use your hands to gently pull the back cover off the device after about half of the clips are separated.
-
-
-
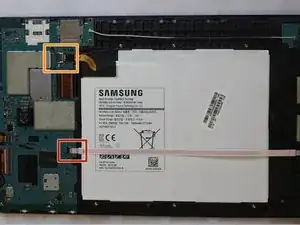
Once the back casing on the device has been removed, turn the device over and look for the two cables that need to be disconnected from the motherboard.
-
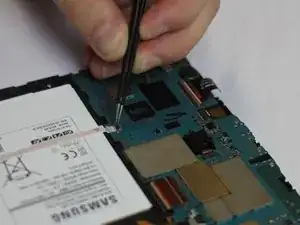
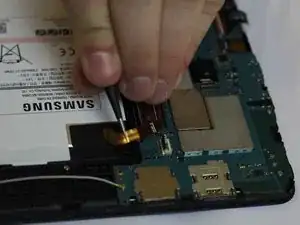
The first cable to be disconnected is a ribbon cable that runs across the entire battery. Using a spundger tool or tweezers, gently lift the black part of the connector upwards towards the battery. Once lifted up, use a pair of tweezers to pull the ribbon cable from its housing.
-
The second cable, which connects the battery to the motherboard, is removed in a similar fashion. First release the housing lock by flipping the back part of the connector upwards. Then remove the cable using a pair of tweezers.
-
-
-
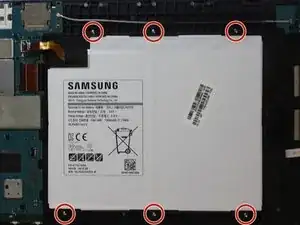
There are a total of six 3mm PH000 screws holding the battery in place. Use a standard Phillips #000 screwdriver to remove all six screws.
-
-
-
In addition to the six screws, the battery is held in place with an adhesive glue. If this is the first time you've removed the battery, you will need to pry the battery loose from the adhesive.
-
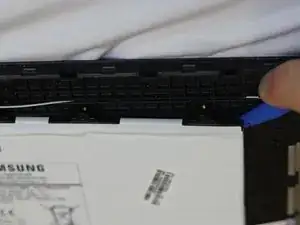
Use a plastic opening tool to break the adhesive and pry the battery upwards. Do this around the entire perimeter of the battery.
-
-
-
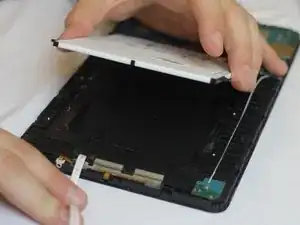
After thoroughly detaching the battery from the adhesive glue, pull the battery up and out of its housing.
-
To reassemble your device, follow these instructions in reverse order.
