Einleitung
This guide is a multi-step process to replace the camera on your Samsung tablet. In order to replace the camera, you will need various tools specific to working with tablets and smartphones. In our guide you will find the specific tools we used to complete the replacement of the camera. This repair is needed if you can no longer take a picture with your tablet due to a camera malfunction internally or if the lens cracked from hitting a hard surface. One step to be cautious on when replacing the camera is removing the digitizer from the LCD screen. The digitizer is connected to the circuit board by ribbon cables, so it is very important to peel back the digitizer slowly and carefully to not rip or tear the cables. The other steps should also be done with care but do not pose as much of a threat from the mistake category.
-
-
Place the Tablet on a flat surface
-
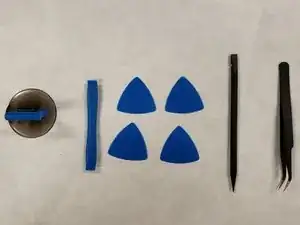
Gather the required tools: iFixit opening tool, iFixit opening picks, precision tweezers, suction handle, and spudger.
-
-
-
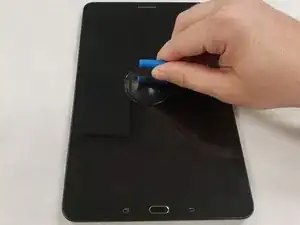
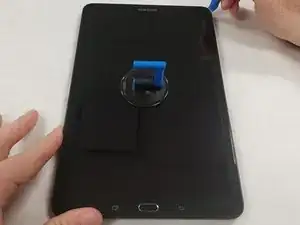
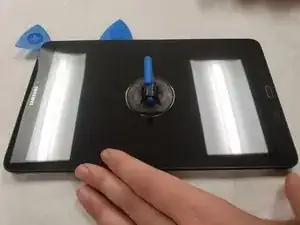
Place suction handle in the center of the screen. Firmly press it downwards.
-
This is done to help assist lifting the screen once the edges are loose.
-
-
-
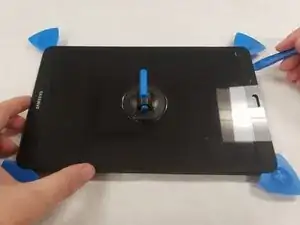
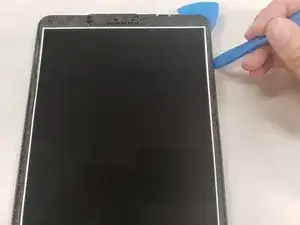
Grab the iFixit opening tool and wedge the sharp end into the corner of the screen. Pry it upwards, lifting up the corner of the screen.
-
-
-
Place the iFixit opening pick between the lifted corner and the housing to prevent the screen from falling back into the housing.
-
-
-
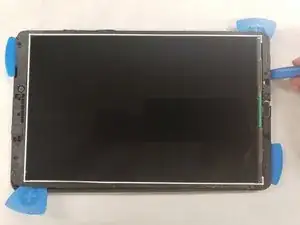
Continue around the perimeter of the screen until you have placed the picks in each remaining corner.
-
Be careful removing the double-sided tape while lifting the screen so that the screen does not break.
-
-
-
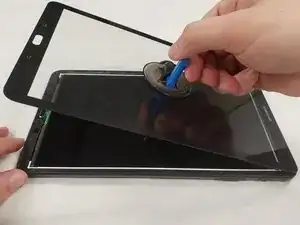
Grab the suction handle and gently lift the screen towards the top of the tablet.
-
Take care while lifting the screen to avoid damaging the ribbon cable at the top of the tablet.
-
-
-
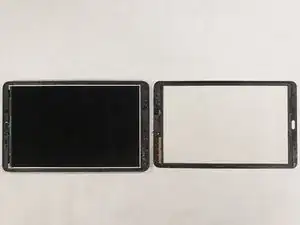
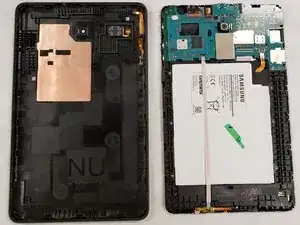
Grab the iFixit opening tool and wedge the sharp end into the corner of the housing and pry upwards.
-
Place an iFixit opening pick between the housing and the LCD assembly.
-
-
-
Continue along the outer edge of the housing until you have placed an iFixit opening pick in each corner.
-
-
-
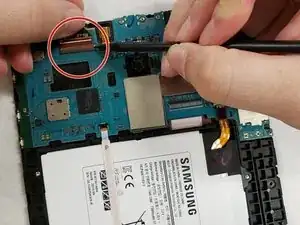
Locate the ribbon cable connector on the back of the LCD assembly.
-
Use the spudger to pry the ZIF connector lock tab upwards.
-
Pull the the ribbon cable to remove it from the connector.
-
-
-
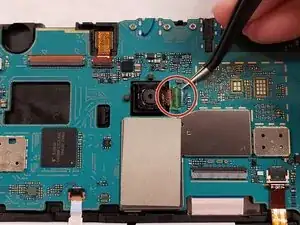
Use the curved precision tweezers and carefully peel off the protective green film on top of the camera connector.
-
-
-
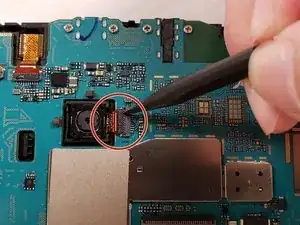
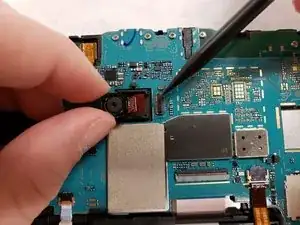
Use the spudger and gently pry the ZIF connector lock tab upwards, releasing the ribbon cable.
-
To reassemble your device, follow these instructions in reverse order.