Einleitung
To replace a broken screen for this tablet, the user has to ensure that they have all the tools needed. For this project the costumer would need the iFixit opening tool and the picks. After gathering all the needed tools, begin by placing the tools and the tablet on a hard surface like a table. After that, use the opening tool to get in one of the sides of the tablet and slide that to go around the entire tablet. Place the picks in each corner as you go around. Now the screen is ready to be removed. Grab the new screen and pull the plastic cover. Clean the tablet screen using a cleaning wipe and place the new screen. After closing everything you press the new screen down to ensure proper placement. You should be able to use the tablet at this point.
Werkzeuge
-
-
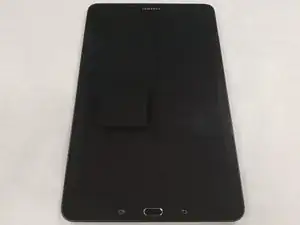
Place the Tablet on a flat surface.
-
Gather the required tools : iFixit opening tool, iFixit opening picks, precision tweezers, suction handle, and spudger.
-
-
-
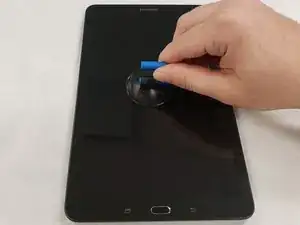
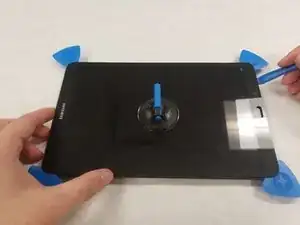
Place suction handle in the center of the screen. Firmly press it downwards .
-
This is done to help assist lifting the screen once the edges are loose.
-
-
-
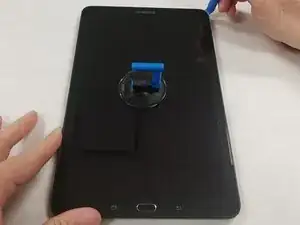
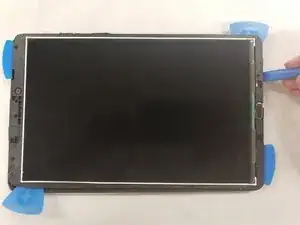
Grab the iFixit pening tool and wedge the sharp end into the corner of the screen. Pry it upwards, lifting up the corner of the screen.
-
-
-
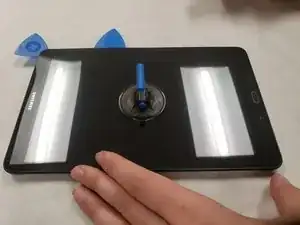
Place the iFixit opening pick between the lifted corner and the housing to prevent the screen from falling back into the housing.
-
-
-
Continue around the perimeter of the screen until you have placed the picks in each remaining corner.
-
Be careful removing the double-sided tape while lifting the screen so that the screen does not break.
-
-
-
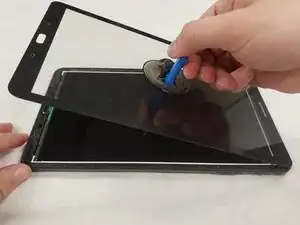
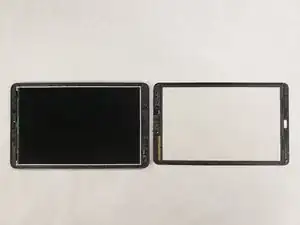
Grab the suction handle and gently lift the screen towards the top of the tablet.
-
Take care while lifting the screen to avoid damaging the ribbon cable at the top of the tablet.
-
-
-
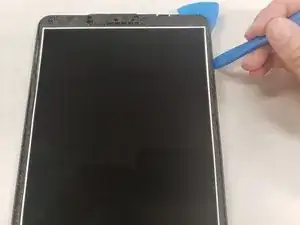
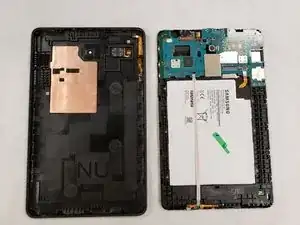
Grab the iFixit opening tool and wedge the sharp end into the corner of the housing and pry upwards.
-
Place an iFixit opening pick between the housing and the LCD assembly.
-
-
-
Continue along the outer edge of the housing until you have placed an iFixit opening pick in each corner.
-
-
-
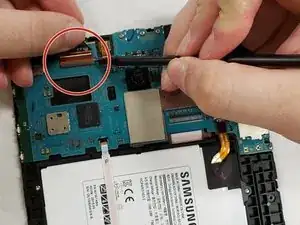
Locate the ribbon cable connector on the back of the LCD assembly.
-
Use the spudger to pry the connector tab upwards.
-
Pull the the ribbon cable to remove it from the connector
-
-
-
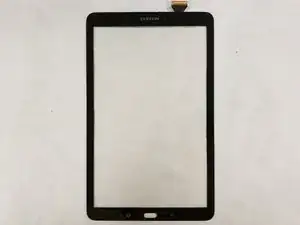
Once the ribbon cable is removed, pull the screen off of the motherboard and place it to the side.
-
To reassemble your device, follow these instructions in reverse order.
