Einleitung
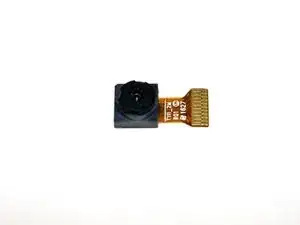
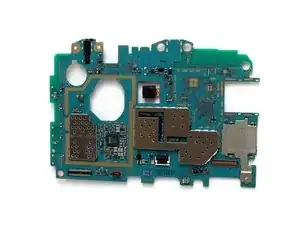
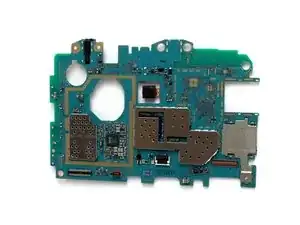
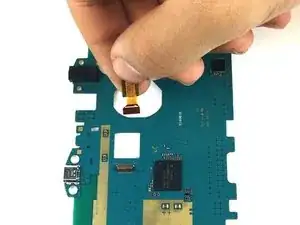
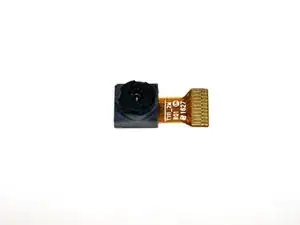
This replacement guide will show you how to replace the camera in your Samsung Galaxy Tab E Lite 7 Kids. You will need to follow the instructions carefully as to not damage any fragile components in your tablet.
Werkzeuge
-
-
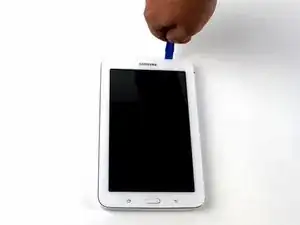
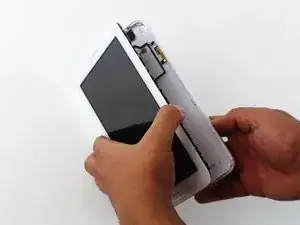
Using a plastic opening tool, wedge in the seam between the screen and the case.
-
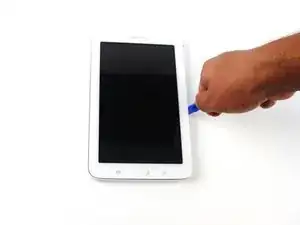
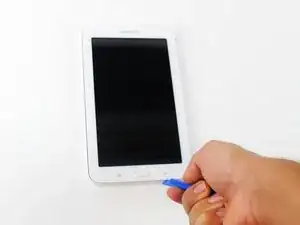
Rock the tool by moving it towards and away from the middle of the screen, trying to separate the tape holding the screen and case together.
-
-
-
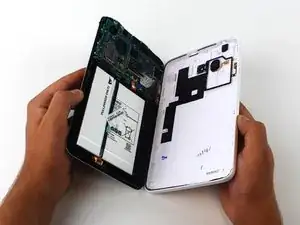
After separating the latches holding the screen and case together, slowly take the screen off the case.
-
-
-
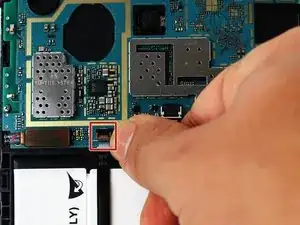
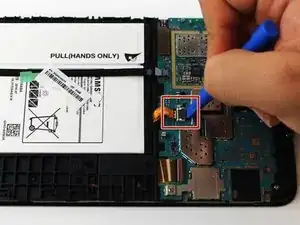
Use the plastic opening tool to lift up the black ZIF (zero insertion force) connector.
-
Use your hands to pull the black cable out of its slot.
-
-
-
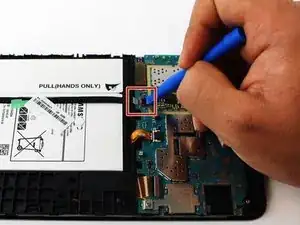
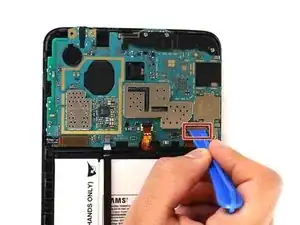
Use the plastic opening tool to lift the ZIF (zero insertion force) connector holding the ribbon cable.
-
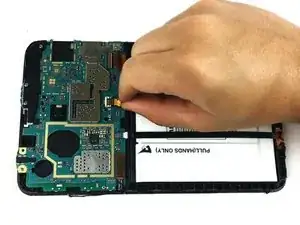
Pull out the battery's ribbon cable.
-
-
-
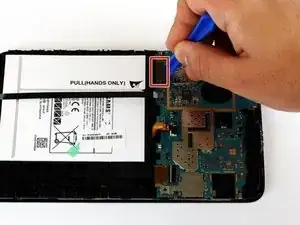
Use the plastic opening tool to lift up the latch to the ribbon cable.
-
Remove the ribbon cable from the connector.
-
-
-
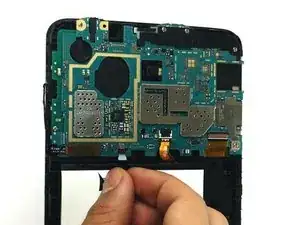
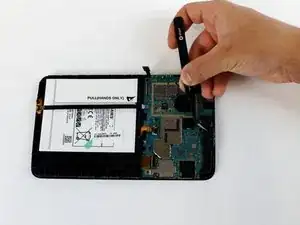
Use the precision tweezers to remove the black plastic corner on top of the motherboard.
-
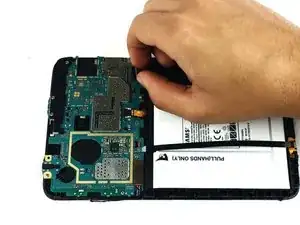
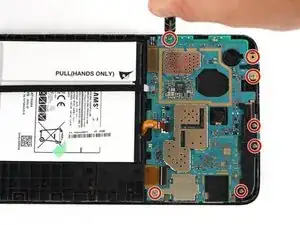
Use the plastic opening tool to pull the motherboard out of the case.
-
-
-
Flip the motherboard over.
-
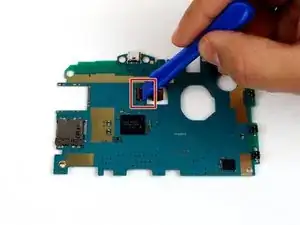
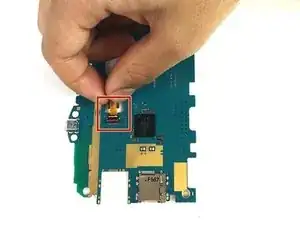
Use a plastic opening tool to lift up the latch holding the camera cable.
-
To reassemble your device, follow these instructions in reverse order.
