Einleitung
Prerequisite Only
Werkzeuge
-
-
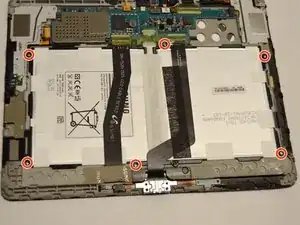
Remove the tape that runs along the length of the battery.
-
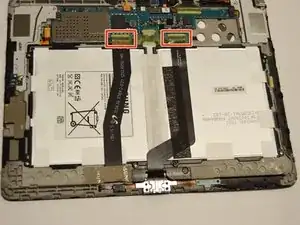
Lift the retaining flaps of the ZIF connectors on each side of the battery connector.
-
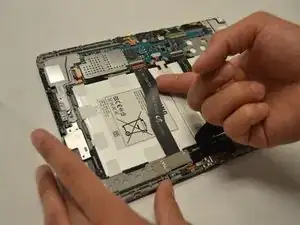
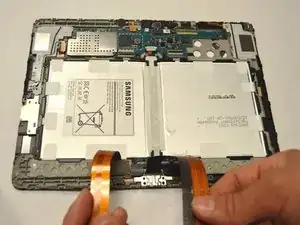
Remove the two ribbon cables that lay across the width of the battery and are connected to the motherboard. Place your finger underneath the ribbon cable and gently lift the cable upwards and off.
-
-
-
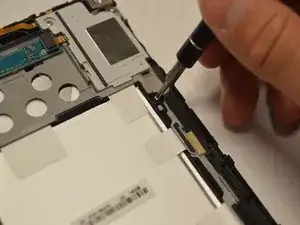
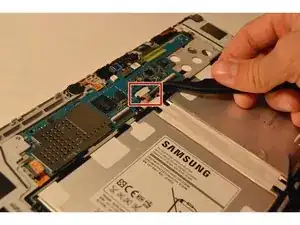
Use a plastic tweezer and remove the top center 6 pin power connector that is attached to the edge of the motherboard.
-
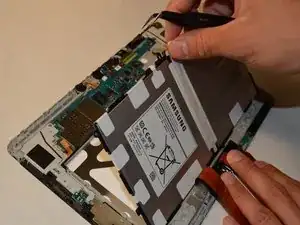
Detach the battery by gently lifting the battery out of the panel.
-
Abschluss
To reassemble your device, follow these instructions in reverse order.
