Einleitung
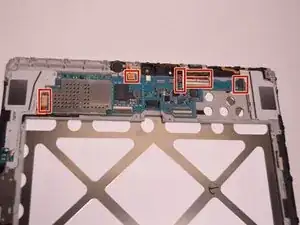
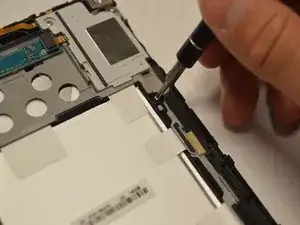
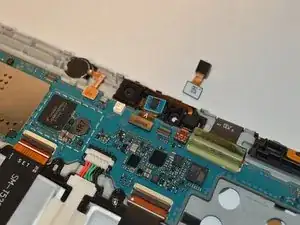
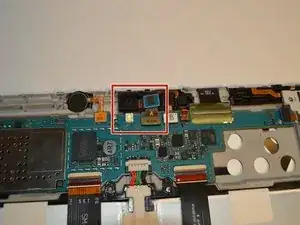
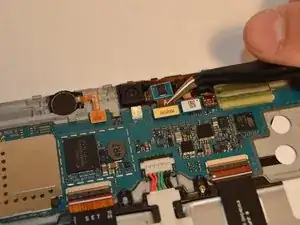
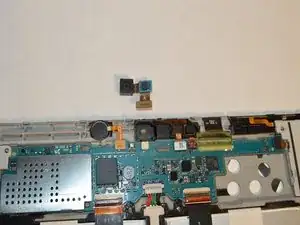
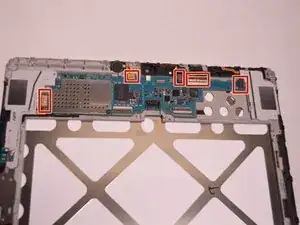
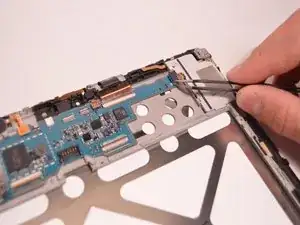
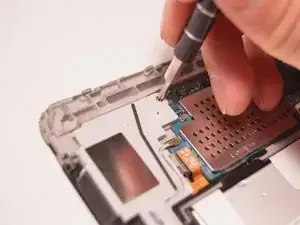
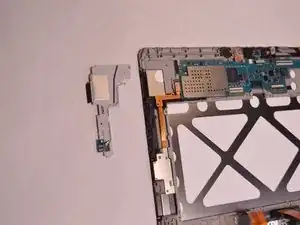
This guide will show how to replace the motherboard on the Samsung Galaxy Tab Pro 10.1. The process will involve removing the rear panel, battery cables, and the battery. The front and rear cameras will also need to be removed to access the motherboard by itself. Then, the steps to remove the motherboard for replacement will be outlined.
Werkzeuge
Ersatzteile
-
-
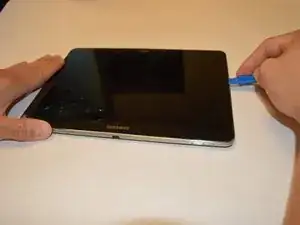
Insert a plastic opening tool into the crevice between the screen and the side of the tablet.
-
Go around the entire crevice with the plastic opening tool.
-
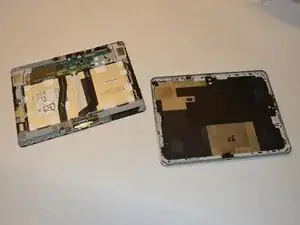
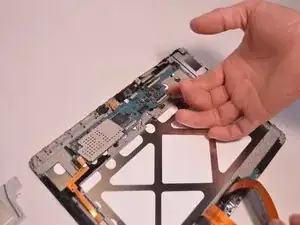
Set aside the separated front and rear panels of the device.
-
-
-
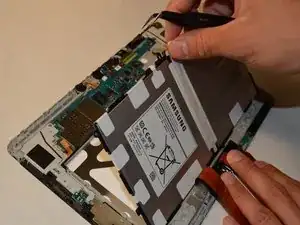
Remove the tape that runs along the length of the battery.
-
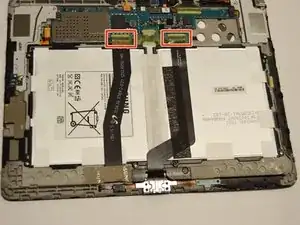
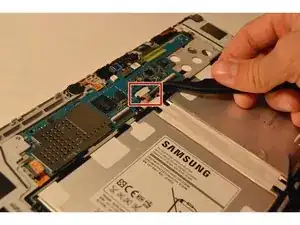
Lift the retaining flaps of the ZIF connectors on each side of the battery connector.
-
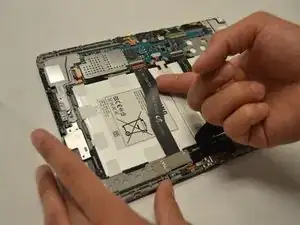
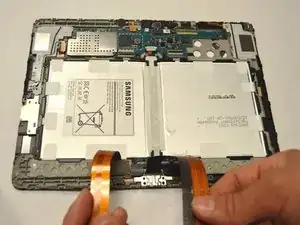
Remove the two ribbon cables that lay across the width of the battery and are connected to the motherboard. Place your finger underneath the ribbon cable and gently lift the cable upwards and off.
-
-
-
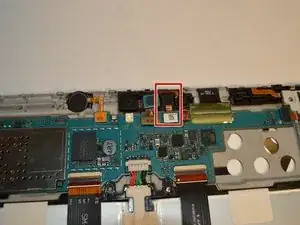
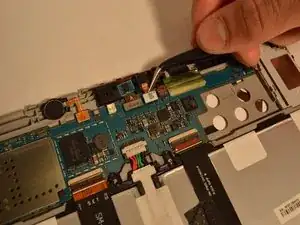
Use a plastic tweezer and remove the top center 6 pin power connector that is attached to the edge of the motherboard.
-
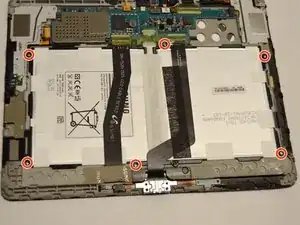
Detach the battery by gently lifting the battery out of the panel.
-
To reassemble your device, follow these instructions in reverse order.
3 Kommentare
very useful,thanks a lot.
Singh
ارغب باصلاح شريحة الاتصال
Thanks for this manual. Can you help me recognise the Wifi/BT module? I have a problem with that - with some luck it is just the connector....
Arno -
