Einleitung
Is your tablet's camera not working or taking blurry pictures? No need to worry! This guide will help you replace the camera in a few easy steps.
Werkzeuge
Ersatzteile
-
-
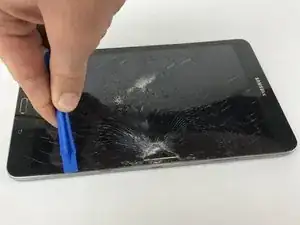
Begin by separating the back panel from the screen glass assembly using the plastic opening tool.
-
Insert the plastic opening tool between the edge of the glass screen and the metal frame around the device.
-
-
-
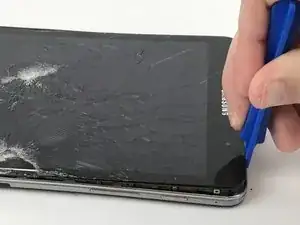
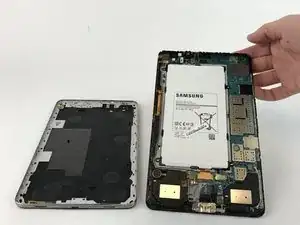
Continue around the entire device until the back panel is completely separated from the screen.
-
-
-
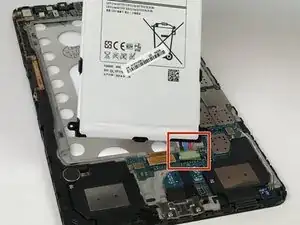
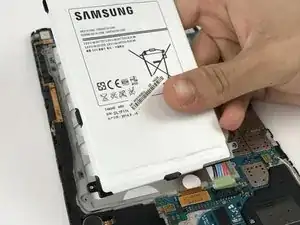
Gently pull up on the plastic tab that has red, blue and black wires that connects the battery to the motherboard.
-
-
-
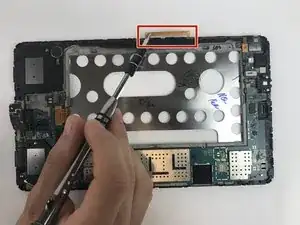
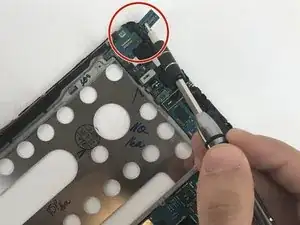
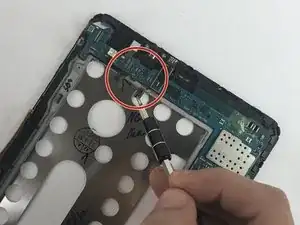
Remove all the clips that are attached to the motherboard using your fingers or a nylon spudger.
-
-
-
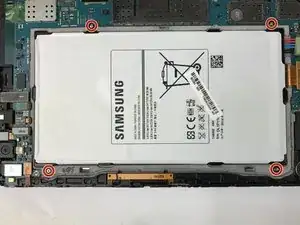
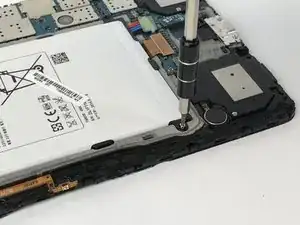
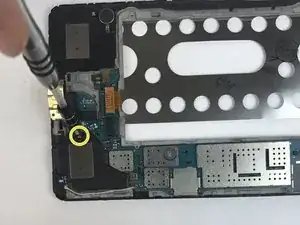
There are four Phillips head screws (2.5mm) that need to be removed:
-
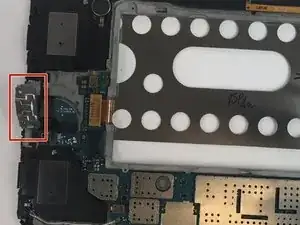
Two on the charging port, which is the small metallic piece at the bottom of the device.
-
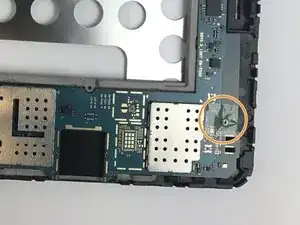
There is one screw that is covered by a small green tape. The tape must be peeled off before the screw under can be removed.
-
The last screw is found on a speaker at the bottom right of the device. Once the screw is removed, the speaker must be removed as well.
-
-
-
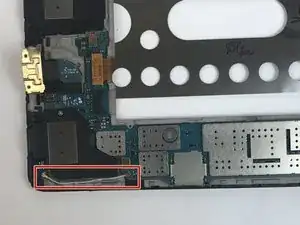
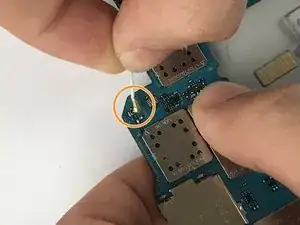
There is a small wire that connects the motherboard to the bottom right corner.
-
Gently pull the end of the wire that attaches the motherboard to the device until the wire is disconnected.
-
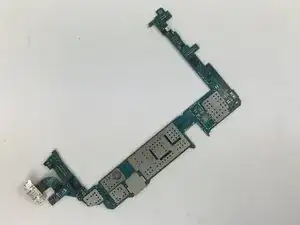
After the cord is disconnected, the motherboard can be removed from the tablet by simply lifting it from the device.
-
-
-
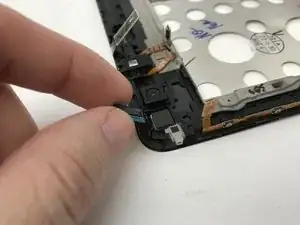
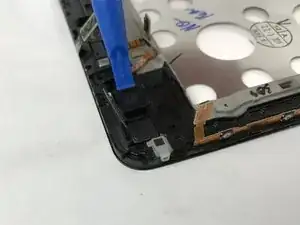
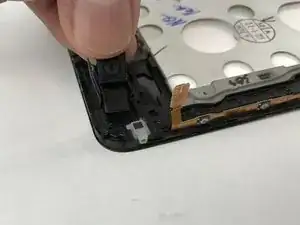
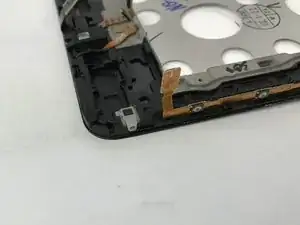
Once the motherboard has been removed, use a plastic opening tool to gently push the camera out of its place.
-
To reassemble your device, follow these instructions in reverse order.
