Einleitung
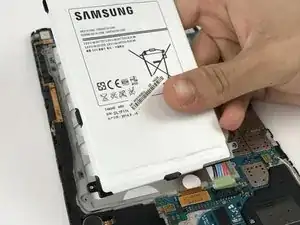
This guide will show you how to take off the back panel of the device and take out and replace the battery.
Werkzeuge
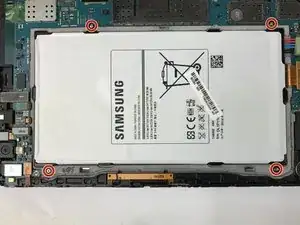
Ersatzteile
-
-
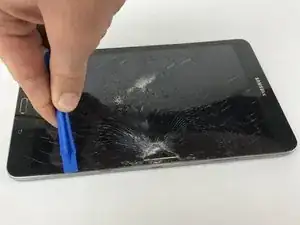
Begin by separating the back panel from the screen glass assembly using the plastic opening tool.
-
Insert the plastic opening tool between the edge of the glass screen and the metal frame around the device.
-
-
-
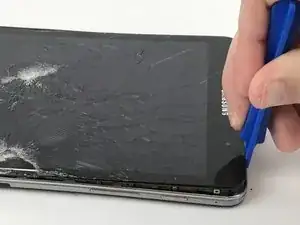
Continue around the entire device until the back panel is completely separated from the screen.
-
-
-
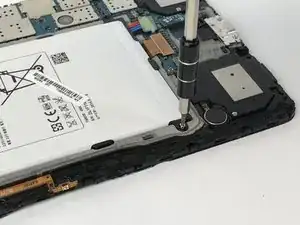
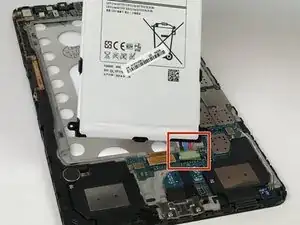
Gently pull up on the plastic tab that has red, blue and black wires that connects the battery to the motherboard.
-

Abschluss
To reassemble your device, follow these instructions in reverse order.