Einleitung
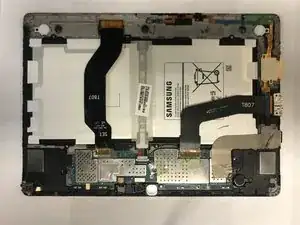
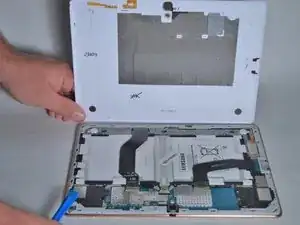
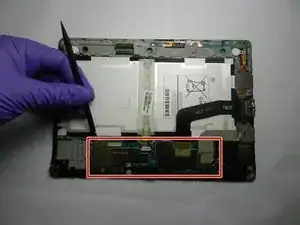
To one who has never done any sort of work with technology, replacing the motherboard can seem scary by the sound of it. This guide will walk you through how easy it actually is and how quickly it can be done! You’ll feel like a professional IT worker at the end!
Werkzeuge
-
-
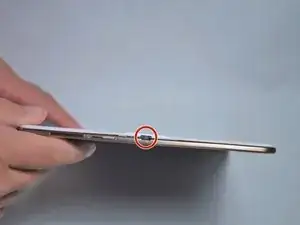
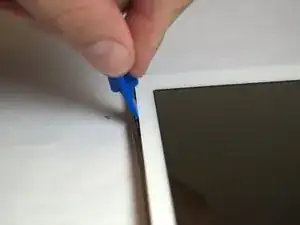
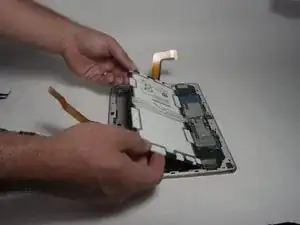
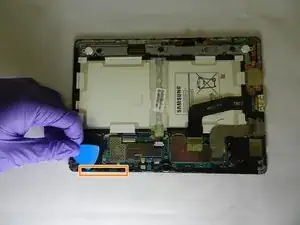
Place the plastic opening tool into the SD card slot or charge port.
-
Try in an upward motion until you see a separation between the tablet and back cover.
-
-
-
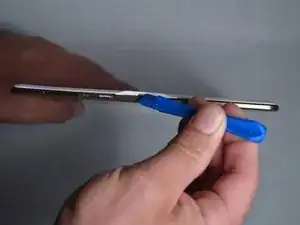
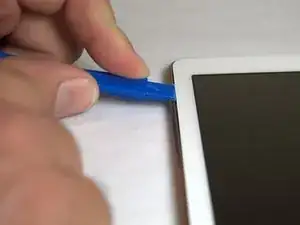
Place the plastic opening tool in between the outer rim.
-
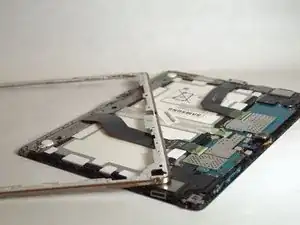
Move the tool in a downward motion to separate the 2 parts.
-
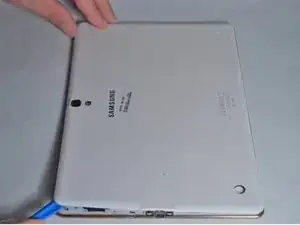
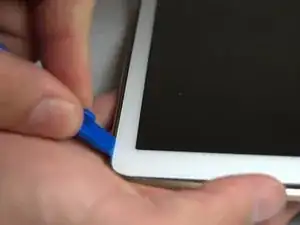
Run the tool along the rim to disconnect all connectors holding the outer rim to the back of the device.
-
-
-
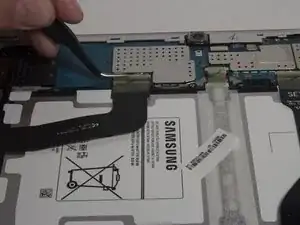
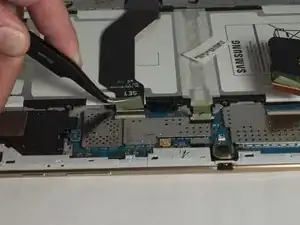
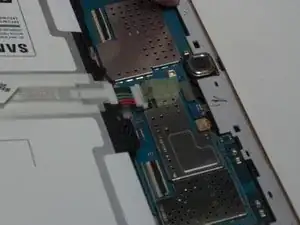
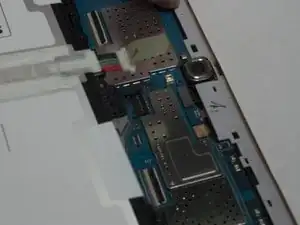
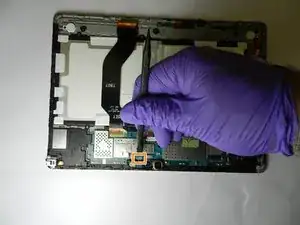
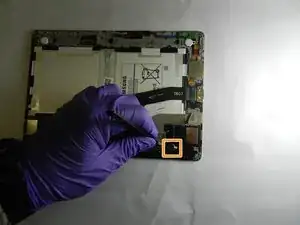
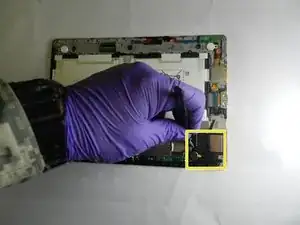
Using tweezers, peel back the green tape from the ZIF connectors on the two black ribbon cables.
-
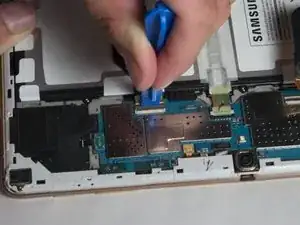
Use a plastic opening tool to lift up the plastic clips on the ZIF connectors.
-
-
-
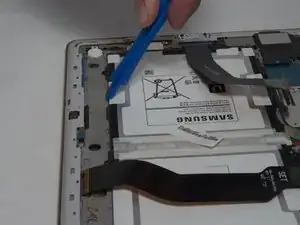
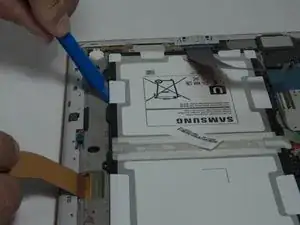
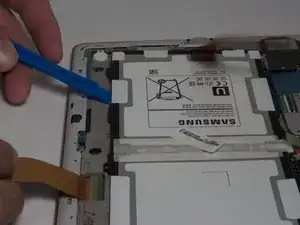
Place the plastic opening tool between the frame and battery.
-
Move the plastic opening tool in a downward motion, away from the battery to bring the battery out of the device.
-
-
-
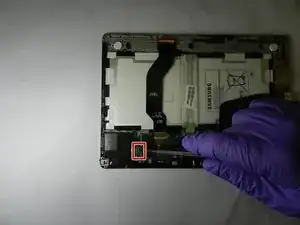
Using a spudger, pry up front camera located near the front edge of the tablet.
-
Remove the rear camera with spudger located directly next to the front camera.
-
-
-
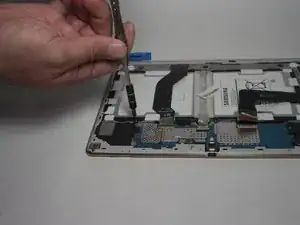
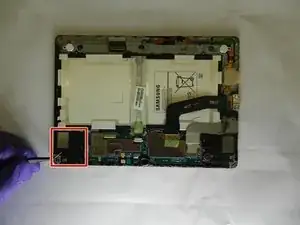
Release the loud speaker connection on the left of the tablet from mother board with spudger by prying.
-
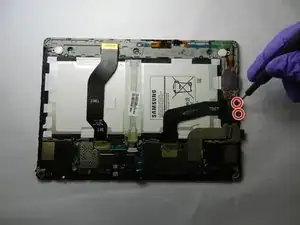
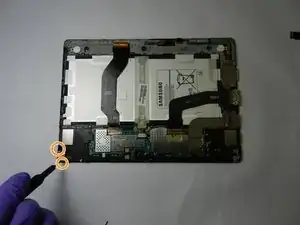
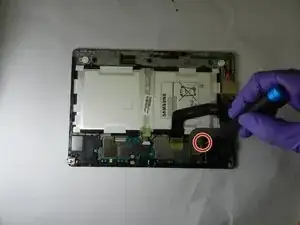
Remove the 2 screws on the sides of the headphone jack with Phillips #000 screwdriver.
-
-
-
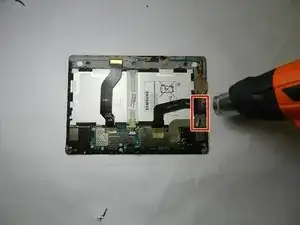
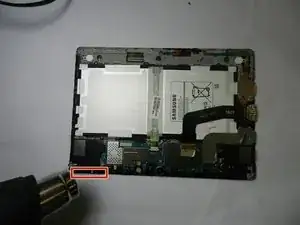
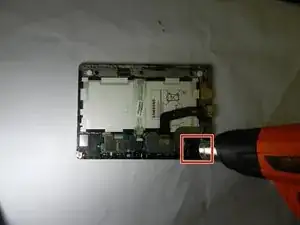
Lightly heat the loud speaker module on the front edge slightly from the side.
-
Using a plastic opening pick, detach it and bend it upwards.
-
-
-
On the right loud speaker, remove 1 screw from the loud speaker module using Phillips #000 screwdriver.
-
-
-
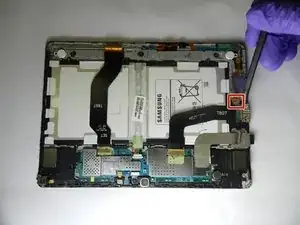
Lightly use heat on right loud speaker module.
-
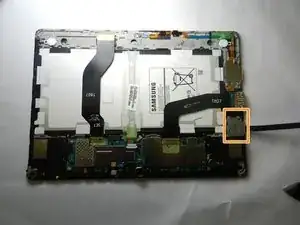
Pry out the vibration motor with tweezers.
-
Pry out whole loud speaker module with tweezers.
-
-
-
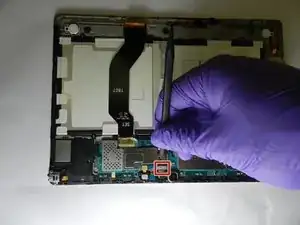
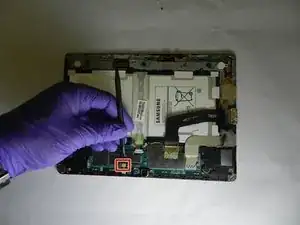
Release the connection of the light sensor, next to the front camera, by lifting up with a spudger.
-
To reassemble your device, follow these instructions in reverse order.
