Einleitung
Large amounts of adhesives are present on the backside of the screen. Exercise caution while working to avoid being cut by any broken glass in the screen.
Werkzeuge
-
-
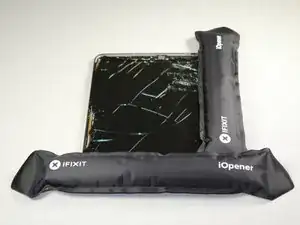
Heat the iOpeners in a microwave for 1-2 minutes.
-
Place heated iOpeners on screen edges to heat the adhesive.
-
-
-
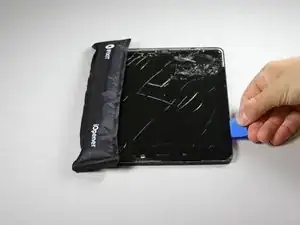
Separate the screen assembly from the back by wedging the picks between the two components.
-
Slide the picks along the edge and leave them holding the device open all around the edges.
-
-
-
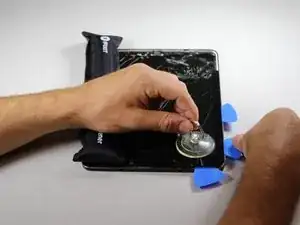
Place suctioning device near the corner of the screen and gently lift up to create a gap between the front panel assembly and the back.
-
Insert the picks to hold the two components apart once a gap is created.
-
-
-
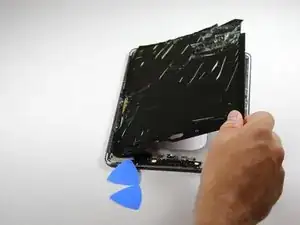
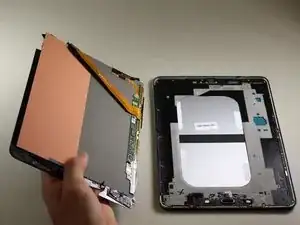
Once all edges have been disconnected, carefully lift the screen off by pulling one side up.
-
-
-
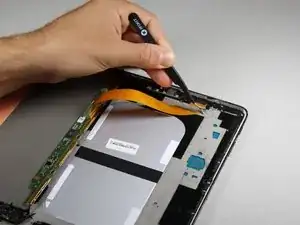
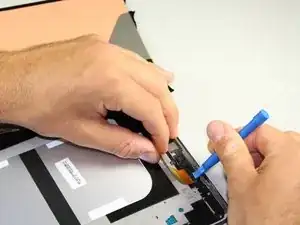
Use the plastic opening tool to get under the connector piece. This will allow you to remove the front panel assembly from the rest of the device.
-
-
-
Detach the connecter from the inside of the device.
-
Lift the screen to separate the front panel assembly from the rest of the device.
-
To reassemble your device, follow these instructions in reverse order.
3 Kommentare
Question. How is the new LCD re-attached? Do you reheat the old adhesive so that it sticks to the new LCD? Or do you need to apply new adhesive? Or is there a double-sided tape to re-attach the new LCD?
Hi,
my glass broke, not the LCD itself. Do you know how to separate LCD and glass, change the glass, and put it back again?
I have found a video on the internet but a laminating machine seems needed?? Any easier solution?
Thanks
I would like to know also
Chris -
Do not remove the screen if you’re replacing the battery, much easier to heat up and pry off the back. Plus no chance of damaging your screen.
Joseph Watson -