Einleitung
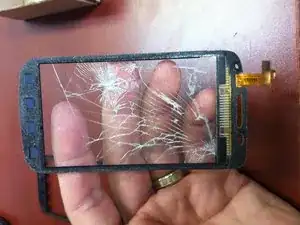
My niece broke the digitizer on her Galaxy W (as the Bell version is named) and I had the task of replacing it.
I think I spent more time trying to find out other names for the phone so I could find a replacement digitizer then I did actually doing the repair.
When I finally came across the name Exhibit II and confirmed that it was the same phone the digitizer was an easy find on eBay.
The overall process was pretty simple and I only hit a couple of minor snags. I've done many iPod, iPhone 4 and 4S as well as iPad screens and this was much easier then either one of those.
Werkzeuge
-
-
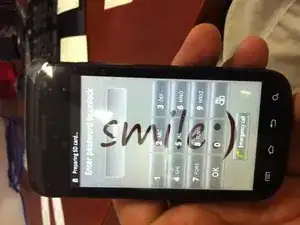
I took pictures of the whole process but I forgot to get a pic of the broken phone. Here it is with the job completed.
-
-
-
The first steps are pretty simple.
-
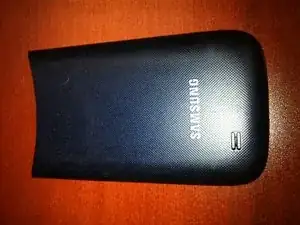
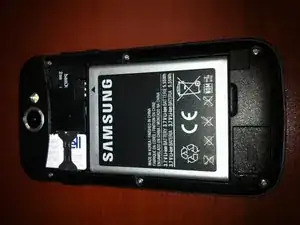
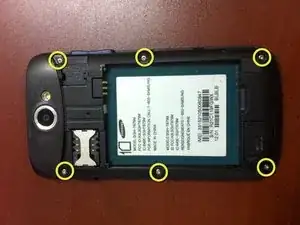
Remove the battery cover, battery, SIM and MicroSD card.
-
-
-
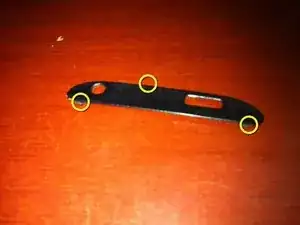
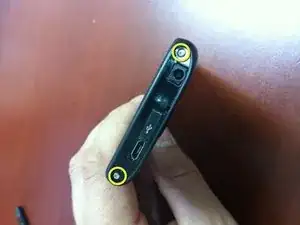
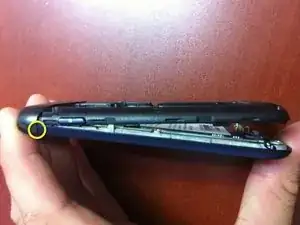
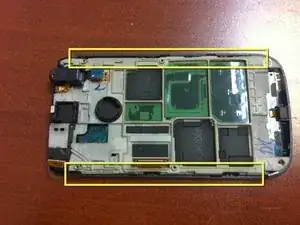
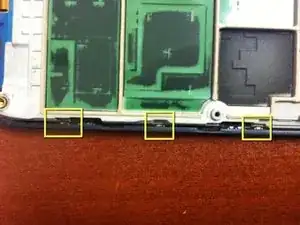
Pry off the top panel, refer to the images below for the locations of clips. Note: I found that the USB ports corners was a good place to lightly pry up- short side first.
-
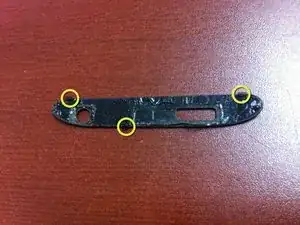
This is the top panel after it was removed. There are three little tabs on this and a bunch of adhesive. I used a small flat head screwdriver on the pointy corner closest to the headphone jack and it popped right up. I slowly worked my way across and got the rest of the cover to pop up as well.
-
While lifting the cover I took my time, ensuring the adhesive wasn't damaged. It all stuck to the top cover as is evident in the second picture.
-
-
-
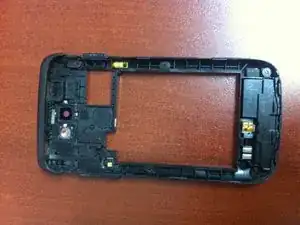
The phone came apart pretty easily. I started on the bottom edge with a flat head screwdriver and carefully pried up the back cover. It opened easily until I got to the top section.
-
In the small gap indicated I inserted a small flat head screwdriver and turned it slowly. Once I opened this gap the rear case slipped off easily.
-
-
-
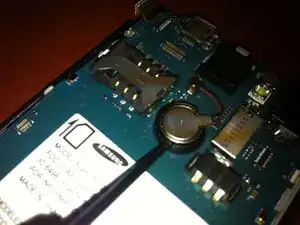
The first thing I removed was the battery. There is a plastic rim around the battery with a gap in one spot. I inserted a small flat head screwdriver in this gap to get under the battery and then popped the battery up and out. I left it connected to the main board.
-
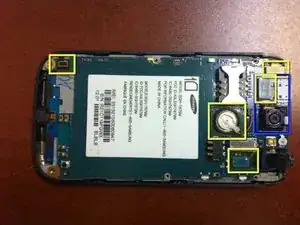
Next you have four connectors to remove. I simply popped them off with my fingernail. Hook it underneath and gently lever them up.
-
The connector with the yellow and blue rectangle on it in the pic is the camera connector. When you lift this connector the camera will be free to remove.
-
-
-
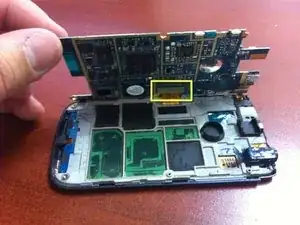
The main board will now lift up easily from the chassis. There is one connector underneath that has to be removed. Again, a fingernail worked perfectly for me.
-
Once this connector was removed the main board was free from the rest of the phone.
-
-
-
The next steps involved a bit of a battle. The chassis has to be separated from the front of the phone.
-
There are a number of clips holding the two pieces together. Again I used a small flat head screw driver to get the pieces to spread apart and then worked the two pieces apart gently... making sure not to damage anything.
-
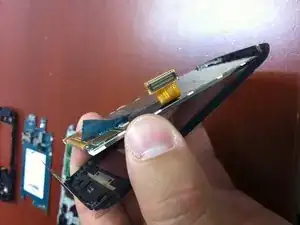
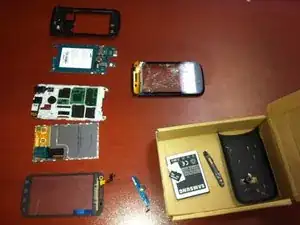
Once all the pieces were separated I noticed that my LCD was stuck to the front of the phone. In some cases it may stick to the chassis. In my case this meant I had to wrestle the LCD off of the front. (see step 11)
-
-
-
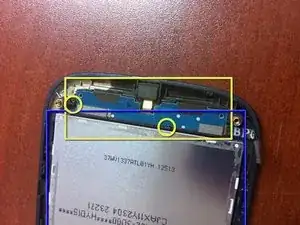
The yellow rectangle indicates the microphone board. This should be removed to replace the digitizer. There are a couple of little clips to ply away from the board and this piece will pop out easily.
-
The LCD is indicated by the blue rectangle.
-
-
-
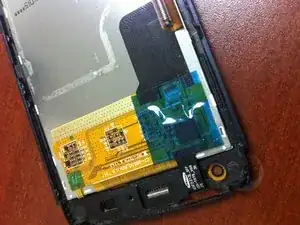
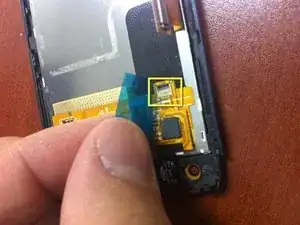
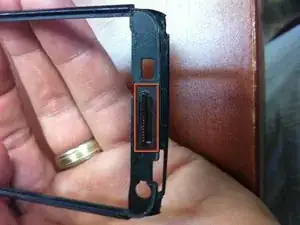
This piece of blue tape has to be lifted to access the digitizer connector beneath.
-
The Yellow rectangle indicates the connector. The black piece has to be flipped up. Again, my fingernail worked fine here.
-
Once this is up the cable slips out easily and is quite easy to reinsert and lock back down.
-
-
-
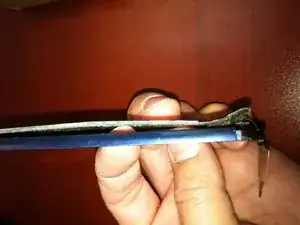
To remove the LCD from the front panel I had to work carefully along the edges. I didn't want to break the LCD.
-
Once it loosened up a little I was able to slide a guitar pick along the two long edges to free the adhesive.
-
-
-
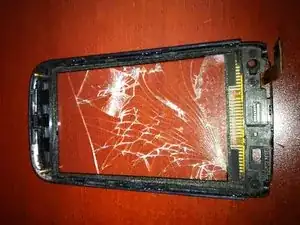
Here you see the front of the phone with the digitizer still attached.
-
The digitizer came out as one piece despite being horribly smashed.
-
I didn't use a heat gun but it would have helped a little. The digitizer was easy to remove without heat.
-
-
-
This little rubber part threatened to fall out on me but I pushed it back in place and never had another issue with it.
-
The installation is the reverse. It was very simple. The Digitizer I received had adhesive on it and fit perfectly. Once that was in place I had the phone back together in about 5 minutes.
-
To reassemble your device, follow these instructions in reverse order.
13 Kommentare
Nice Guide but... did you mean Exhibit 2 instead of Elite 2? :)
Simon -
You are correct. I have fixed the guide.
Thanks!
Thankyou so much Rene for doing this guide. I just finished replacing my digitizer. Just as you said, it was easy and cheap to find on ebay. I got the part and tools for under 11.00 with free shipping! I'm not the type of person that would try to do this repair on my own, but your step by step with pics made it easy.
Cheers,
Big Lar
Big Lar -
Glad I helped!
Thanks! I just needed to remove the motherboard.
George
