Einleitung

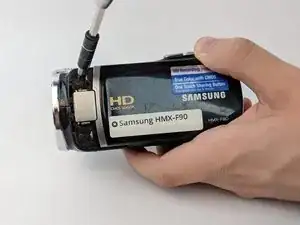
When the outer lens of an HMX-F90 Camcorder is scratched or scuffed it can require replacement. This guide will show you how to remove the outer lens

  1. rfPDbBRhK1RiDmJj
    rfPDbBRhK1RiDmJj
    yTFBgvuVfaiEXSos
    IdENGcRRCCLkS2DI
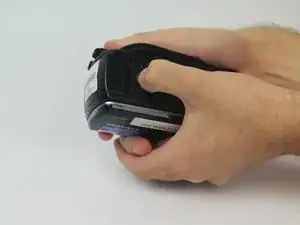
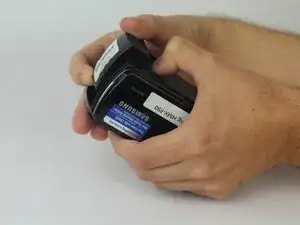
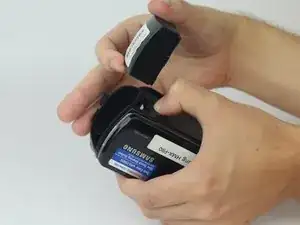
    • Pull the release tab away from the battery.

    • Slide the battery towards the release tab and then pull the battery away from the camcorder.

  2. CLDVk2hawBBno4i2
    CLDVk2hawBBno4i2
    JCQgMHUCDYNKwEnd
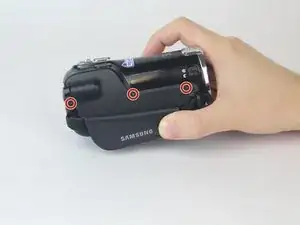
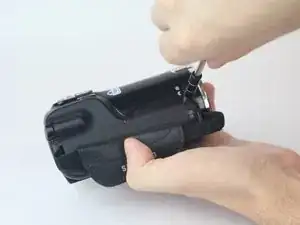
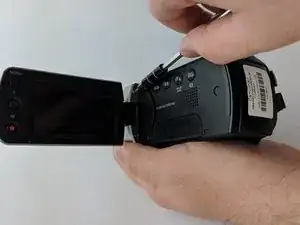
    • Rotate the camcorder so that the strap side is facing you.

    • Locate and remove the three 4.5mm Phillips #00 screws around the hand strap.

  3. yIVHqAIRQiFvPuVM
    yIVHqAIRQiFvPuVM
    JbxpJBhCQyUyUyw3
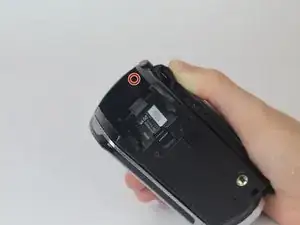
    • Rotate the camcorder so that the battery slot is facing you.

    • Located in the top left corner of the battery slot, remove the 4.5mm Phillips #00 screw.

  4. vhy3ksxoJbIgDMNn
    vhy3ksxoJbIgDMNn
    P44vL25JVSF4yrZ1
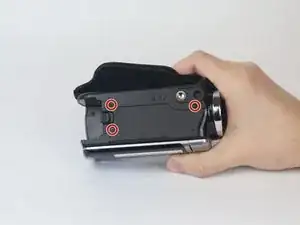
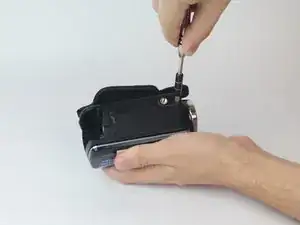
    • Rotate the camcorder so you are looking at the bottom of the camcorder.

    • Locate and remove the last three 4.5mm Phillips #00 screws.

  5. HEcndyYPILTuNkaB
    HEcndyYPILTuNkaB
    tXwvv6LvlwbnBGmO
    xnMxnNF22ipmVW1r
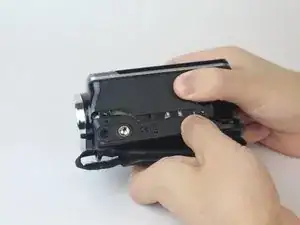
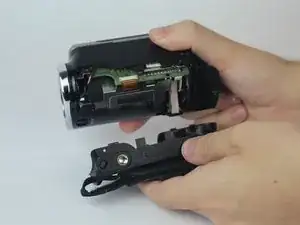
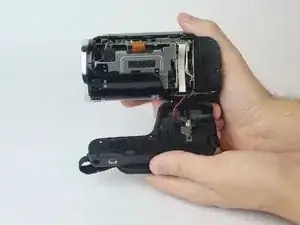
    • With both hands, pull the side strap apart from the rest of the camcorder.

  6. vUEVT6WKcLZBsSQi
    vUEVT6WKcLZBsSQi
    oOXKsnyELbH3pcuW
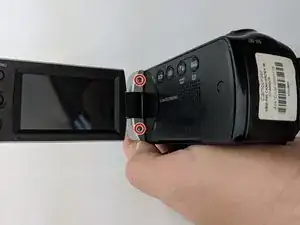
    • Rotate the camcorder so that back is facing you. Then flip open the LCD screen.

    • Locate and remove the 4.5mm Phillips #00 screws in the LCD screen base.

  7. XlWv1eBKRg2B4rNK
    XlWv1eBKRg2B4rNK
    qFjxwSTNiNflWlqN
    • Close the LCD screen. Then lift the silver base away from the camcorder.

  8. P1ZQ1xDUZwBOsCVI
    P1ZQ1xDUZwBOsCVI
    PPKGHAZKWDSF2CDk
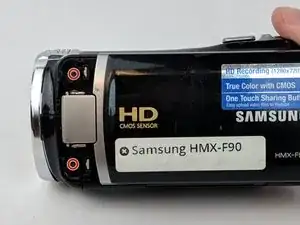
    • Locate and remove the two 3.5mm Phillips #00 screws from the side of the camcorder.

  9. Bnvw5tO5RoPA4AI6
    Bnvw5tO5RoPA4AI6
    Ki4KADxNGMuXNqOj
    ljKArrhi1jvqrJqq
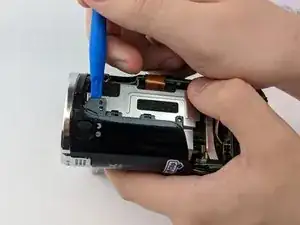
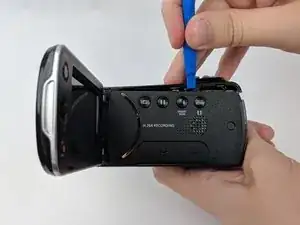
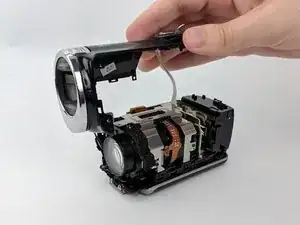
    • Gradually pry off the outer casing using a prying tool.

  10. OaYjfAX4nsKgHyrS
    OaYjfAX4nsKgHyrS
    TZudLmbnRXytfxGK
    CUuSWqOhL5CCrKtC
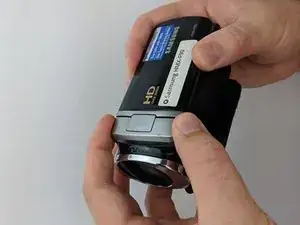
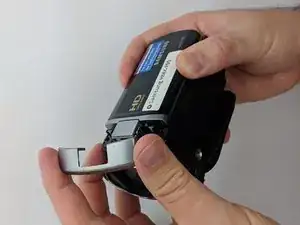
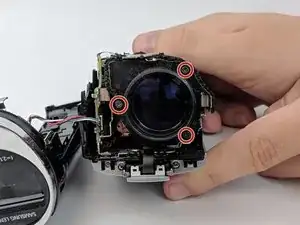
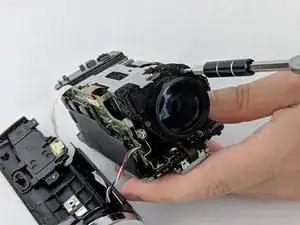
    • Locate and remove the three 4mm Phillips #00 screws around the lens.

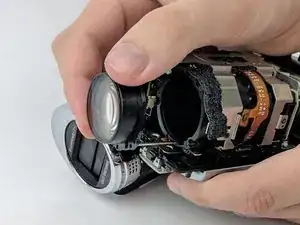
    • Gently remove the lens.

Abschluss

To reassemble your device, follow these instructions in reverse order.
Amir Harb

Mitglied seit: 26/09/17

705 Reputation

0 Kommentare