Einleitung
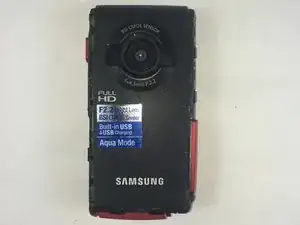
This guide will show you step by step how to disassemble and separate the front and back casing of a Samsung HMX-W200 camcorder.
Werkzeuge
-
-
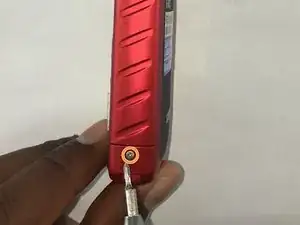
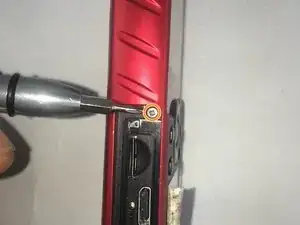
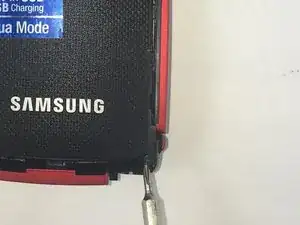
Remove the 5.00mm screw on the right of the LCD display towards the bottom of the device by using a Phillips #00 screwdriver.
-
-
-
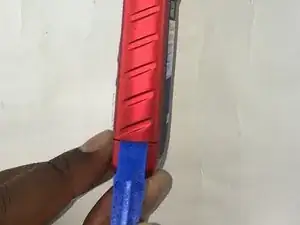
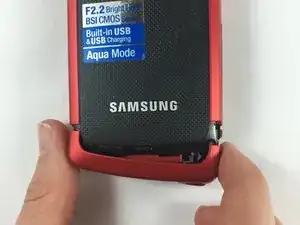
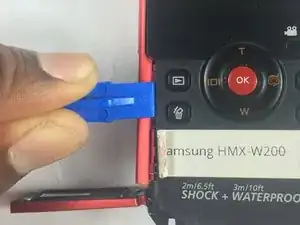
Use the plastic opening tool to separate and remove the bottom red casing. Do this by, pushing the tool into the seam and prying up the red casing as you move along the edges.
-
-
-
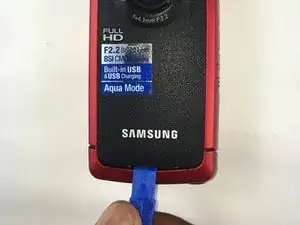
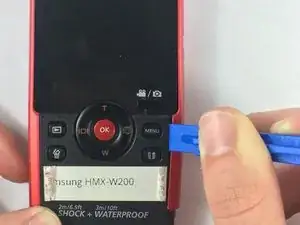
Using the plastic opening tool, separate and pull away the red casing on the right of the LCD screen.
-
-
-
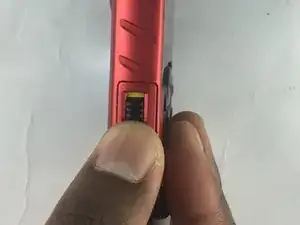
To access the HDMI slot, move slider towards the bottom of the casing on the other side of the camcorder. The lid casing will lift up upon doing so.
-
After accessing the HDMI slot you will find a 5.00mm screw. Using a Phillips #00 screwdriver, remove the screw.
-
-
-
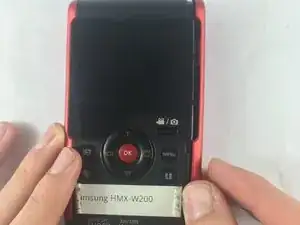
Using the plastic opening tool, separate and pull away the red casing to the left of the LCD screen.
-
-
-
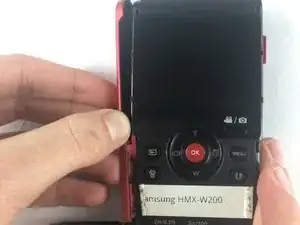
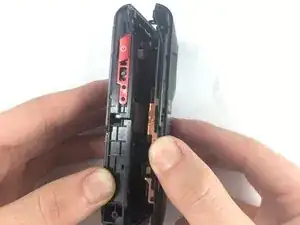
Lift the two plastic tabs on the left side of the LCD screen and the single one on the right side on the black casing to open the device.
-
To reassemble your device, follow these instructions in reverse order.
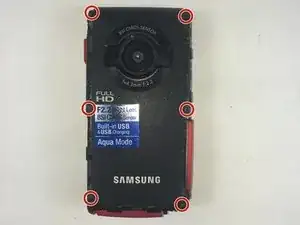
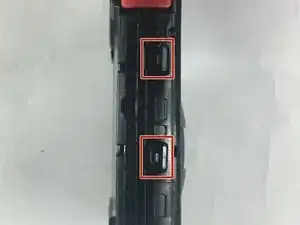
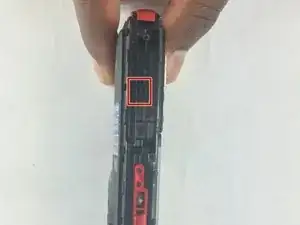

You also have to remove the screws at the bottom of the threaded stand mount hole, and inside the USB cover.
Deen Hubin -