Einleitung

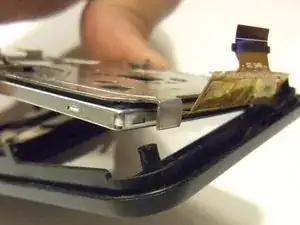
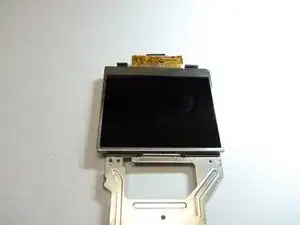
Shows how to place LCD screen of the camera via words and pictures. Replacement of LCD screen requires the removal of motherboard.

  1. BNmHkWcQcrODFUKD
    BNmHkWcQcrODFUKD
    AI5JlIaFPUNjHtVt
    uswsBt2EYeXqvYfo
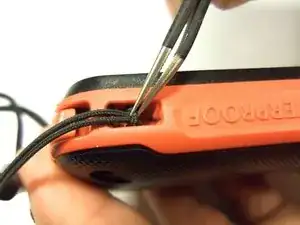
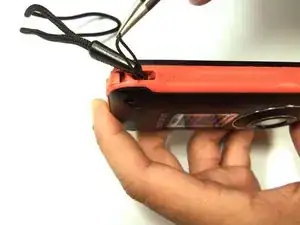
    • To remove the wristband of the device, grab the middle loop and pull the band through.

  2. K3WKCATvQHQ1M4W5
    K3WKCATvQHQ1M4W5
    JIITAkUOIuwtKUmK
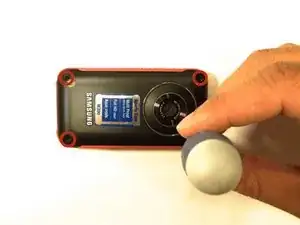
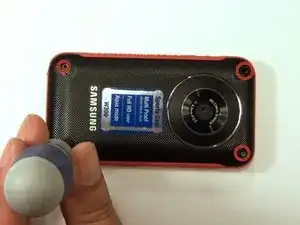
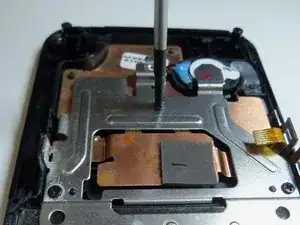
    • Remove four screws with a Hex 1.5 mm screwdriver.

  3. RZj2rOK6nIHckbVo
    RZj2rOK6nIHckbVo
    GnC2SIBLqQC23o5F
    VUtuooT4nFGseUvl
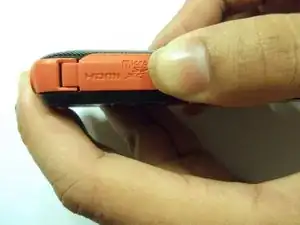
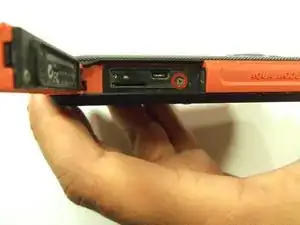
    • Open the HDMI door on the side of the camera.

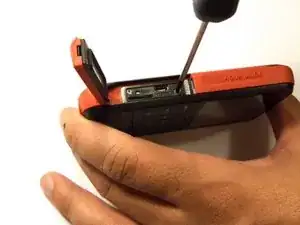
    • Remove the single screw using a Phillips #00 screwdriver.

  4. NrSjitKJob6b3qMd
    NrSjitKJob6b3qMd
    CDKulyPt123tnQCR
    N4fKfaAwHSpnoEeO
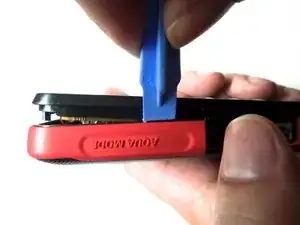
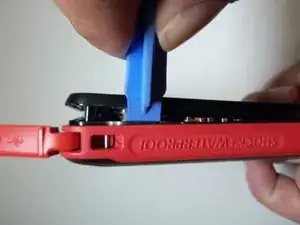
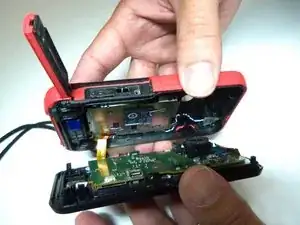
    • Use the iFixit opening tool on both sides on the device. Pry apart both sections with light force.

    • Do not apply too much force. There is a wire that attaches the front case with the rear case that can be damaged.

  5. gnNBexMYluHVlOnX
    gnNBexMYluHVlOnX
    EnJFUx2WaFRdfwEK
    SyyOmVPrFAlUtFSi
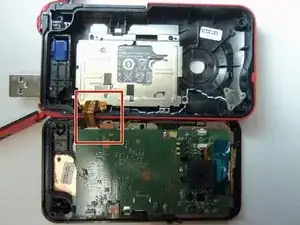
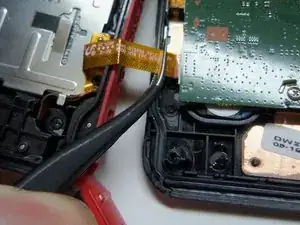
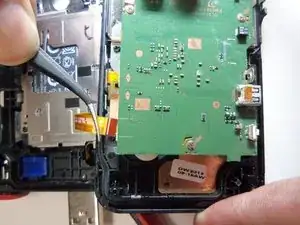
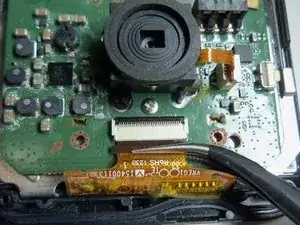
    • Pull the wire ribbon out with a pair of tweezers.

  6. bCGHA24IuDjnCEPf
    bCGHA24IuDjnCEPf
    OBPC5WMFQUG6nTCm
    4uK1oXb1WBgiTkXb
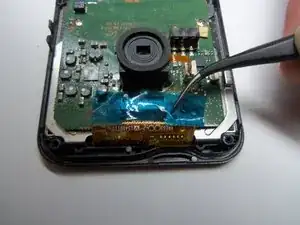
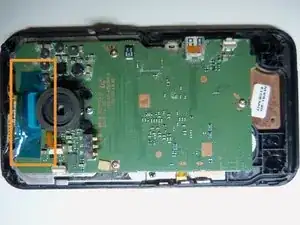
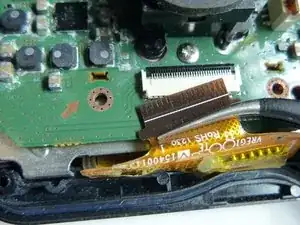
    • Use tweezers to remove the tape.

  7. y6knPmYmxRSoug3v
    y6knPmYmxRSoug3v
    MUf5Z52W2YQpDODI
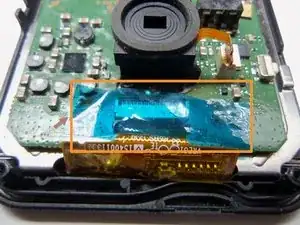
    • Use tweezers to grab the wire ribbon, then pull the wire out of connection.

  8. vN6cVWosRlVFQTbb
    vN6cVWosRlVFQTbb
    IVUSvictmJhMeNer
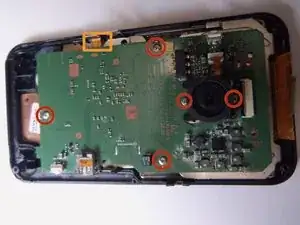
    • There are 5 Phillips size 00 screws. Remove all 5 screws.

    • Wire ribbon is attached to the motherboard.

  9. t3LFxqtTXAwUgc41
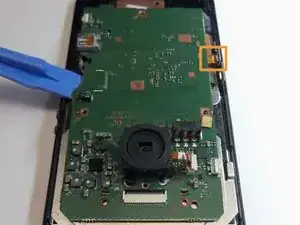
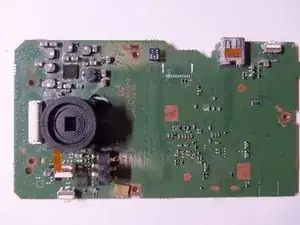
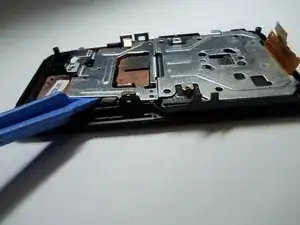
    • Pry the motherboard up using the plastic opening tool.

    • Be careful there is a wire ribbon holding the motherboard.

  10. wStDJOHJobeBiIpH
    wStDJOHJobeBiIpH
    qZjfKA1WpEKpPxvf
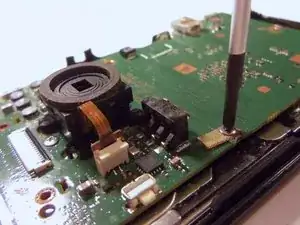
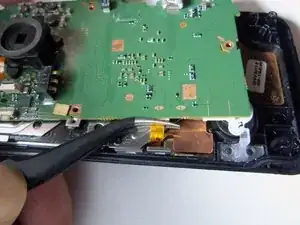
    • Use tweezers to disconnect the wire as shown. This will loosen the motherboard from the rear case.

  11. JafDj2xNs5NJEmyi
    JafDj2xNs5NJEmyi
    K6OntQtZdmJWijG2
    bMu2yC3wHOBOTUVu
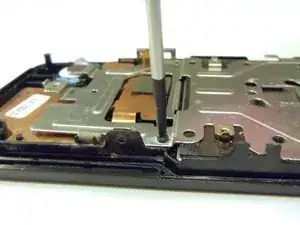
    • Use Phillips size 00 and remove the 3 screws as shown.

  12. 1awpDGyMaPSlKxXC
    1awpDGyMaPSlKxXC
    mlcjXH4WgOGF5eaF
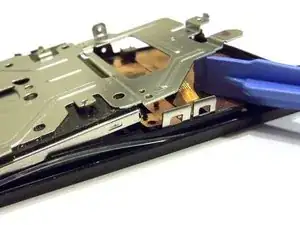
    • Pry the end of the screen with the plastic opening tool.

  13. eKRivSJOq5ITaNa6
    eKRivSJOq5ITaNa6
    SenwPJZqPvhduiRY
    6GTVLt2McChFVgNd
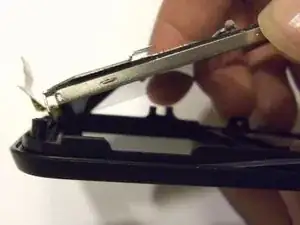
    • Grab the end of the screen, then pull towards the inside of the case. This is a bit tricky. This will release tabs at the top of the screen to the rear case.

Abschluss

To reassemble your device, follow these instructions in reverse order.
Robert

Mitglied seit: 22/01/15

966 Reputation

0 Kommentare