Einleitung

Demonstrates how to replace the rear case of the camera through instructive pictures and words. Replacement of rear case requires the removal of the motherboard and LCD screen.

  1. BNmHkWcQcrODFUKD
    BNmHkWcQcrODFUKD
    AI5JlIaFPUNjHtVt
    uswsBt2EYeXqvYfo
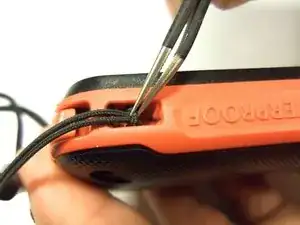
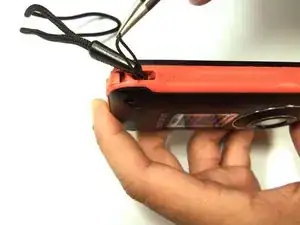
    • To remove the wristband of the device, grab the middle loop and pull the band through.

  2. K3WKCATvQHQ1M4W5
    K3WKCATvQHQ1M4W5
    JIITAkUOIuwtKUmK
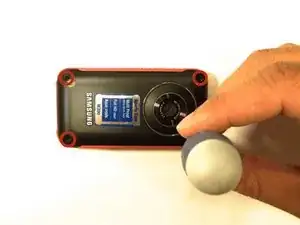
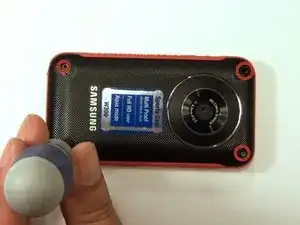
    • Remove four screws with a Hex 1.5 mm screwdriver.

  3. RZj2rOK6nIHckbVo
    RZj2rOK6nIHckbVo
    GnC2SIBLqQC23o5F
    VUtuooT4nFGseUvl
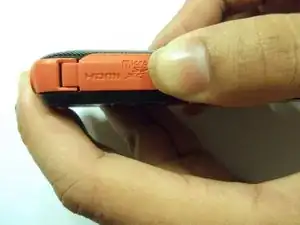
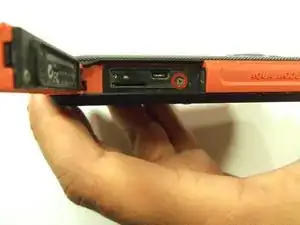
    • Open the HDMI door on the side of the camera.

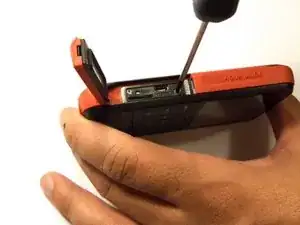
    • Remove the single screw using a Phillips #00 screwdriver.

  4. NrSjitKJob6b3qMd
    NrSjitKJob6b3qMd
    CDKulyPt123tnQCR
    N4fKfaAwHSpnoEeO
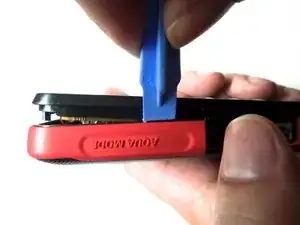
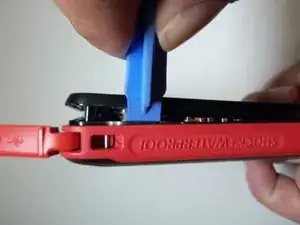
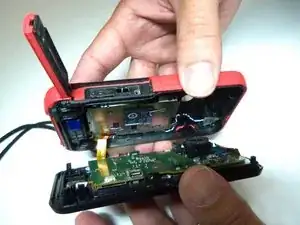
    • Use the iFixit opening tool on both sides on the device. Pry apart both sections with light force.

    • Do not apply too much force. There is a wire that attaches the front case with the rear case that can be damaged.

  5. gnNBexMYluHVlOnX
    gnNBexMYluHVlOnX
    EnJFUx2WaFRdfwEK
    SyyOmVPrFAlUtFSi
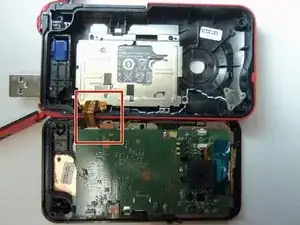
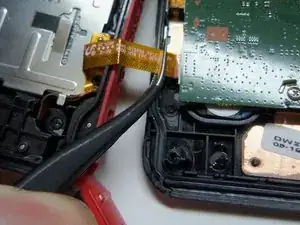
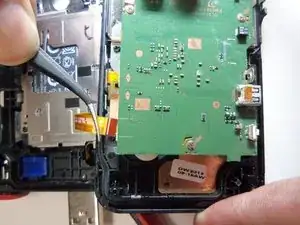
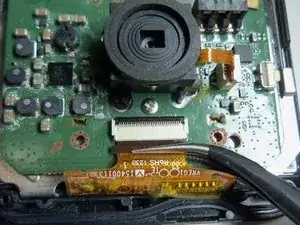
    • Pull the wire ribbon out with a pair of tweezers.

  6. bCGHA24IuDjnCEPf
    bCGHA24IuDjnCEPf
    OBPC5WMFQUG6nTCm
    4uK1oXb1WBgiTkXb
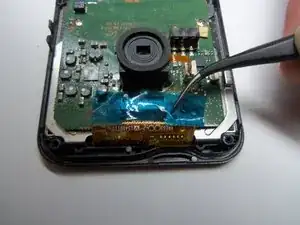
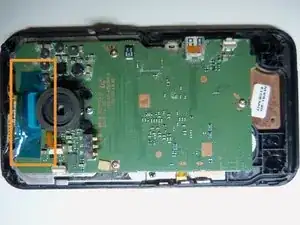
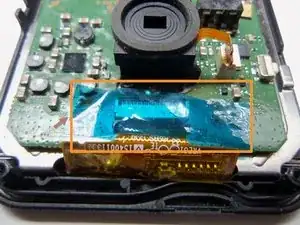
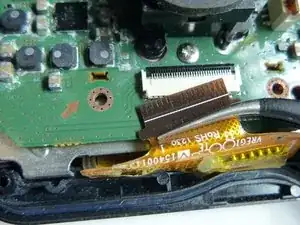
    • Use tweezers to remove the tape.

  7. y6knPmYmxRSoug3v
    y6knPmYmxRSoug3v
    MUf5Z52W2YQpDODI
    • Use tweezers to grab the wire ribbon, then pull the wire out of connection.

  8. vN6cVWosRlVFQTbb
    vN6cVWosRlVFQTbb
    IVUSvictmJhMeNer
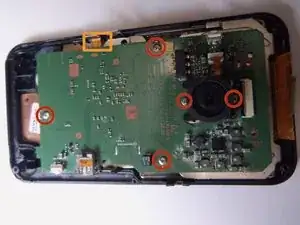
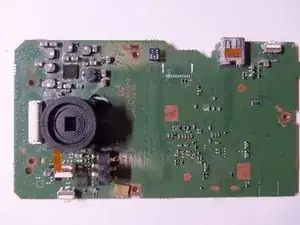
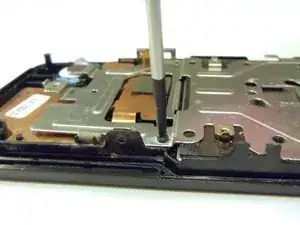
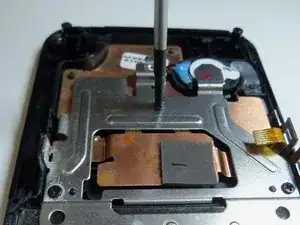
    • There are 5 Phillips size 00 screws. Remove all 5 screws.

    • Wire ribbon is attached to the motherboard.

  9. t3LFxqtTXAwUgc41
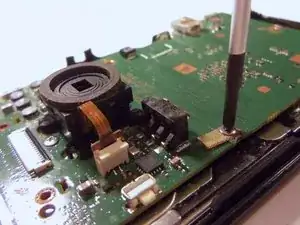
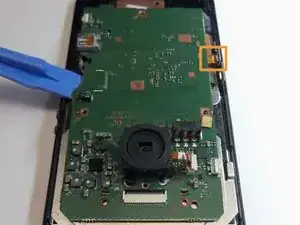
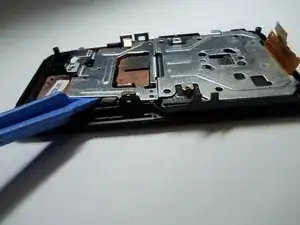
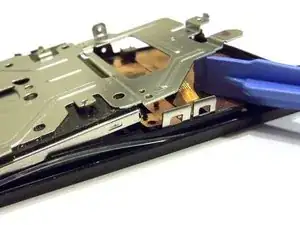
    • Pry the motherboard up using the plastic opening tool.

    • Be careful there is a wire ribbon holding the motherboard.

  10. wStDJOHJobeBiIpH
    wStDJOHJobeBiIpH
    qZjfKA1WpEKpPxvf
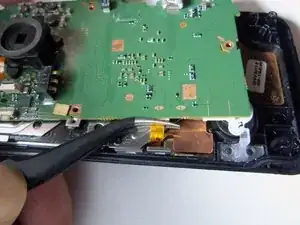
    • Use tweezers to disconnect the wire as shown. This will loosen the motherboard from the rear case.

  11. JafDj2xNs5NJEmyi
    JafDj2xNs5NJEmyi
    K6OntQtZdmJWijG2
    bMu2yC3wHOBOTUVu
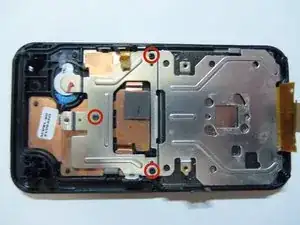
    • Use Phillips size 00 and remove the 3 screws as shown.

  12. 1awpDGyMaPSlKxXC
    1awpDGyMaPSlKxXC
    mlcjXH4WgOGF5eaF
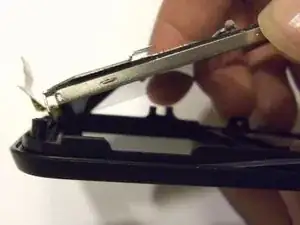
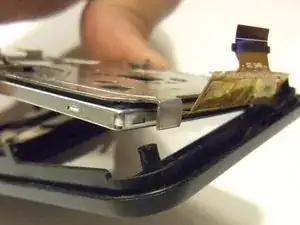
    • Pry the end of the screen with the plastic opening tool.

  13. eKRivSJOq5ITaNa6
    eKRivSJOq5ITaNa6
    SenwPJZqPvhduiRY
    6GTVLt2McChFVgNd
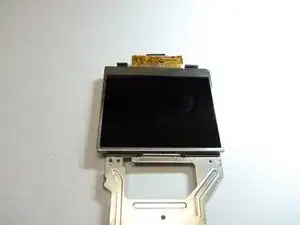
    • Grab the end of the screen, then pull towards the inside of the case. This is a bit tricky. This will release tabs at the top of the screen to the rear case.

  14. xX6IVHH2YYBDhCBv
    • Removal of the rear case is completed.

Abschluss

To reassemble your device, follow these instructions in reverse order.
Robert

Mitglied seit: 22/01/15

966 Reputation

0 Kommentare