Einleitung

  1. I12FYsvtkc6kdHDB
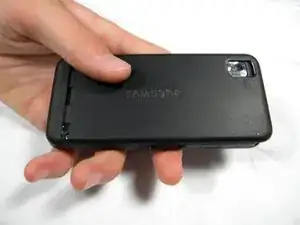
    • Apply pressure to the back cover and slide it forward towards the camera.

    • Lift the back cover off the phone.

  2. UQRSMLCyVNK4TDwk
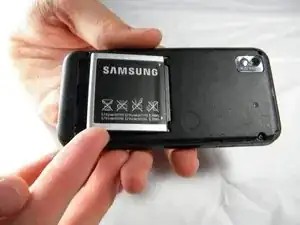
    • Holding the phone firmly, use the notches to grip and lift up the battery.

  3. CxrmvU3kupS1QffX
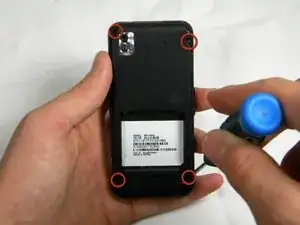
    • Remove the four 4.45mm screws at the corners of the phone.

  4. wRDRnYhaGqRefReI
    wRDRnYhaGqRefReI
    GhUg53ipd2hfPUuQ
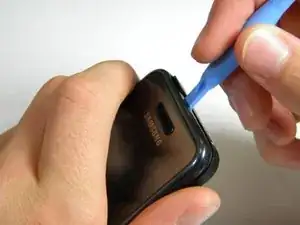
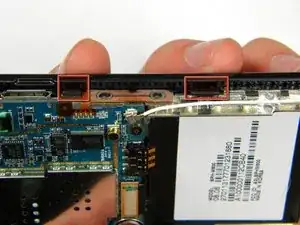
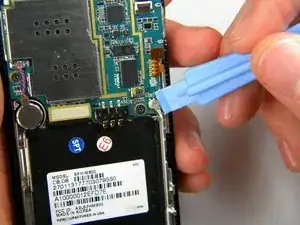
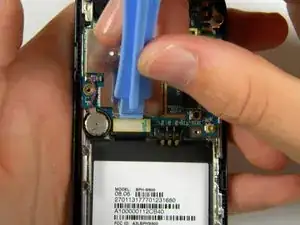
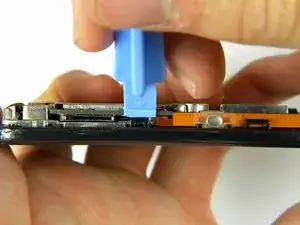
    • Use the plastic opening tool to unhinge the locks around the edges of the phone.

    • Do not worry about the inner components of the phone; they are not connected to this case.

  5. pUKHvCbB5kDUe1RC
    • Lift the casing off of the phone.

  6. rGWbZ5pOsEeLaDNh
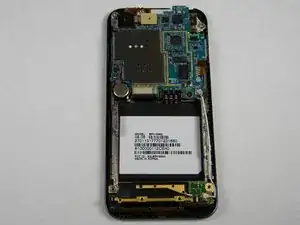
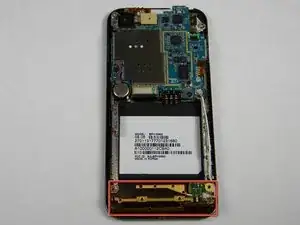
    • With the screws removed, locate the antenna.

  7. DQnQ2UY2nVEWMR3E
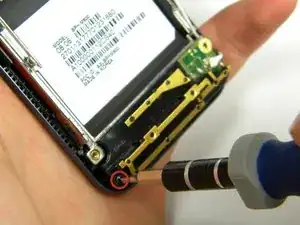
    • Using a Phillips head screwdriver, remove the 4.50mm screw holding the antenna in place.

  8. V2ipXtKadq41OUNm
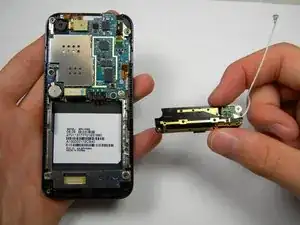
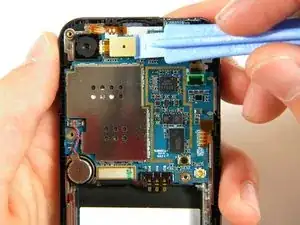
    • Using the plastic opener tool, squeeze gently on the antenna cable connector and lift to remove the connector from its position.

  9. GHLPeicFkGef5XI4
    • Gently lift up on the antenna and remove it from the back of the device.

  10. wIEpGorJEDYJQ3V6
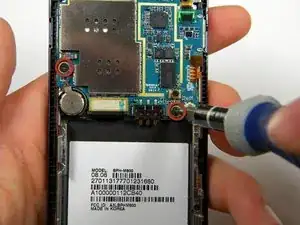
    • Remove the two 3.50mm screws connecting the motherboard to the case.

  11. WXZihmAhP51wGAAX
    WXZihmAhP51wGAAX
    HFHQ4SYwmceux2Mj
    LsN6MhYS1SfUtFQc
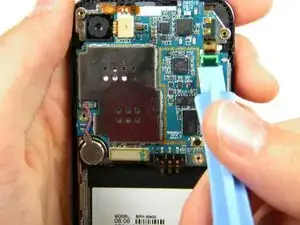
    • Use the plastic opener tool to detach the three ribbons on the motherboard.

  12. KlvD1BOv4HHf4aNQ
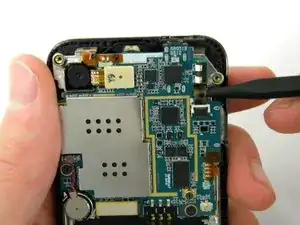
    • Lift out the top right ribbon from its slot on the motherboard.

  13. Hsqw4ykvUjK4sRRD
    Hsqw4ykvUjK4sRRD
    UfyixBChGHn5fiTQ
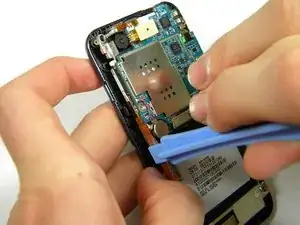
    • Use the plastic opener tool to unhinge the the locks on the side of the motherboard connecting it to the front casing.

  14. BSWvmsO3xJj5nfuB
    • Lift the motherboard away from the front casing.

  15. uJMTpJ5hKACrECFF
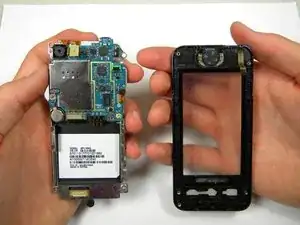
    • After removing lifting up on the motherboard, the front casing and center frame should be separated as shown.

  16. XIKG6dsncQl1bGJD
    XIKG6dsncQl1bGJD
    HkxahYKkVQRfhccv
    Y2HAtF5heWncNN1F
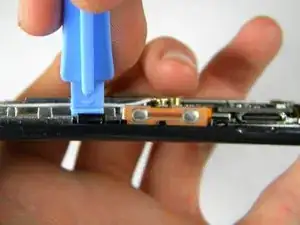
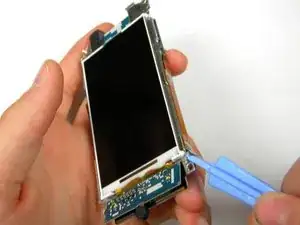
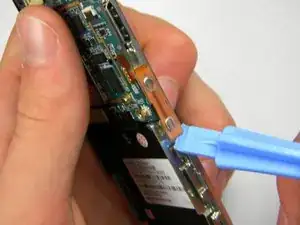
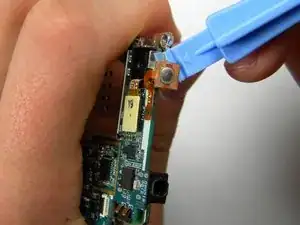
    • Using the plastic opener tool, gently pry away the side strip control buttons from the metal center frame.

    • There are three strips total: one on the right, left, and top of the phone.

  17. JLSQDVmKhsIG4tCg
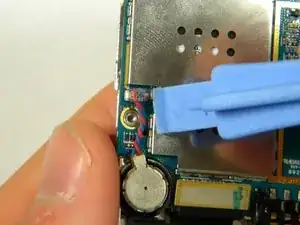
    • Using the plastic opener tool, pry the speaker connector away from the back of the motherboard.

  18. fJweauNhfnu5sAPN
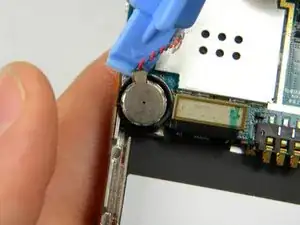
    • Using the plastic opener tool, remove the speaker from its setting.

    • Pry where the wire enters the speaker.

    • The speaker has adhesive on the bottom, thus removing it will require a bit of wiggling.

  19. WTRHu5nsOQTpb2JG
    • Gently lift the motherboard from the center frame.

  20. dSiKqWkCk35INaqH
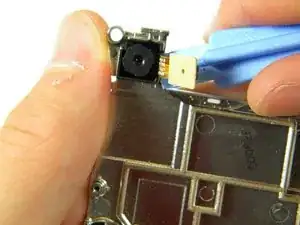
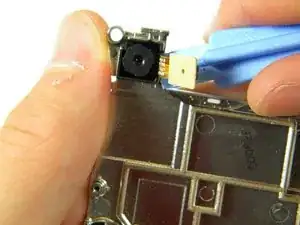
    • Once the motherboard is removed from the frame, use the pry tool to remove the camera.

    • Insert the pry bar between the camera and the frame then lift up.

    • The camera is held in by adhesive so it will require some force to remove.

    • You have now successfully removed the camera from your Samsung Instinct.

Abschluss

To reassemble your device, follow these instructions in reverse order.
Patrick

Mitglied seit: 11/10/11

75 Reputation

0 Kommentare