Einleitung

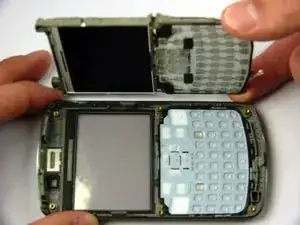
Use this guide to remove the old keyboard and install a new one.

  1. wBK6tLWAubWwCS3w
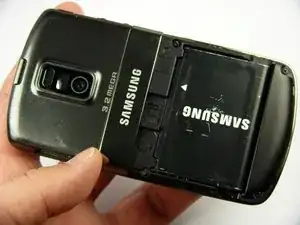
    • Slide the battery cover downwards with pressure focused on the center of the cover.

    • Lift the cover off of the phone.

  2. D2rje2VFAkfOCfPp
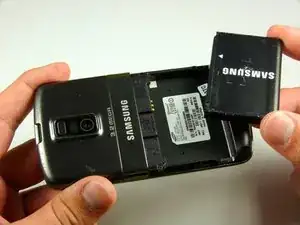
    • Grasp the bottom left and right corners of the battery and lift it from its housing.

  3. DGWsxCn5Mbi6Exdn
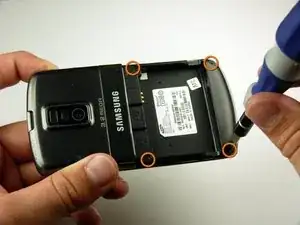
    • Remove the four black 7.30 mm screws surrounding the battery housing using a Phillips #00 Screwdriver.

  4. mTQnaTIb1WCV2sGL
    mTQnaTIb1WCV2sGL
    w2GEhw4F1bW2E5bO
    45GaT6UL6MJZSR6F
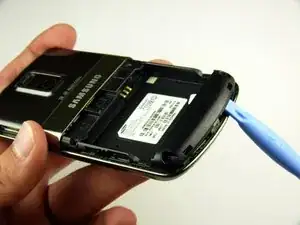
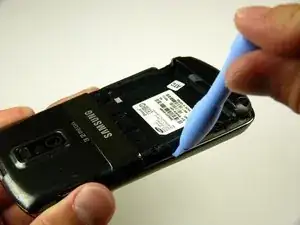
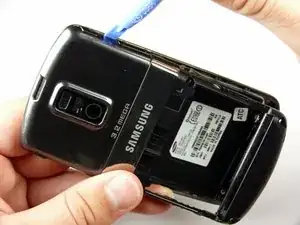
    • The rear case is firmly attached to the phone with clips. Do not be afraid to use a little extra force.

    • Insert the Plastic Opening Tool in between the front and rear cases.

    • Pry with the Plastic Opening Tool around all edges of the phone until you free all the clips.

  5. 5hMnkoKsKJqdGjPa
    • Lift the rear case off of the phone.

  6. E6wTFQAM1U1eVrhD
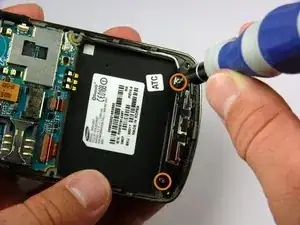
    • Remove the two silver 4.30 mm screws on either side of the antenna using a Phillip's #00 Screwdriver.

  7. ITuOvxTdabAaaujV
    ITuOvxTdabAaaujV
    PUGYjOo63Paorp3Y
    mIUH3WXn4BDObdZW
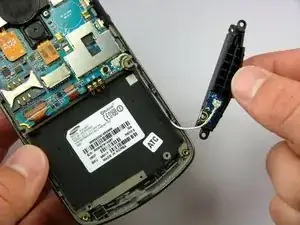
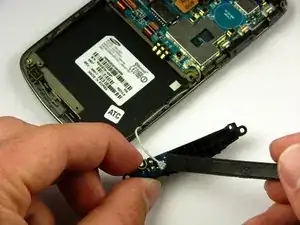
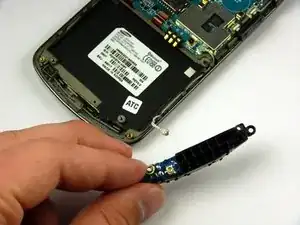
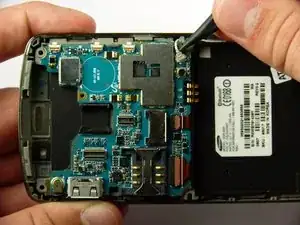
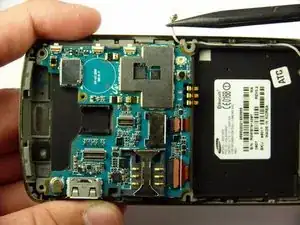
    • There is a wire under the antenna connecting it to the Motherboard. Do not pull off the antenna just yet.

    • Use a spudger to remove the wire connector under the antenna.

  8. vVrJEylQHfhZZ6kJ
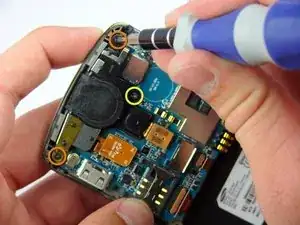
    • Remove the two black 7.30 mm screws on the top right and left corners of the Motherboard using a Phillips #00 Screwdriver.

    • Remove the silver 4.50 mm screw located below the speaker using a Phillips #00 Screwdriver.

  9. hLcpPy5vqpdjkYva
    hLcpPy5vqpdjkYva
    iqfiQWFUyWRDeteK
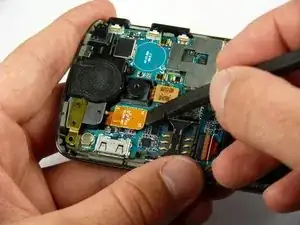
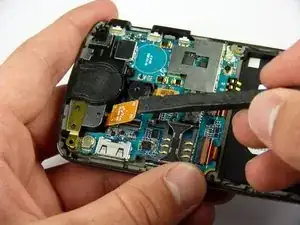
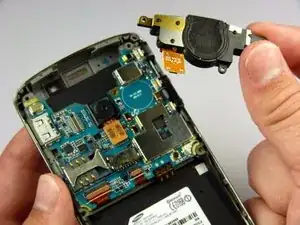
    • Use the spudger to detach the speaker ribbon cable.

  10. SAvIjk6aklCmDQs1
    • Lift the speaker out of its compartment.

  11. xrOONG511b3GFiKZ
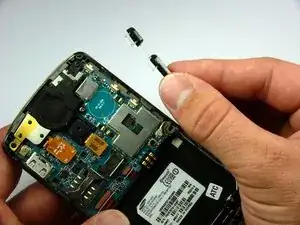
    • Remove the power and volume buttons on the right side of the Motherboard.

  12. tBAthIIRBnuiY4vF
    tBAthIIRBnuiY4vF
    AZJvTkYsWcCJ3bmA
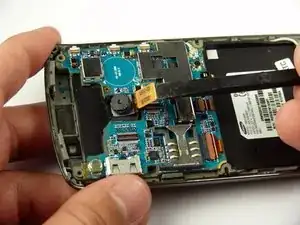
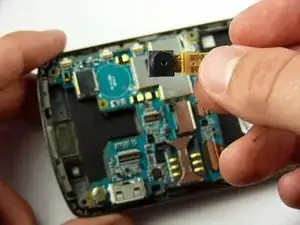
    • Use a spudger to detach the camera ribbon cable.

    • Lift the camera off of the Motherboard.

  13. eOqBVIT1yDEIvWbN
    eOqBVIT1yDEIvWbN
    vhB6S5nssYY3yynB
    • Use a spudger to disconnect the white antenna wire on the bottom right corner of the Motherboard.

  14. kyuViBLBfcIFaPJJ
    kyuViBLBfcIFaPJJ
    TtrqxuH2SJAOVGdG
    RTYlqAjhFjHPJN43
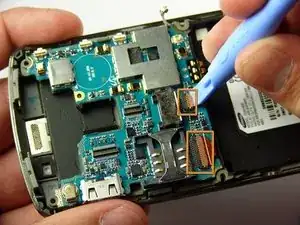
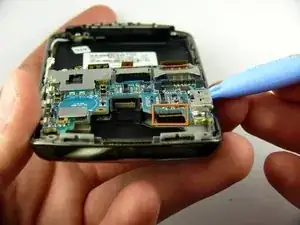
    • Use a Plastic Opening Tool to lift the flaps of the ZIF connectors to release the ribbon cables near the bottom of the Motherboard.

    • Use a spudger to carefully pull the ribbon cables away from the ZIF connectors.

  15. LqEBnxfHWeJTMt2p
    LqEBnxfHWeJTMt2p
    XByZAIR2HEqUsaqW
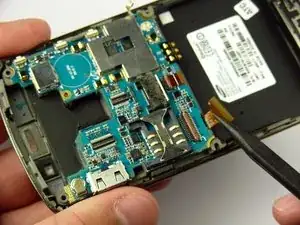
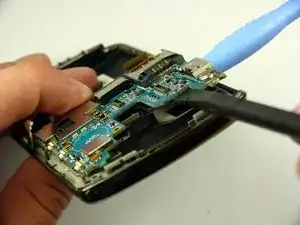
    • There is a ribbon cable under the Motherboard connecting it to the LCD. Do not pull off the Motherboard just yet.

    • Insert the Plastic Opening Tool under the upper left corner of the Motherboard to help reveal the ribbon cable.

    • Use a spudger to disconnect the Motherboard ribbon cable.

  16. iEgRt2WIk1NMenMv
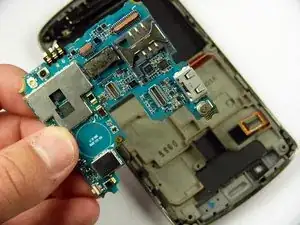
    • Lift the Motherboard off of the phone.

  17. 1LivLKLnDXfQ1aXh
    1LivLKLnDXfQ1aXh
    tK2quwJqSgXiqpqg
    ghQ4nCLWjdvROVXy
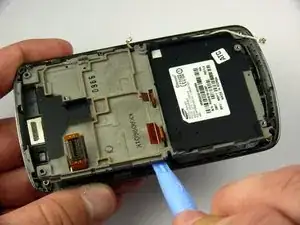
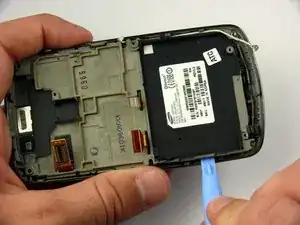
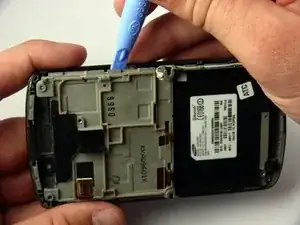
    • The LCD frame is firmly attached to the phone with clips. Do not be afraid to use a little extra force.

    • Insert the Plastic Opening Tool between the LCD frame and the front case of the phone.

    • Slide the Plastic Opening Tool around the LCD frame to detach all of the clips.

  18. P1jdKyELLRaQbZhG
    P1jdKyELLRaQbZhG
    FbElx4hhPBMYonoA
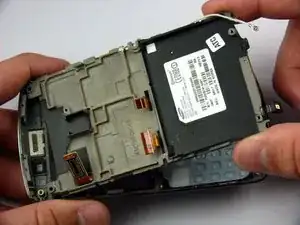
    • Lift up the LCD frame.

  19. PV6dUZCnUpZUJUdc
    PV6dUZCnUpZUJUdc
    FZAw2SHkHucDMtLY
    GSfw6Qlc6vUkEqZY
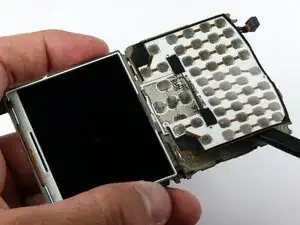
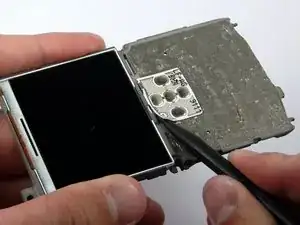
    • The keyboard ribbon cable passes through the LCD frame. Be careful not to rip the ribbon cable when removing the keyboard.

    • The keyboard and directional keys are glued separately to the LCD frame.

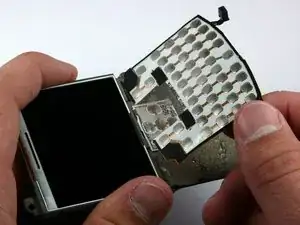
    • Insert the spudger between the keyboard and the frame.

    • Peel the keyboard off by sliding the spudger back and forth across the LCD frame.

  20. QuCjMouUXWIXVI16
    QuCjMouUXWIXVI16
    VowJAFP5Ubl1eW1X
    TNDLUXZvrQoi2uLU
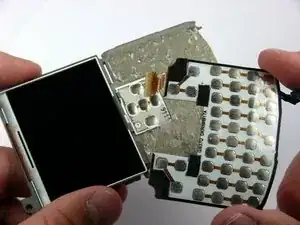
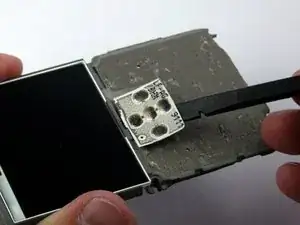
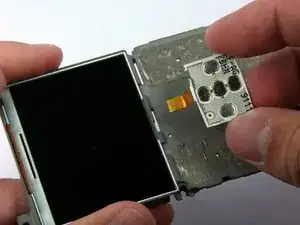
    • Insert the spudger between the directional keys and the frame.

    • Peel the directional keys off by sliding the spudger back and forth across the LCD frame.

Abschluss

To reassemble your device, follow these instructions in reverse order.

Jaime Serrano

Mitglied seit: 12/04/11

59 Reputation

0 Kommentare