Einleitung
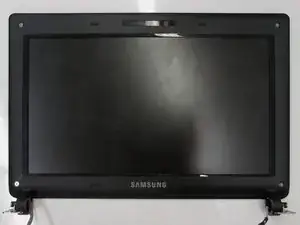
This guide will provide the necessary steps to remove the screen from the laptop. This guide involves many steps and can be time consuming. Make sure to take your time and follow the instructions completely.
Werkzeuge
Ersatzteile
-
-
Turn off the computer.
-
Disconnect the charging cable from the laptop.
-
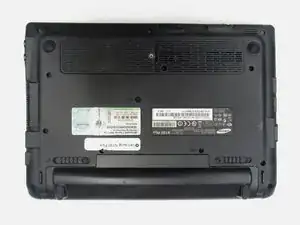
Flip the laptop upside down with the front face down on a flat surface.
-
-
-
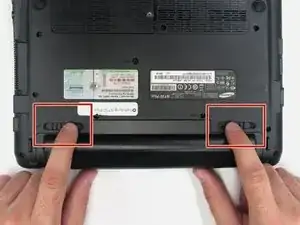
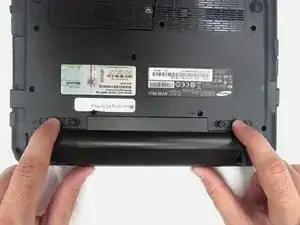
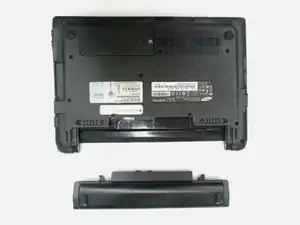
While holding the left and right hand switches in the "unlocked" position, push the battery away from the computer.
-
-
-
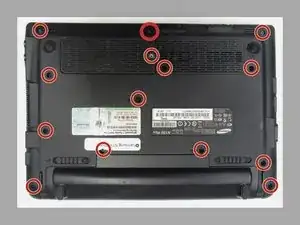
Using the Phillip's 00 screwdriver, unscrew the fourteen 7mm screws until the back panel comes loose.
-
-
-
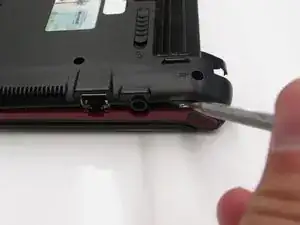
Using either the blue plastic opening tools or spudger tool, wedge one in between the back panel and the laptop.
-
Apply pressure upwards till the back panel pops off.
-
-
-
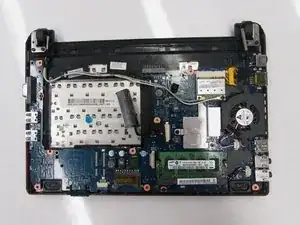
The computer should be open with the motherboard exposed and internal components exposed. You should now be able to access the Fan and RAM. There are more necessary steps to follow before accessing the screen and keyboard.
-
-
-
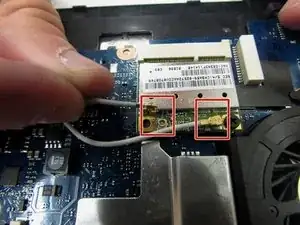
Unclip the two white wires connected to the computer chip on the motherboard by pulling the white wire toward you.
-
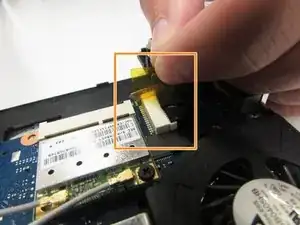
Remove the yellow tape securing the black cable that is connected to the motherboard.
-
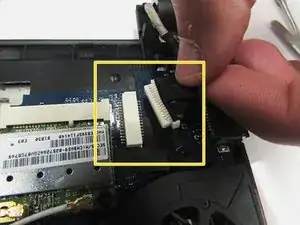
Once you have removed the yellow tape, unplug the black cable from its connection on the motherboard.
-
-
-
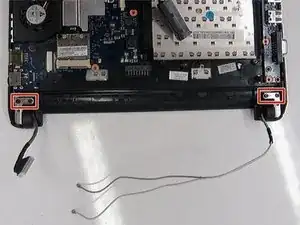
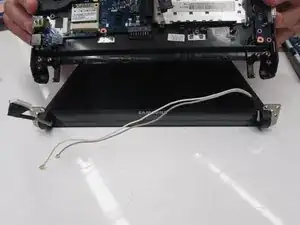
Slowly remove the screen case from the rest of the laptop by pulling the screen case out of the hinge sockets.
-
-
-
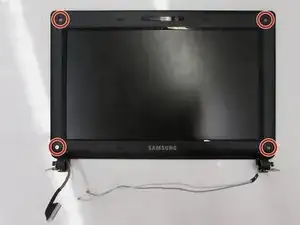
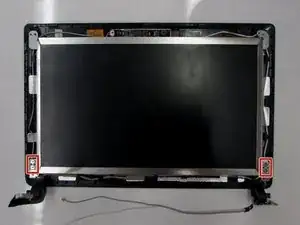
Use a Phillips #00 to unscrew the four 5mm screws located at the top and bottom corners of the screen bezel.
-
-
-
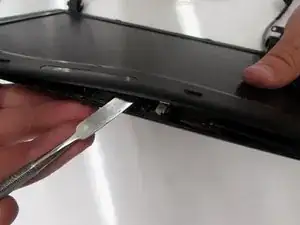
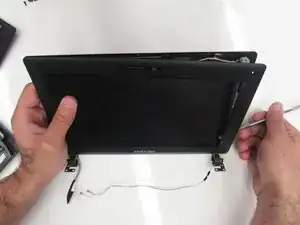
Use the spudger or plastic opening tools to wedge it in-between the screen bezel and bottom of the screen case.
-
Apply pressure upwards to pop the screen bezel open.
-
-
-
Use a Phillips #00 screwdriver to unscrew the four 5mm mounting screws that secure the screen to the bottom case.
-
-
-
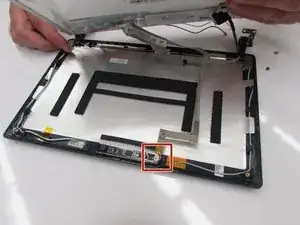
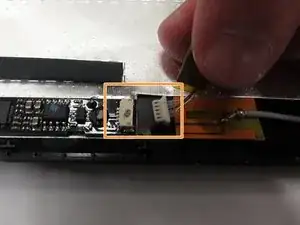
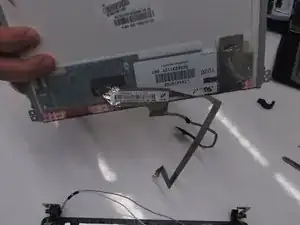
Lift the screen out of the bottom screen case and locate the white plug connected to the bottom case.
-
Pull the wires away from you to unplug the wires from their connection on the bottom screen case.
-
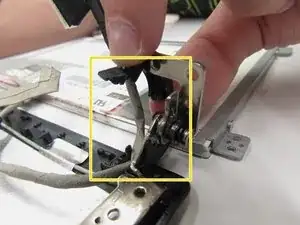
Unclip half of the black case hinge to release the wire from its casing
-
To reassemble your device, follow these instructions in reverse order.
