Einleitung

Fan will be replaced in order to improve and control overheating that could create malfunctions on the computer system.

  1. 4oPHx1xhdpOMNvdn
    4oPHx1xhdpOMNvdn
    HxdpJlVpjCLBOsDl
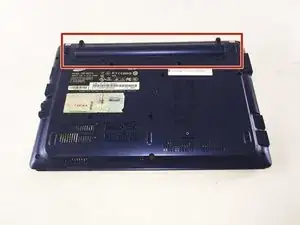
    • Locate the external battery on the bottom side of the device.

    • Locate the tab on the right side of the battery.

    • Shift the tab to the left.

  2. WPomWScYUcTgaATl
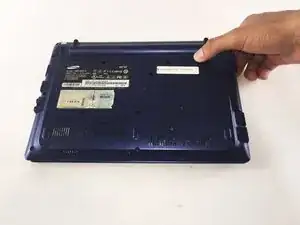
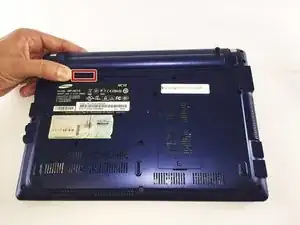
    • Locate the tab on the left side of the device's battery.

    • Push the left tab to the right.

  3. JHhIGZ5Y3qETHqcs
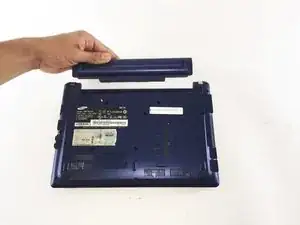
    • Pull the battery up from the device.

  4. Etn6tHSlaFfgjeth
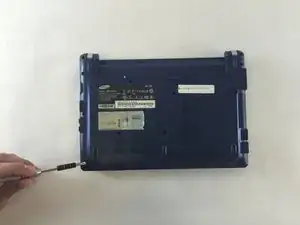
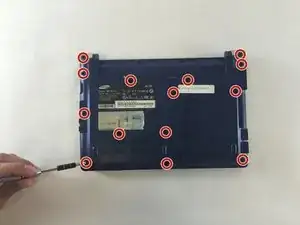
    • Locate the 14, 3.93 mm, screws that need to be removed on the base of the computer.

  5. 1LFklPRAD4VDlNF6
    • Remove all 14 of the 3.93 mm screws using a PH1 screw bit.

  6. REAKNAcNx1TVY1HZ
    REAKNAcNx1TVY1HZ
    SZkbOH6bvBffV4vS
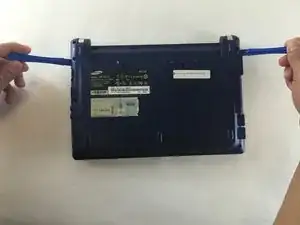
    • Using two plastic opening tools remove the back plate.

    • These plastic opening tools have a flat-head that extends as a wedge which are utilized to separate pressure fit plastic components without causing any damage to them.

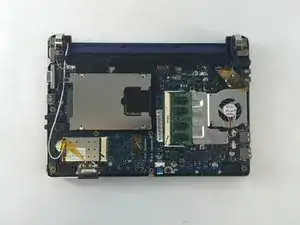
    • The back plate is now removed exposing all of the hardware components.

  7. g2iTwPsU52GdREvr
    g2iTwPsU52GdREvr
    indhQUJOmogMlcFD
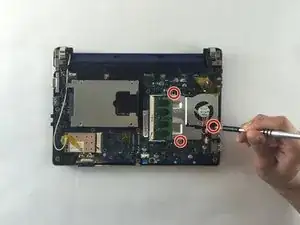
    • Remove the three screws holding the fan using a 3.9mm screwdriver.

    • All three screws need to be removed in order to continue on to next step.

  8. errnxQGABZssiKGR
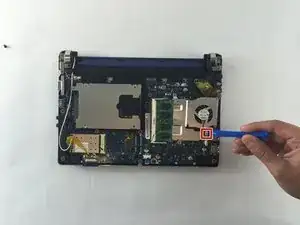
    • Unplug the wires connected to the fan using a plastic opening tool.

  9. vFnioOtcrMCnSYgG
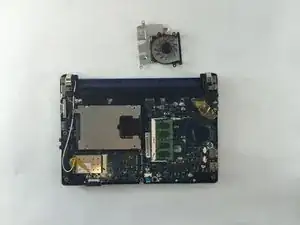
    • You are now able to carefully detach the fan from the base.

    Hello.

    Your explanation is right and clear, except you omit to indicate that, when removing the fan, we remove the radiator and break the thermal paste, then it should be replaced, cleaning the two chips (proc and bridge) and the radiator to apply a new fresh thermal paste.

    Pierre Le Fier -

Abschluss

To reassemble your device, follow these instructions in reverse order.
JHOAN USECHE

Mitglied seit: 04/10/16

330 Reputation

0 Kommentare