Einleitung

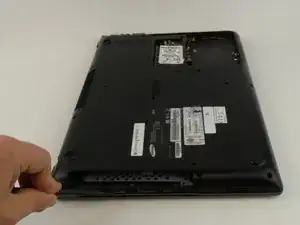
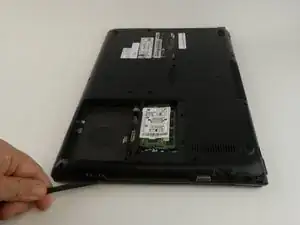
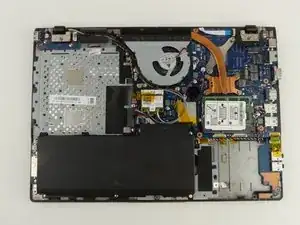
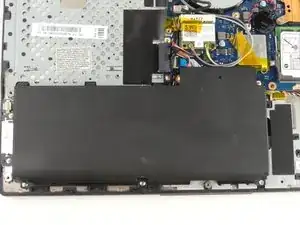
If your computer is not turning on or is losing power quickly, this guide provides steps to replace the battery. The optical drive, hard drive, and back cover must be removed first.

  1. jwJMQNGjQeDQcACv
    jwJMQNGjQeDQcACv
    IhEjOLsAAFXZEgfQ
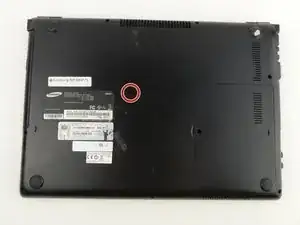
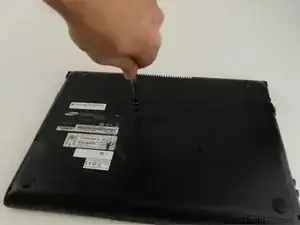
    • Flip the laptop over.

    • Remove the 6 mm screw with the Phillips #000 screwdriver.

  2. vSCdqMcPvw4QPYGH
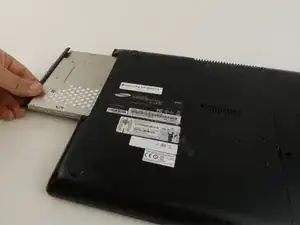
    • Slide out the optical drive to remove it.

  3. wEEhRd64SFEGYjmo
    wEEhRd64SFEGYjmo
    GduN2tg1MlBCr4Ht
    • Put on the anti-static wristband and connect the attached alligator clip to a metal object. This will prevent you from shocking the motherboard.

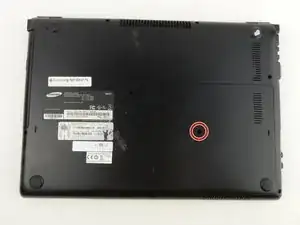
    • Flip the laptop.

    • Use the Phillips #000 screwdriver to unscrew the 6 mm screw from the square panel.

  4. WTAMihOJWTCpd25d
    WTAMihOJWTCpd25d
    icsNBowmyCNSReQg
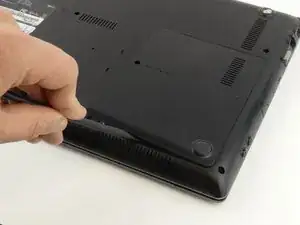
    • Gently wedge the spudger under the square panel.

    • Run the spudger under the edges of the square panel to loosen it.

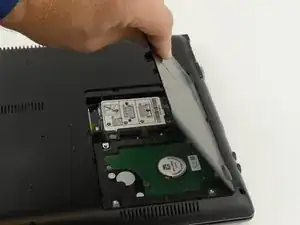
    • Remove the panel.

  5. MJIxeUmsvN5ZDVlP
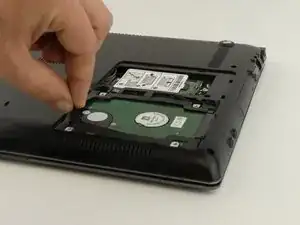
    • Remove the hard drive slowly because it is still connected to a wire.

    • Pull up on the rubber flap or use the spudger to lift the hard drive.

  6. xfaCBNvghdBipAbD
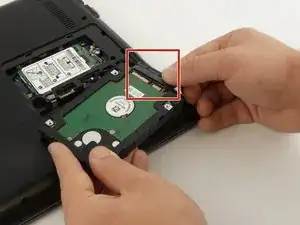
    • Remove the hard drive by gently pulling the power connector at the base of the wire off. You can do this by pulling the connector away from the hard drive.

  7. 2gOhdhEaIYQ44sBC
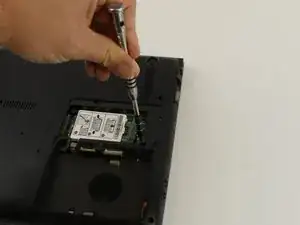
    • Use the Phillips #000 screwdriver to remove the 6 mm screw.

  8. qVJiW5tURSIsVvKC
    qVJiW5tURSIsVvKC
    QITw6dnwFkOFyGNi
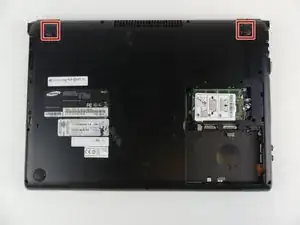
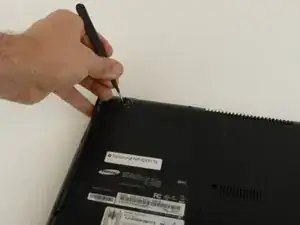
    • Remove the top two rubber stoppers by grasping them with the precision tweezers and pulling up.

  9. aS3jcBD6ppri6Te1
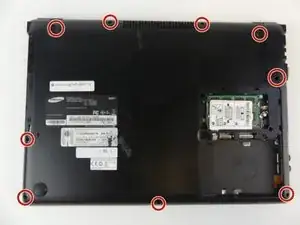
    • Remove nine 6mm cover screws using the Phillips #000 screwdriver.

  10. DKAbw3LONyABpKsf
    DKAbw3LONyABpKsf
    2IvwX2SSWVSZsfCP
    VKp3YSXuQ2UUqrDv
    • Wedge the spudger under the cover and run it along the edges.

    • Pry the cover up with the spudger to remove it.

  11. SKARAj5eFDNLLnvx
    SKARAj5eFDNLLnvx
    GtfWNJbbwCHD3QfR
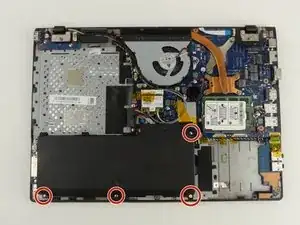
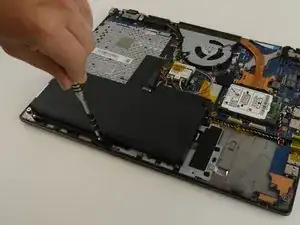
    • Remove the four 3 mm screws using the Phillips #000 screwdriver.

  12. HeMhU5NhU6MNCNEn
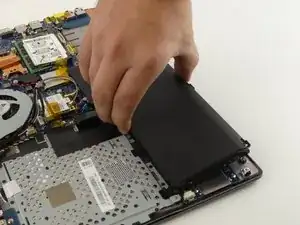
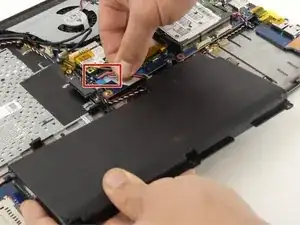
    • A wire is still connecting the battery to the motherboard.

    • Lift and slide the battery out from under the three plastic prongs.

  13. Ss36vMiLkPxTMiqA
    • Grab the wires and gently pull them away from the motherboard.

Abschluss

To reassemble your device, follow these instructions in reverse order.
Rebecca Johnson

Mitglied seit: 17/02/17

561 Reputation

0 Kommentare