Einleitung

Use this guide to remove the front panel of your laptop to access the inner components of your device.

  1. gl3hLeSQJt2HotBa
    • Turn off laptop before starting.

    • Remove power cable before starting.

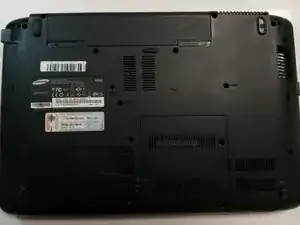
    • Flip the laptop over so that the bottom of the laptop is facing upwards.

  2. nvZx6qNaIlqN3qif
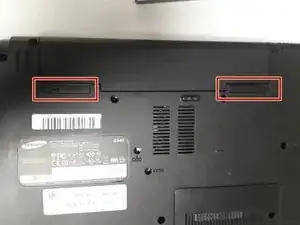
    • Pull the two latches outward.

  3. OauGQ46yAyw6NsZM
    OauGQ46yAyw6NsZM
    IeGW3vQbbmuGlRtL
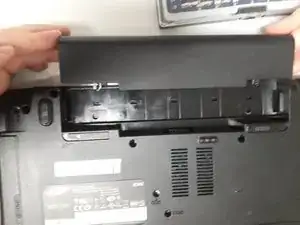
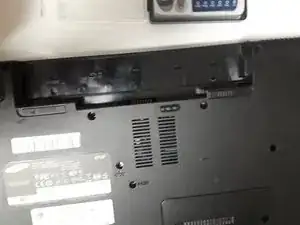
    • Slide the battery out of the laptop.

  4. gVfoBpT5tTPRJPTK
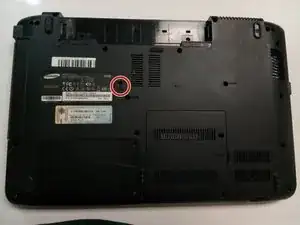
    • Remove securing screw with the PH0 head.

    You do not need to remove the optic drive to replace the keyboard.

    Robert Backhaus -

  5. dr1lqlYKc6YN3ZDE
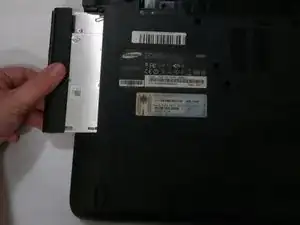
    • Slide the optical drive out and remove it from the device.

  6. vWUR1L5GvpGUQvwL
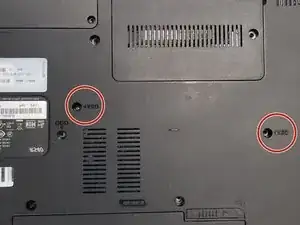
    • Remove the two Phillips #0 screws labeled KBD.

    • There are 5 clips along the top of the keyboard. Insert a thin opener tool (iSessamo tool or similar) between each clip and the keyboard tray to release it.

    • Make sure to pry the metal keyboard base and not the keycaps.

    This is also not right. There are 5 catches at the top of the keyboard, one at the middle one and two at each side. Insert an iOpener or similar thin tool between the catch and the keyboard, starting with the middle one. The middle three catches simply spring back, and the side ones are solid, but you can lever the keyboard over them. There is also two catches on each side near the bottom. You can release them with the iOpener too. It is easier if you have two iOpeners to prevent opened catches from re-closing.

    Robert Backhaus -

  7. Gt5uS3UCValav2LP
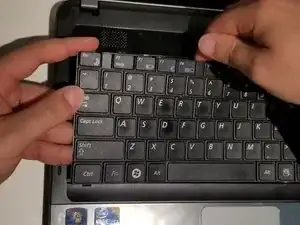
    • Do not bend your keyboard as shown in this picture.

    • Lift the keyboard up to release catches on the sides, then slide the keyboard towards the screen to slide tabs out of the slots at the bottom.

    See previous comment. When you lift the top of the keyboard and release the side catches, slide the keyboard up to slide the pegs out of their slots.

    Robert Backhaus -

  8. qYwUI1vuHLKkiNWE
    qYwUI1vuHLKkiNWE
    fKQF6QMweuktbhiX
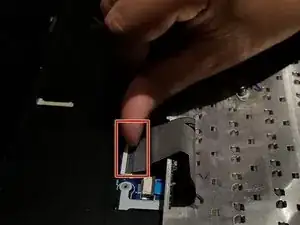
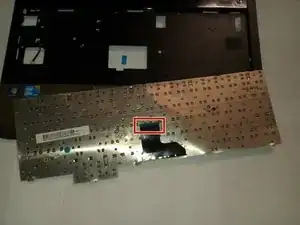
    • Disconnect the keyboard cable from the motherboard.

  9. ALEDZshgScsVFdGV
    • Remove the two screws with a Phillips #00 screwdriver.

  10. noVsrrjFVWe1l6xF
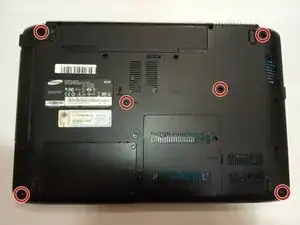
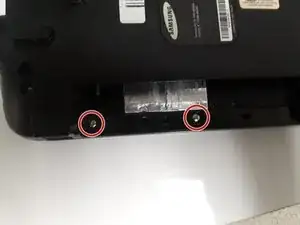
    • Remove the highlighted screws with a Phillips #0 Screwdriver.

    You need to remove more of the screws than this. The screws holding the memory cover need to be removed, two more at the rear, and I believe ones at the right hand side need to be removed as well.

    The two screws marked as 'H' (for 'Hinge') should remain in place to hold the screen hinge in place, and the HDD door screws can remain, but all the other screws should be removed.

    Robert Backhaus -

  11. Dd1VlivKtif6xfAV
    Dd1VlivKtif6xfAV
    IERGTJRXQTFDeYLm
    3XqJqKNyfYNSUlYV
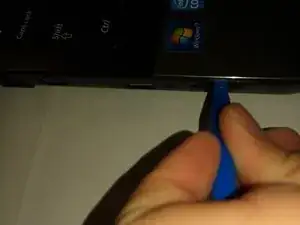
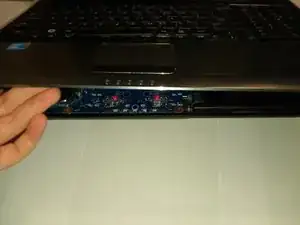
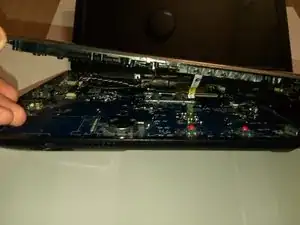
    • Pry the front panel away from the base with an Opening Tool.

  12. 5cLYQNrSLLZoFfcO
    5cLYQNrSLLZoFfcO
    ZNjyeV1V14wrZAMk
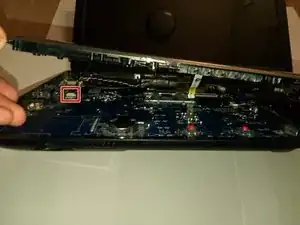
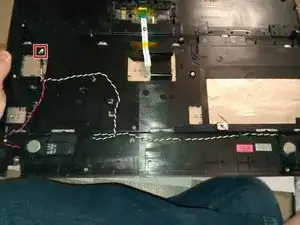
    • Disconnect the speaker wire from the motherboard.

Abschluss

To reassemble your device, follow these instructions in reverse order.
Daylyn Bourland

Mitglied seit: 21/09/18

285 Reputation

0 Kommentare