Einleitung
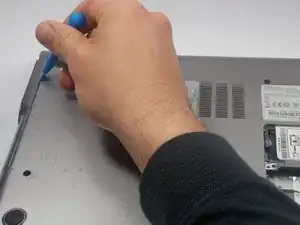
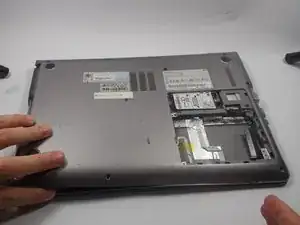
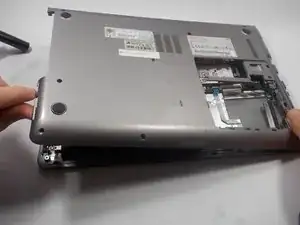
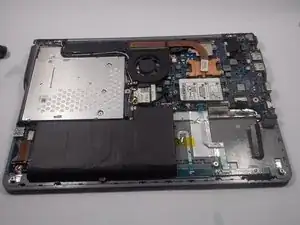
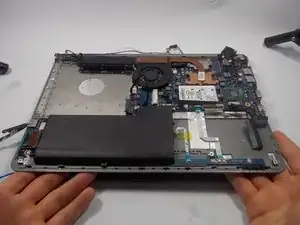
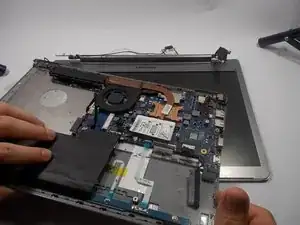
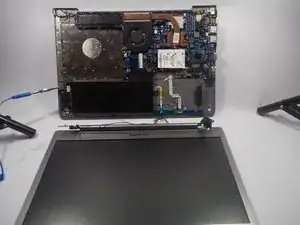
In this guide you will be learning how to remove the screen from your Samsung NP5230U4BL laptop. This will enable you to replace a damaged or outdated screen to improve picture quality. Before attempting to remove the screen, be sure to ground yourself with an anti-static wrist strap and have a Philips #00 Screwdriver, as well as a Nylon pry tool on standby. Also carefully follow the given instructions including the cautionary warnings.
Werkzeuge
Ersatzteile
-
-
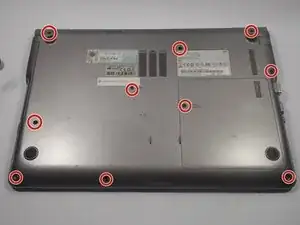
Using the Phillips #00 screwdriver, remove all ten 1.5 mm screws from the back cover of the laptop.
-
-
-
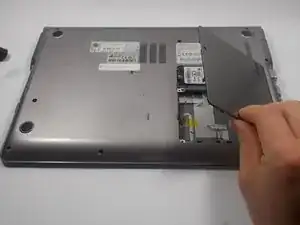
Using your dominant hand, pinch the tab on the back panel to the right and remove it.
-
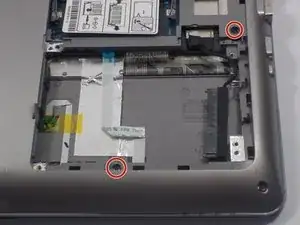
Using the Phillips #00 screwdriver, remove the two 1.5 mm screws that are under the panel.
-
-
-
Using the plastic opening tool, start in the upper-left hand corner of the laptop and pry horizontally to the upper right-hand corner.
-
-
-
Again starting in the upper left-hand corner, pry down vertically towards the bottom left-hand corner of the laptop.
-
-
-
Using your dominant hand, grasp the left side of the back cover and gently pull it up. This should disengage the prongs on the bottom and right edge of the base.
-
-
-
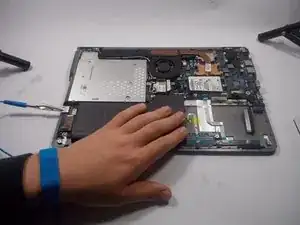
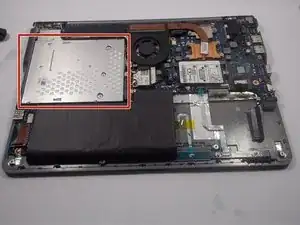
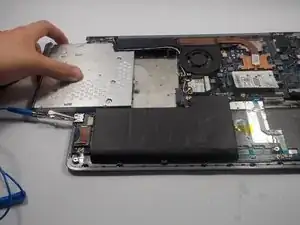
Press down on the drive with your left thumb and slowly slide it out of place. The drive should slide all the way out of the machine until it is detahced.
-
-
-
On the upper edge of the computer is a spine connecting the base to the screen. The screen is connected to the base by two rectangular, silver hinges located at the right and left edge of the spine.
-
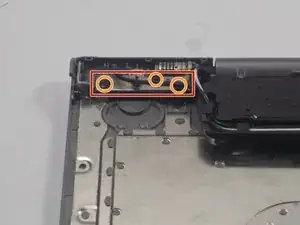
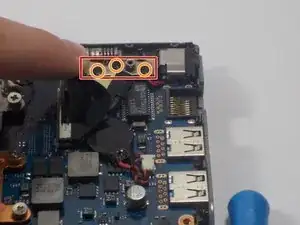
On each hinge are three, black 1.5 mm screws. Using the Phillips #00 screwdriver, remove these six screws.
-
-
-
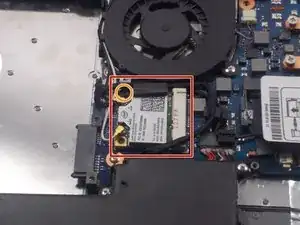
Directly to the right of the CD Drive and below the fan there is a circuit board that has an Intel label on it.
-
On this circuit board is a single, black 1.5 mm screw. Using the Phillips #00 screwdriver, remove the screw.
-
-
-
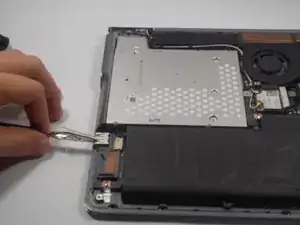
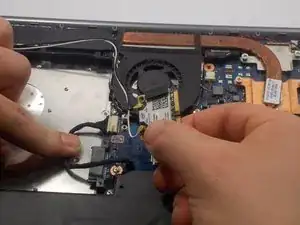
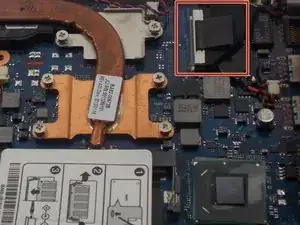
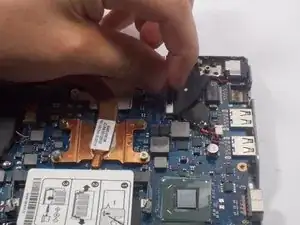
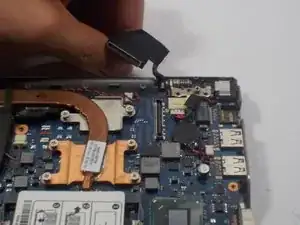
Using the black tab on top of the IDE plug, carefully lift the plug vertically upward until it is disengaged from the socket. This piece is attached to the base by a black wire, and can be left here for the duration of the replacement.
-
-
-
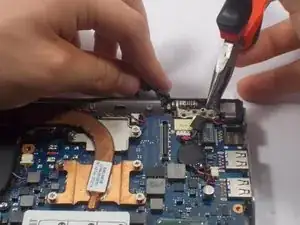
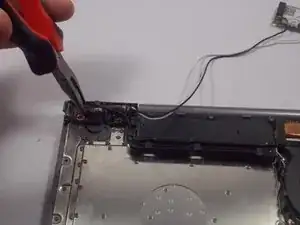
Using a pair of long-nose pliers, and starting in the upper right-hand corner of the screen, grab onto the hinge and lift it upward, similarly to how you lift to open a laptop.
-
-
-
Using a pair of long-nose pliers, grab onto the hinge in the upper left-hand corner of the screen and pull it upward, similarly to how you open a laptop.
-
-
-
Slide both hands between the base and the screen.
-
Carefully, lift the whole base until it is at an angle of about 60 degrees.
-
To remove the base from the screen, slide the base back towards yourself.
-
To reassemble your device, follow these instructions in reverse order.
